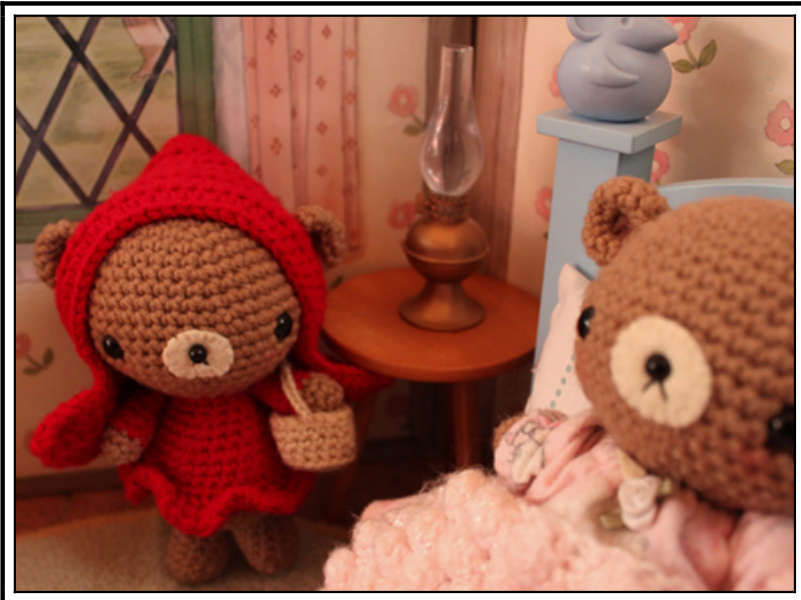
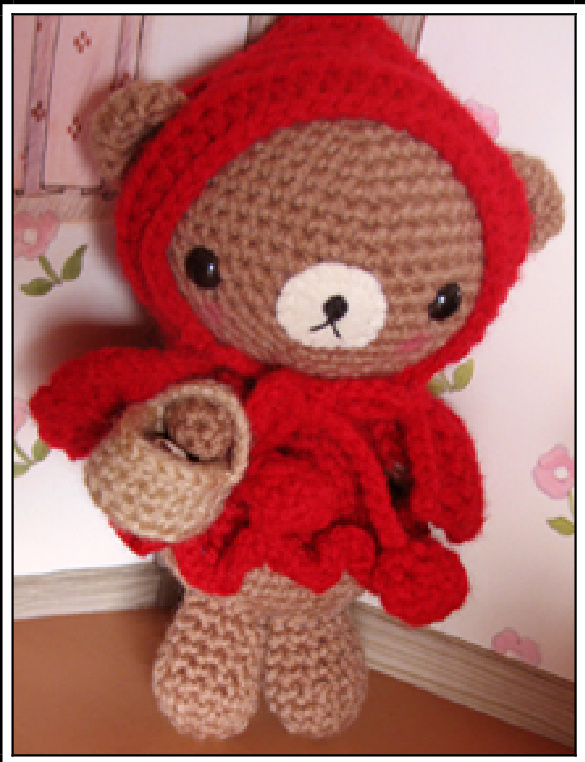
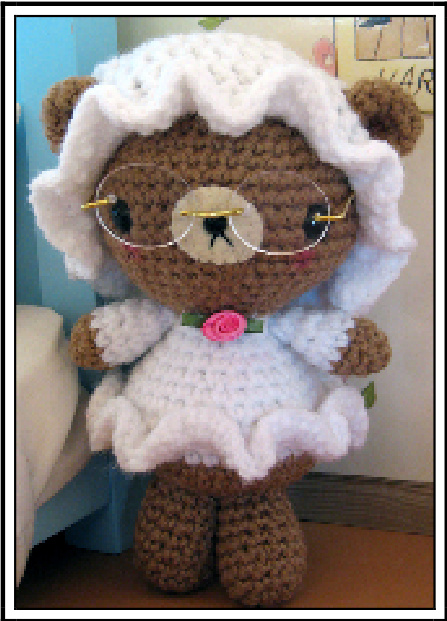
LiTTLe ReD RiDinG HoOD (anD GRannY) amiGURUmi TeDDY BeaR CROCHeT PaTTeRn
@2011 Shelley Tudor \~ All rights reserved
MaTeRiaLS
·Worsted weight yarn Yarn suggestions: Bear Body: Red Heart Warm Brown, 55 yds Bear Clothes: Red Heart Cherry Red, 55 yds or Red Heart White, 46 yds Basket: Red Heart Buff, 6 yds ·Crochet hook size G (4.00mm), optional size E for basket ·Stitch marker - With the exception of the hooded cloak, all pieces are worked in spirals (you will not be joining rounds) so you will need a stitch marker to keep track of your rounds. · Two 10mm black safety eyes ·Optional 6mm black safety eye or 6mm black bead for nose ·Cream colored felt, 1 1/8" diameter circle (wool felt was used on bear shown) ·Optional acrylic doll glasses ·Optional ribbon rose for Granny's nightgown ·Polyfil stuffing · Black embroidery thread ·Yarn needle ·Needle and matching thread for sewing on muzzle and optional ribbon rose @2011 Shelley Tudor ·Scissors · Blush or pink chalk & Q-tip
STiTCHeS & ABBReViaTiOnS
ch - chain stitch inc - increase, work 2 sc in one stitch invdec - invisible decrease: Insert the hook into the front loops only of the next two stitches (do not yarn over in between), now yarn over and draw yarn through the two loops, yarn over and draw through both loops on hook rnd/rnds - round/rounds sCc - single crochet sc2tog - single crochet 2 together: Insert the hook into the next stitch, yarn over and insert hook into next stitch, yarn over and draw through the 3 loops on hook slst - slip stitch st/sts - stitch/stitches [] - repeat the instructions in the brackets the number of times indicated () - the number in the parentheses indicates the amount of stitches completed at the end of the round Finished Size: 5.5 inches tall (17.0 cm), using Red Heart worsted weight yarn and a G hook Gauge: Gauge is not important. Since everyone crochets differently, use a hook size necessary to achieve a tight enough stitch so that the stuffing will not show through.
Some Notes Before You Begin
Warning: The finished product is not recommended for children under three because of the small parts. Little Red Riding Hood is wearing a red dress but you could make her in a white dress for a nice contrast. Granny is worked exactly the same as Little Red Riding Hood except use white for her "nightgown" and make a sleeping cap for her. The doll glasses are a really cute touch and only \$1.27 at Hobby Lobby. Another cute idea would be to make some "treats" for Granny out of polymer clay.
An invisible decrease was used to make the bear and I would highly recommend learning this stitch because the results are beautiful. However, if you are not comfortable with an invisible decrease, just use a regular sc decrease which is a sc2tog (see abbreviations above). Also, I would recommend you work in your loose end(s) halfway through the body pieces because some of the pieces, especially the arms, are hard to turn inside out to work in the ends. Lastly, have fun with your project and use your imagination. At the end of the pattern are pictures of optional muzzles.
PATTERN
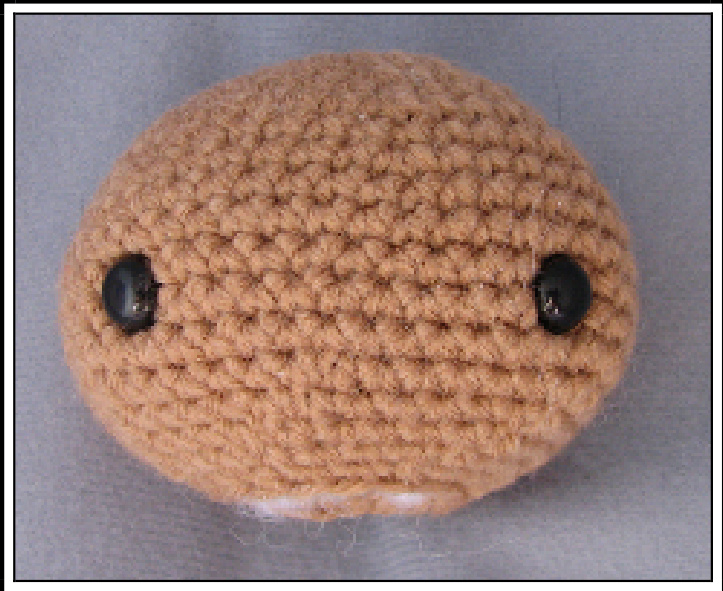
HEAD
Kna I: witn brown, sTart witn magic ring ana worr 6 sc into ring, pull yarn tail and tighten ring (6) Rnd 2: inc each st (12) Rnd 3: [sc in next st, inc] around (18) Rnd 4: [sc in next 2 sts, inc] around (24) Rnd 5: [sc in next 3 sts, inc] around (30) Rnd 6: [sc in next 4 sts, inc] around (36) Rnd 7: sc in each st around (36) Rnd 8: [sc in next 5 sts, inc] around (42) Rnd 9: sc in each st around (42) Rnd 10: [sc in next 6 sts, inc] around (48) Rnds 11-15: sc in each st around (48) Rnd 16: [sc in next 6 sts, invdec] around (42) Rnd 17: [sc in next 5 sts, invdec] around (36) Rnd 18: [sc in next 4 sts, invdec] around (30) Rnd 19: [sc in next 3 sts, invdec] around (24) Rnd 20: [sc in next 2 sts, invdec] around (18) Fasten off and weave in loose ends.
EaRS (make 2)
Rnd 1: With brown, start with magic ring and work 5 sc into ring, pull yarn tail and tighten ring (5) Rnd 2: inc each st (10) Rnd 3: [sc in next st, inc] around (15) Rnd 4: sc in each st around (15) Rnd 5: [sc in next st, invdec] around (10) Fasten off leaving a long tail for sewing.
BOdY
Rnd 1: With brown, start with magic ring and work 6 sc into ring, pull yarn tail and tighten ring (6) Rnd 2: inc each st (12) Rnd 3: [sc in next st, inc] around (18) Rnd 4: [sc in next 2 sts, inc] around (24) Rnd 5: [sc in next 3 sts, inc] around (30) Rnd 6: [sc in next 4 sts, inc] around (36) Rnd 7: sc in each st around Change to red (or white) Rnds 8-9: sc in each st around (36) Rnd 10: [sc in next 4 sts, invdec] around (30) Rnd 11: sc in each st around (30) Page 2 of 6 Rnd 12: [sc in next 3 sts, invdec] around (24) Rnd 13: sc in each st around (24) Rnd 14: [sc in next 2 sts, invdec] around (18) Rnd 15: sc in each st around (18) Fasten off leaving a long tail for sewing.
Ruffled skirt:
This first row is worked in surface crochet so you are actually going to be crocheting around the sc from Rnd 8 of the body. Rnd 1: With red (or white), and with the body held upside-down, starting at Rnd 8 of the body (where you switched colors), insert hook through one of the holes in between the stitches, sc around each stitch from Row 8 (36)
Rnd 2: 3 sc in each st around (108) Fasten off and weave in loose ends.
ARmS (make 2)
Rnd 1: With brown, start with magic ring and work 4 sc into ring, pull yarn tail and tighten ring (4) Rnd 2: inc each st (8) Rnd 3: [sc in next 3 sts, inc] around (10) Change to red (or white) Rnd 4: sc in each st around (10) Rnd 5: [sc in next 3 sts, invdec] around (8) Rnd 6: sc in each st around (8) Rnd 7: [sc in next 2 sts, invdec] around (6) Fasten off leaving a long tail, thread yarn needle with long tail and run needle through the front loops only of the 6 sts of Rnd 7, pulling tight after each stitch.
LeGs (make 2)
Rnd 1: With brown, start with magic ring and work 5 sc into ring, pull yarn tail and tighten ring (5) Rnd 2: inc each st (10) Rnd 3: [sc in next st, inc] around (15) Rnd 4: sc in each st around (15) Rnd 5: [sc in next 3 sts, invdec] around (12) Rnd 6-8: sc in each st around (12) Fasten off leaving a long tail for sewing.
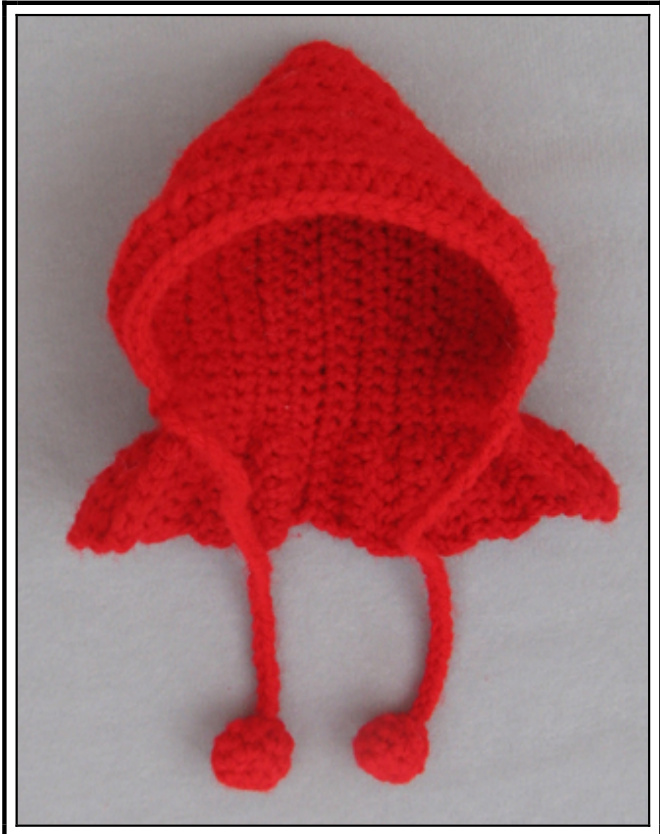
Hooded cLoak
This little cloak is reversible if you carefully work in the loose ends so they don't show from either side. The cloak will stay on without the optional ties because the bear's ears help hold it in place. Row 1: With red ch 26, sc in 2nd ch from hook and in next 23 sts, 3 sc in the last chain (which is actually the first ch you made). Now working in the opposite side of the ch, sc in each of next 24 ch, ch 2, turn (51) Row 2: dc in the next 5 sts, sc in the next 5 sts, hdc in the next 31 sts, sc in the next 5 sts, 5 dc in the last 5 sts, ch 2 and turn (51) Row 10: dc in the next 5 sts, sc in the next 5 sts, hdc in the next 4 sts, ch 6 and skip 6 sts, hdc in the next 11 sts, ch 6 and skip 6 sts, hdc in the next 4 sts, sc in the next 5 sts, dc in the next 5 sts, ch 2, turn (51) OPTionaL "pompom Ties" FoR cLoaK (make 2) As you crochet these ties, you will see that the chain will come out of the hole in your "pompom". Rnd 1: ch 28, 5 sc in 2nd ch from hook (5) Now you are crocheting in the round Rnd 2: inc each st (10) Rnd 3: sc in each st around (10) Rnd 4: [sc in next st, sc2tog] around (5) Fasten off leaving a long tail, thread yarn needle with the yarn tail and run needle through the front loops only of the 5 sts from Rnd 4, pulling tight after each stitch, weave in the loose end. Sew the opposite end of the tie (the chain end) to the outer row of the cloak, positioning them at the neckline. Weave in the loose ends.
GRaNnY'S SLeePiNG Cap
Rnd 1: With white, start with magic ring, ch 1 (do not count as a stitch) and work 10 dc into the ring, pull yarn and tighten ring (10) Rnd 2: 2 dc in each st around (20) Rnd 3: 2 dc in each st around (40) Rnd 4: dc in each st around (40) Rnd 5: dc in next 9 sts, ch 5, skip 5 sts, dc in next 12 sts, ch 5, skip 5, dc in next 9 sts (40) Rnd 6: dc in each st around (40) @2011 Shelley Tudor Rnd 7: [sc in next 6, sc2tog] around (35) Rnd 8: sc in each st around (35) Rnd 9: 3 sc in each st around (105) Fasten off and weave in loose ends.
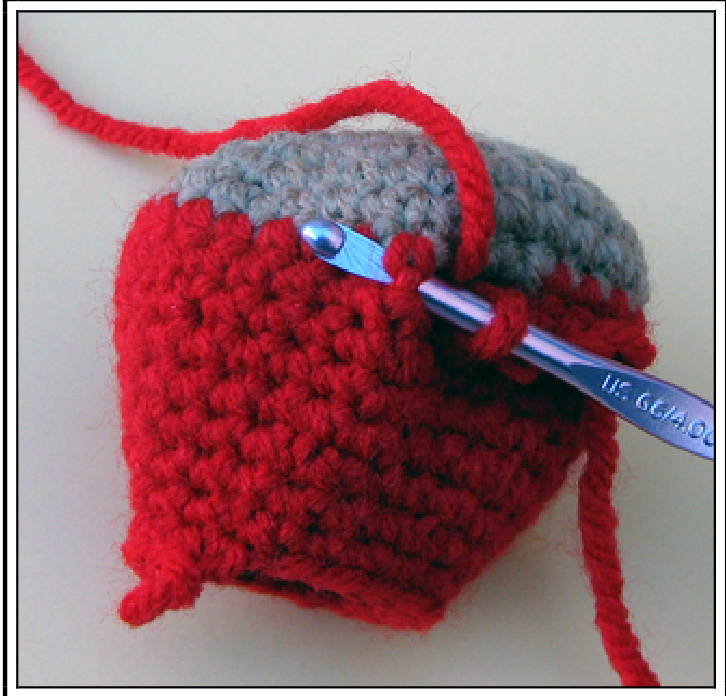
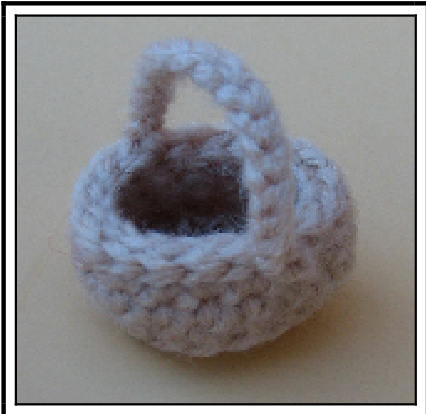
BaskeT
Optional: If you crochet this basket with an E hook, it will produce a nice stiff basket. Rnd 1: With buff (tan), start with magic ring and work 6 sc into ring, pull yarn tail and tighten ring (6) Rnd 2: inc each st (12) Rnd 3: [sc in next st, inc] around (18) Rnd 4: working in BLO of this rnd only, sc around (18) Rnd 5-6: sc in each st around (18) Rnd 7: slst in each st around (18) Basket handle: ch 15 tightly, pulling back on the yarn after each st. Fasten off and sew the end of the chain to the opposite side of the basket (approx at the 9th st of Rnd 8). Weave in loose ends.
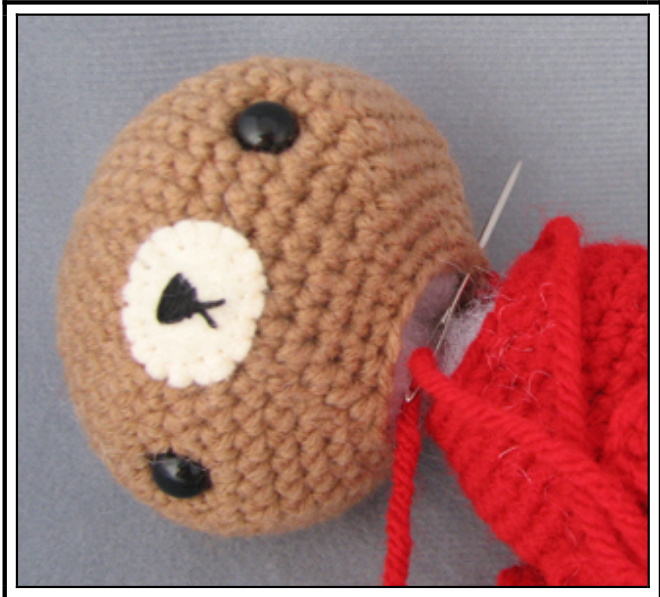
Page 4 of 6 ASSEMBLiNG (Work all the above pieces first) 1. Insert the 10mm safety eyes between rows 13 and 14 of the head, approximately 12 stitches apart. 2. Stuff the head.
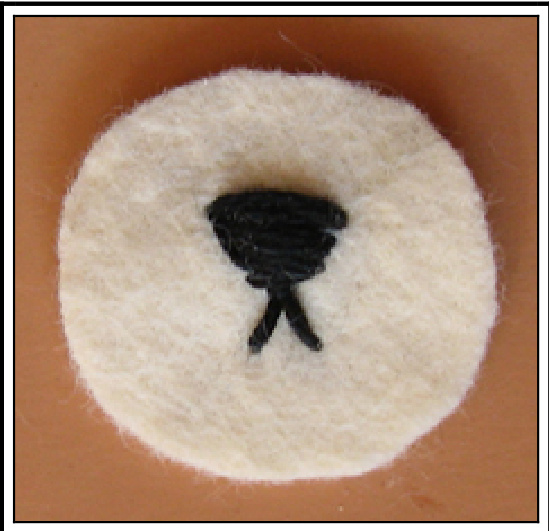
3. Using at least a 1" diameter circle of cream felt for the muzzle, embroider the nose and mouth using 2-3 strands of black embroidery floss.
4. Trim the felt muzzle to about 7/8" wide and about 3/4" in height and sew the muzzle to the head with matching thread. Center the muzzle evenly between the eyes. 5. Stuff the body and use the long yarn tail from the body to sew the body to the head.
6. Flatten and then cup the ears and sew the ears to the head, using the hood as your guide So that the ears fit through the slits in the hood. Marking their position with scrap yarn first and then removing the hood makes them easier to sew on. If you are not making the hood, position the ears between Rnds 9-12 of the head.

7. Stuff the legs and sew the legs to the body, positioning them a little towards the front of the bottom of the body. 8. Stuff the arms and sew the arms to the body sewing them to Rnd 16 (last round) of the body. 9. Optional: Blush the cheeks, you can blush the insides of the ears too. 10.Optional: Sew a ribbon rose to the front of Granny's nightgown. Put Little Red Riding Hood's cloak on and put the basket on her arm and she's ready to go to Granny's house. :D
OPtionaL muzzLes, Noses & moutHs
If you use a safety eye, first embroider the mouth, make a small hole with a sharp pair of small scissors in the felt where you want the nose, poke the safety eye through the felt, position the muzzle on the head and poke the safety eye through the head, then sew the muzzle to the head with matching thread.
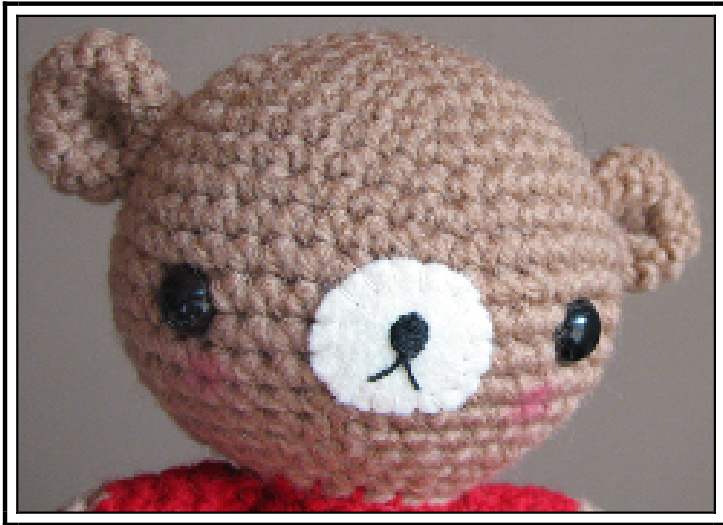
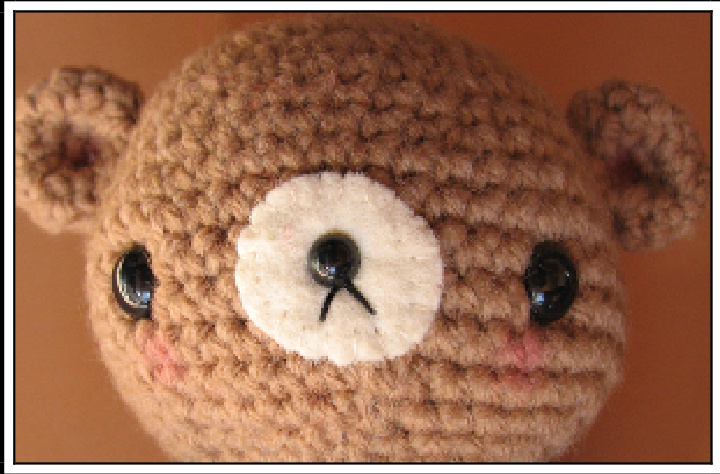
Wool felt muzzle, embroidered nose & mouth Wool felt muzzle, 6mm safety eye nose, embroidered mouth
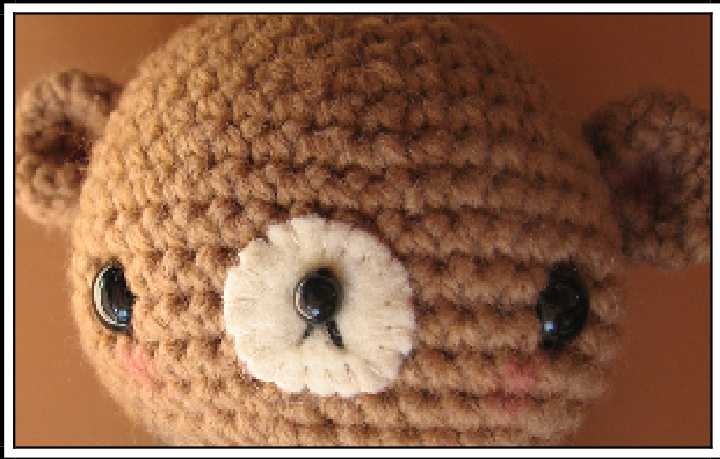
Wool felt muzzle, 6mm bead nose, embroidered mouth Pattern and photographs @Shelley Tudor 2011 Purchaser may not distribute or publish this pattern.


