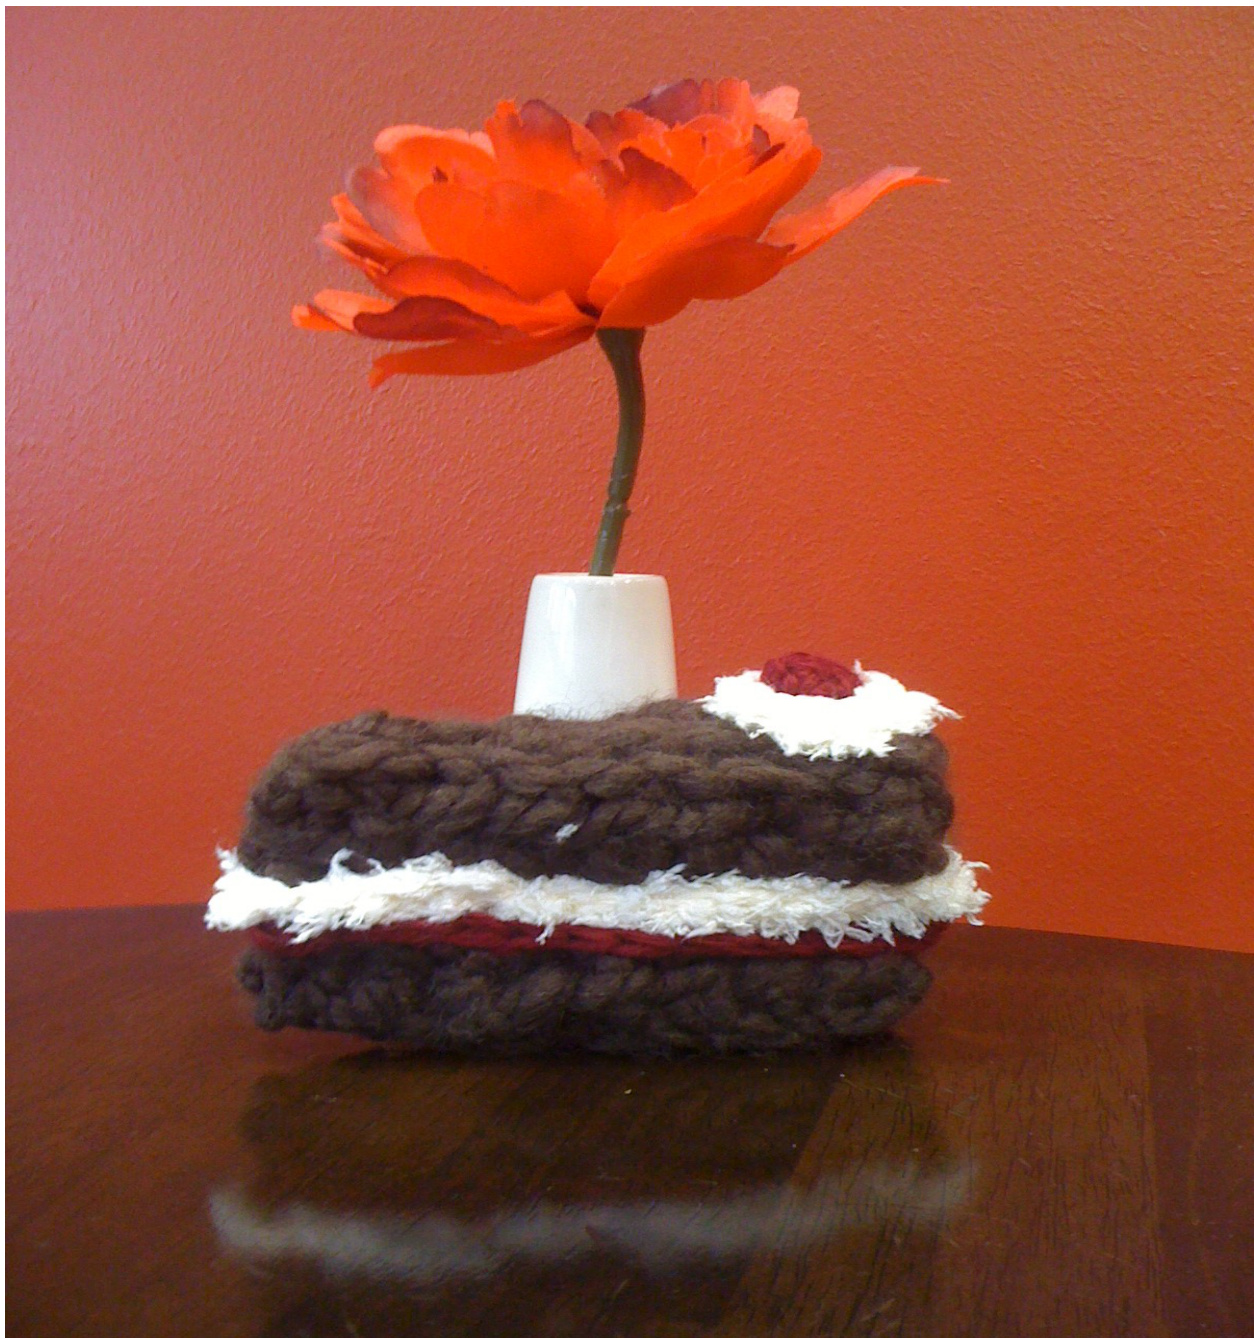
Easy Peasy No-Stuff Crocheted Chocolate Cake Slice A Free Pattern By Bertha's Bizarre Bazaar
Ingredients:
1 Ball of bulky brown yarn (or other cake-y colour if you prefer) oddments of red & cream yarn (DK or similar) 10mmcrochethook 3/4mmcrochethook BigFatSewing/DarningNeedle
Recipe CUK terms):
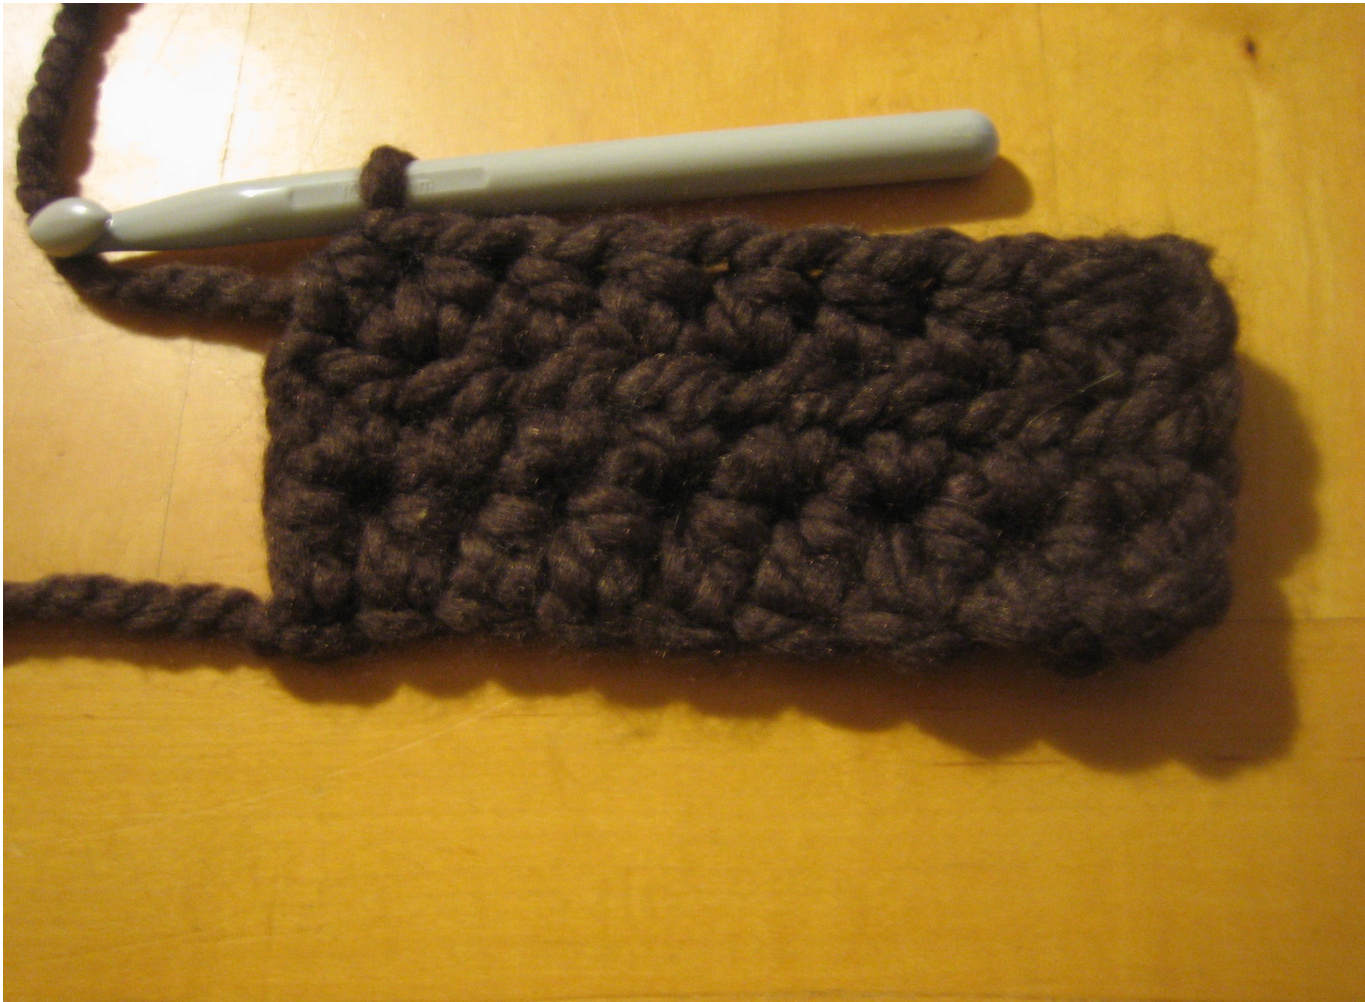
With the bulky yarn and the 10mm hook Ch 11, htr\* in 3rd ch from hook and each ch across (9htr\*) \*Ch 2, htr\* in each st across\* Repeat \*_ \* and you should have something that looks like this: Now Chi0, continuing from where you are, and repeat the process working a htr\* in 3rd ch from the hook and each across to give 8htr\*, then ch2 and htr\* across, ch2 htr\* across It should now look like this:
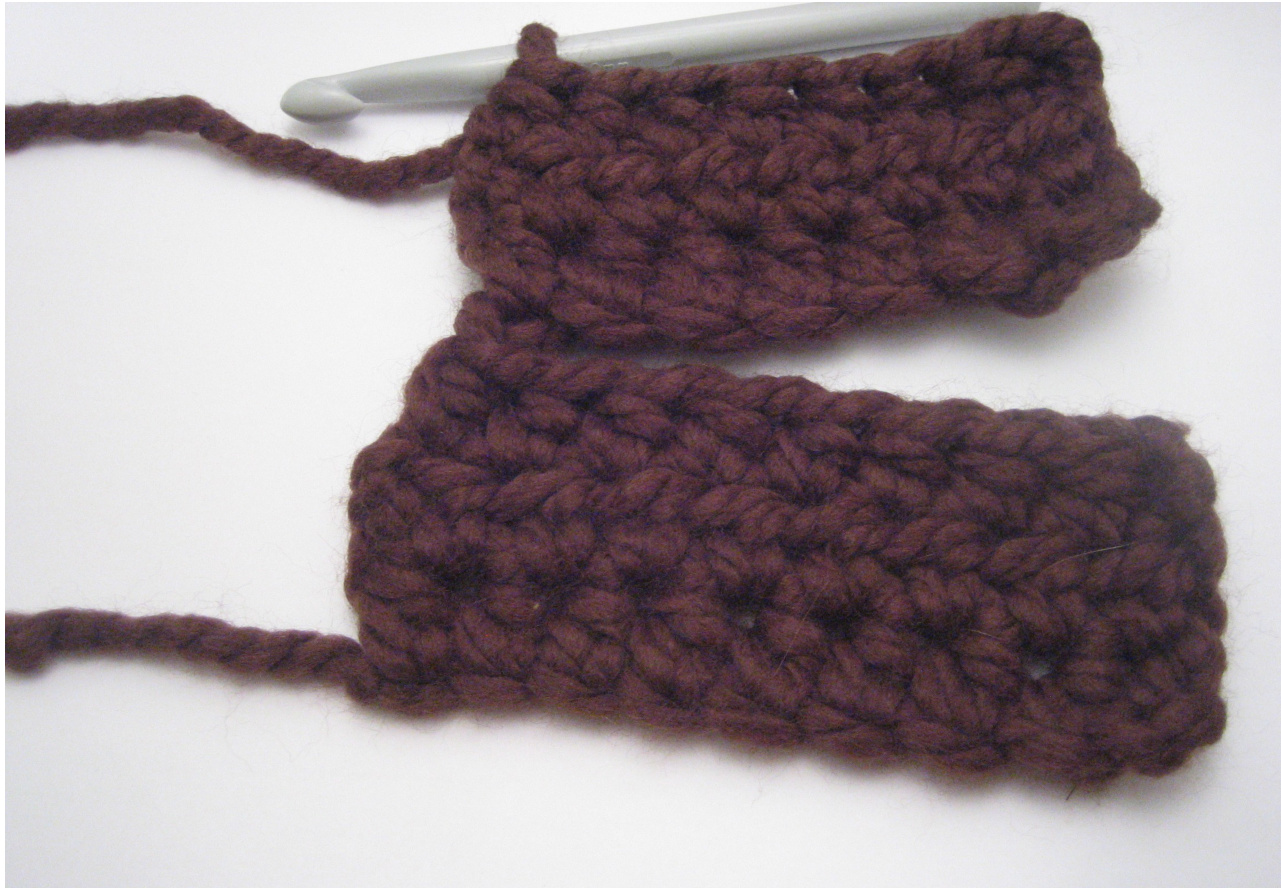
Now Ch9 and repeat process to produce 3rd rectangle (7htr\* across)
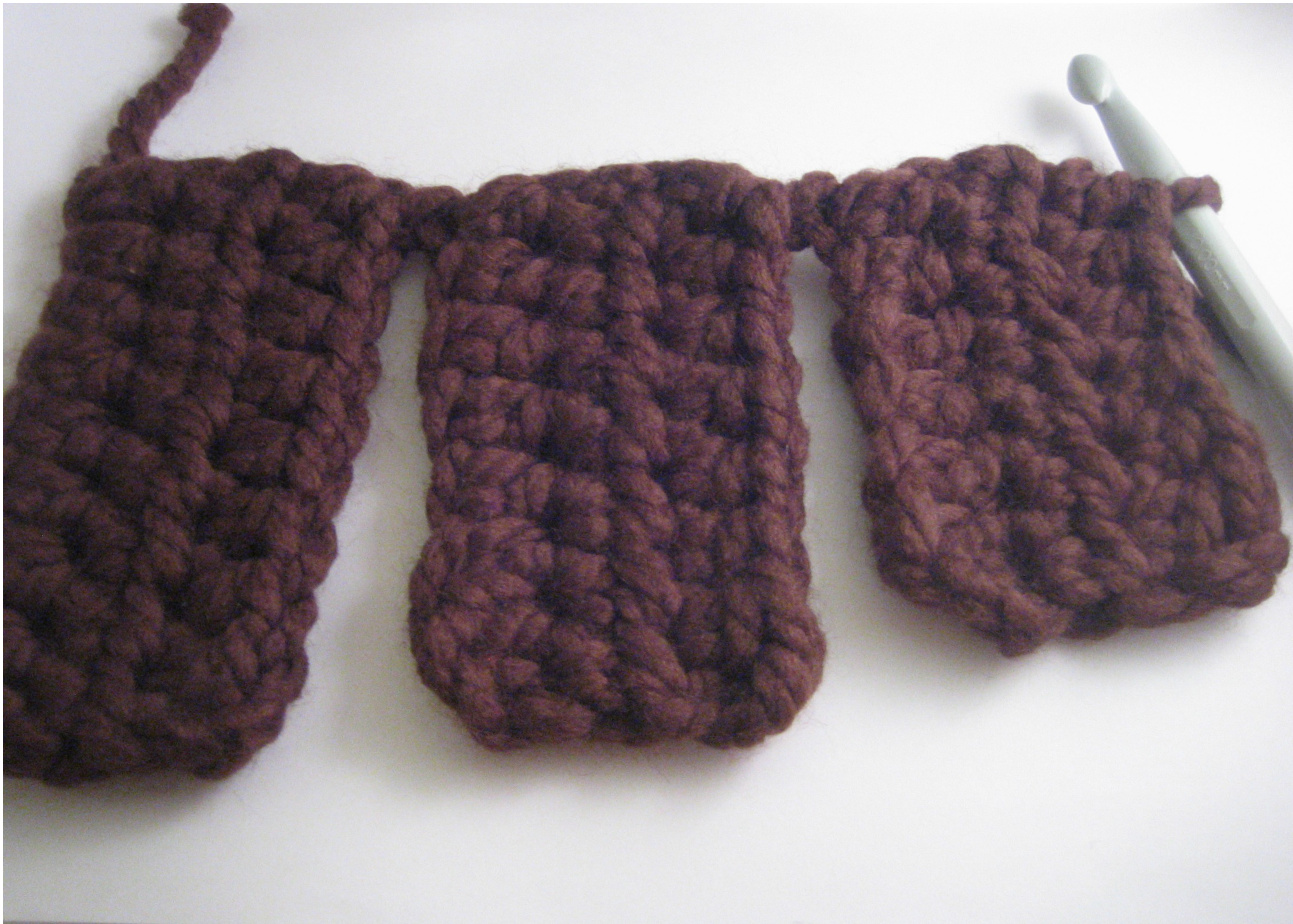
You will now need to increase the size again for the last two rectangles, so Ch10 and repeat the process, then Chl1 and repeat again so that you have 5 conjoined rectangles, all 3 rows high Likethis:
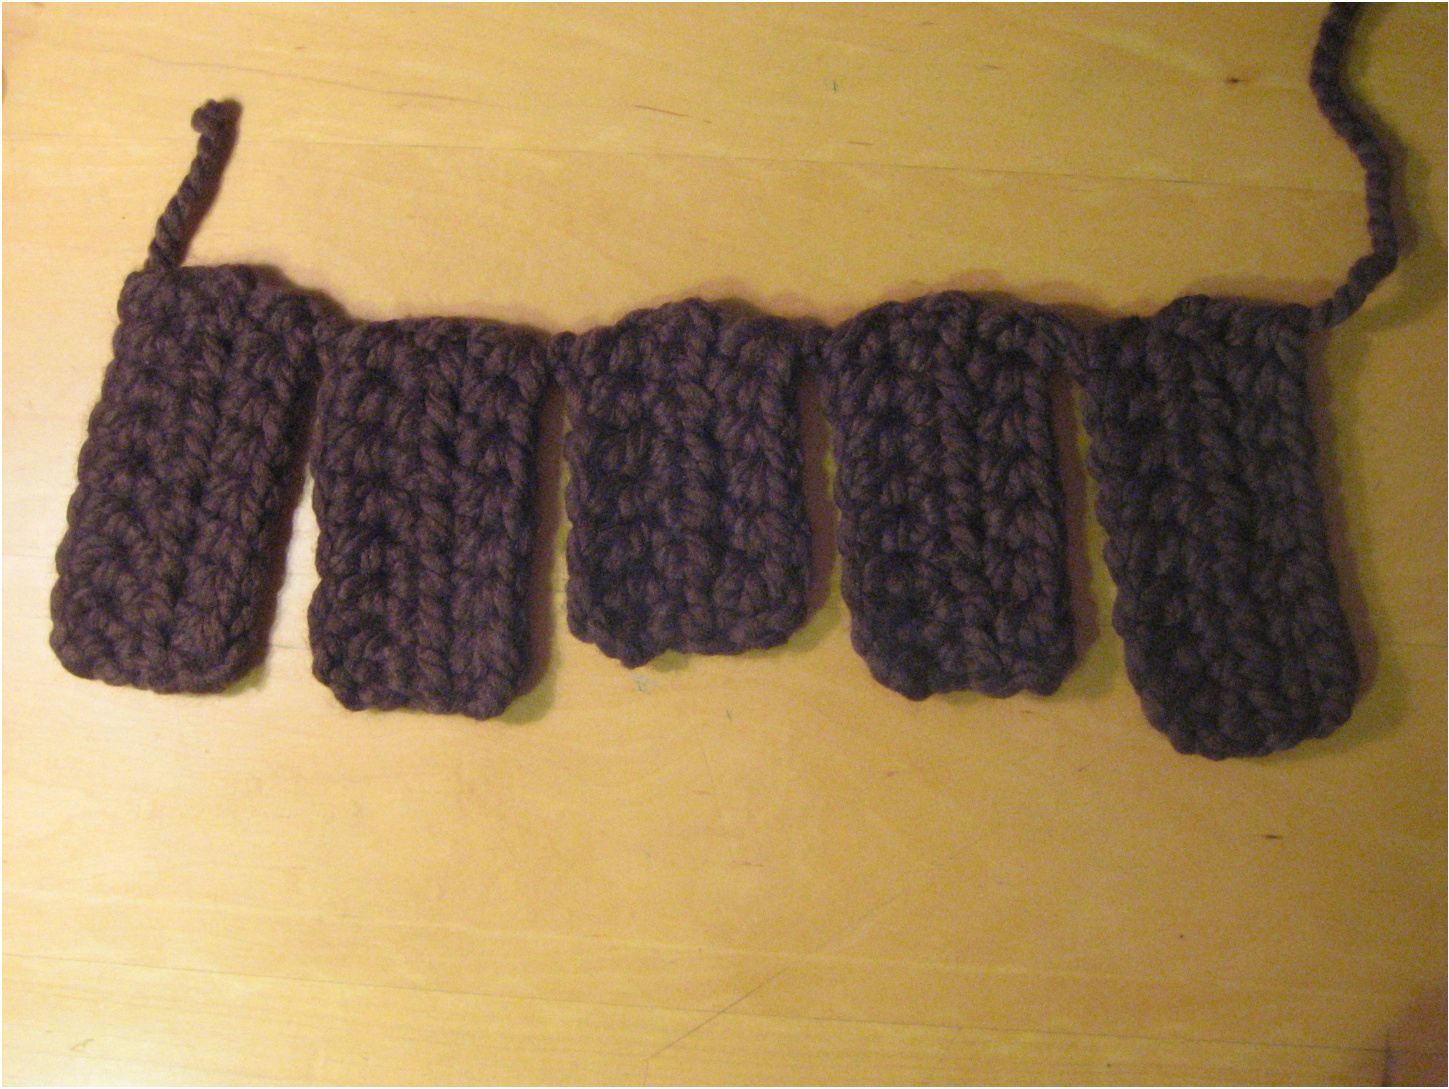
You will now need to cut the yarn but NOT ToO SHORT! You need to leave enough to sew the rectangles together, probably no lessthanaboutayard/metre So lay them together with the joined ends level:
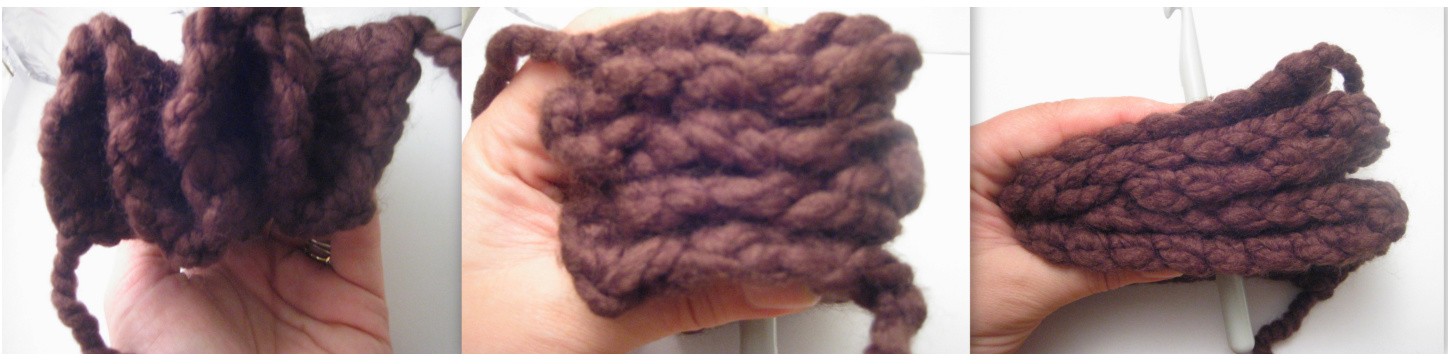
As you can see, when l got them lined up just right l stuck the hook through to keep them steady while I sewed it together Thread the yarn end through a big fat needle and, starting at the point closest to the end of your work, sew through all the layers, going all the way around until you're back where you started I went up the short fat end first, then along one long side:
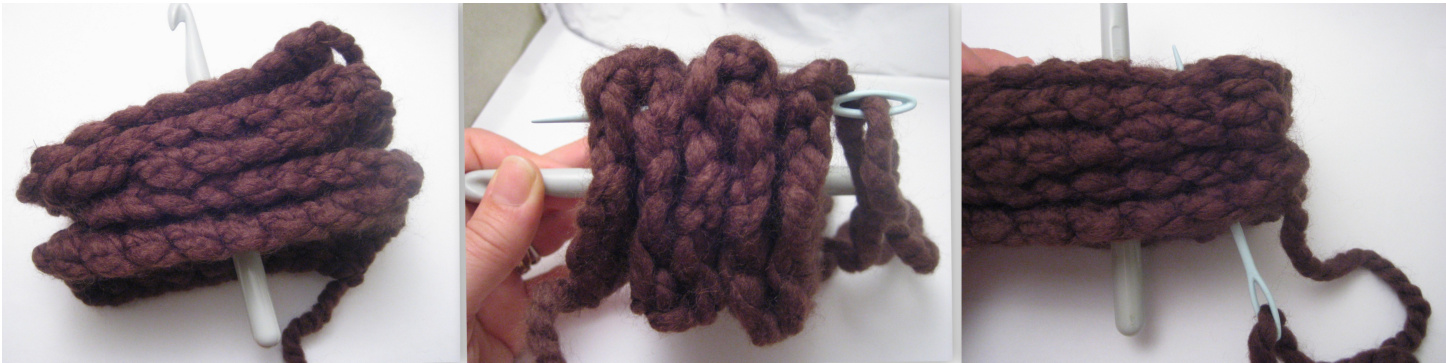
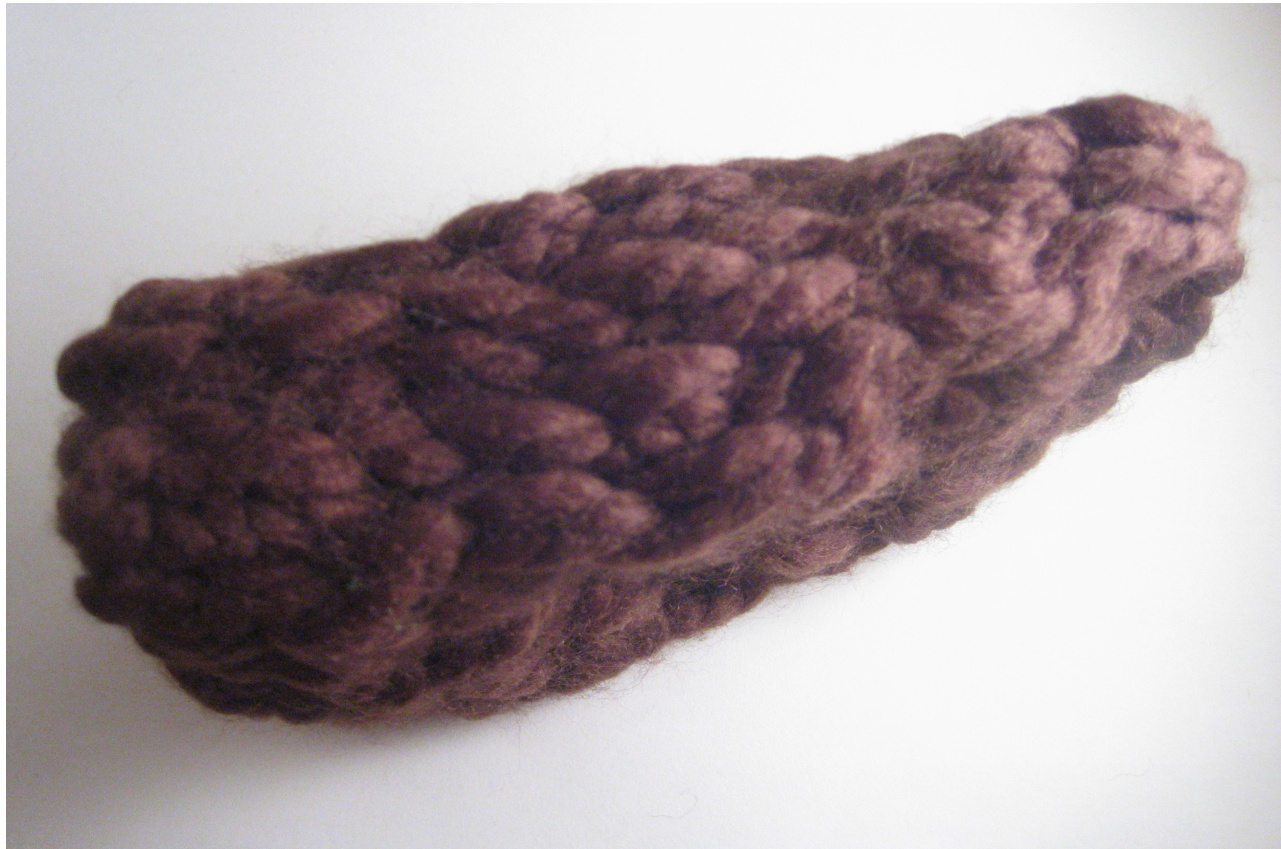
When you come to the point where the central rectangle ends, pull on the yarn quite firmly to draw them well together and give a nice wedge shape · then work down the thinnest end of the wedge, pulling tight as you feel necessary to help achieve the best wedge shape
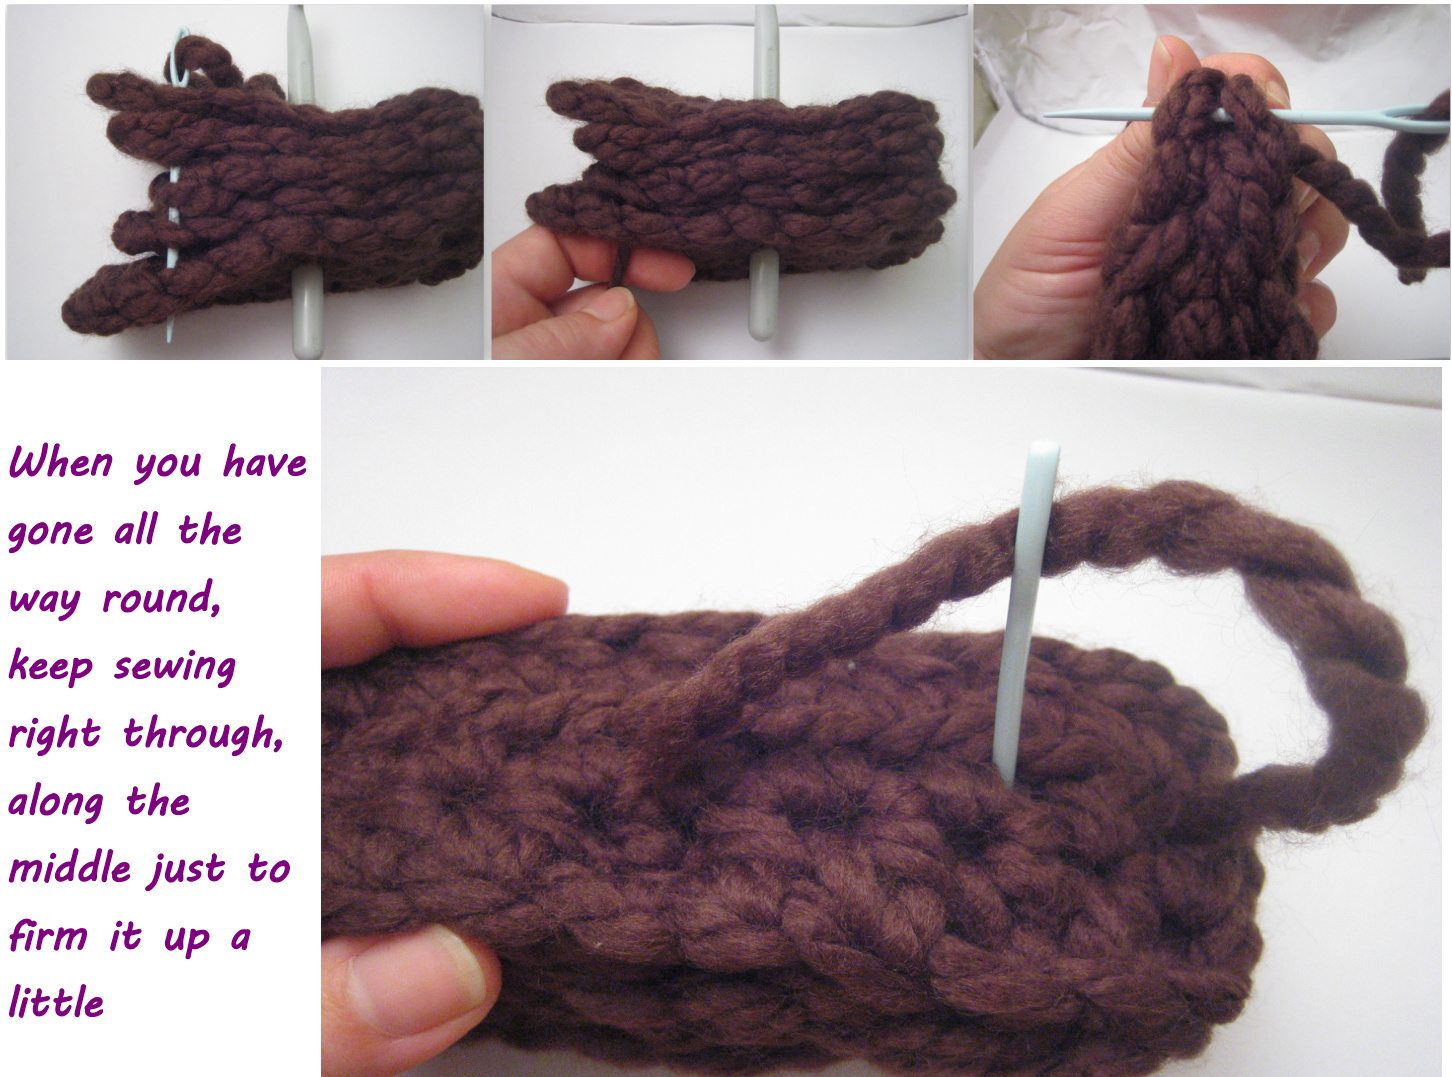
When you're finished just weave the end of the yarn through the wedge however you like just as long as it's nice and secure HeyPresto! You should now have a nice solid wedge ready to decorate with cream and jam and a chery on top
Sorry I don't have any pictures of the decorating part as I did it in the car, but basically just get your red yarn and your smaller hook and crochet a line on around the middle of the wedge, I occasionally took the yarn over the hook first as I went along to make it look like the jam was oozing out more in places-freestyle it however you like then do the same with the cream, right next to the red with the appropriate hook for whatever yarn you're using ch 3, join with a sl st to form a ring, ch 2, work 7 tr (US dc) into the ring and join with a sl st, fasten off and use end to attach to top of cake In red make a magic ring if you know how, or you can just ch3 and join with a sl st, make 6 dc (US sc) in the ring and join with a sl st now chl, work another dc\* in same st,work 2 dc\* in each and join w/a s/st chl, 1 dc\* in each around, join chl, decrease all the way round (hook in, yarn over, hook in next, yarn over, yarn over and draw through all), join (stuff if you like, I didn't bother as I'd worked it quite firm anyway) then cut the yarn leavng a long enough end to sew the cherry onto the cake, position it on top of the cream, sew it on and you're done