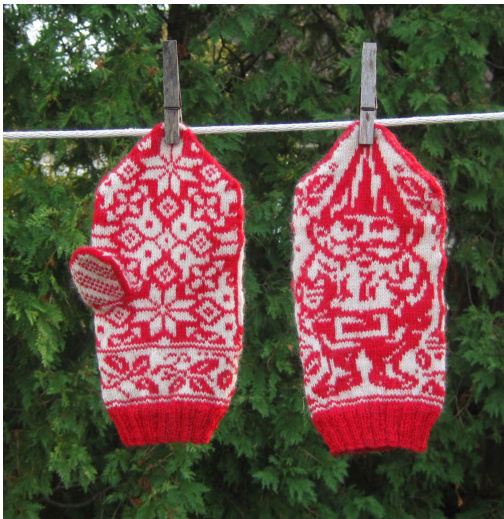
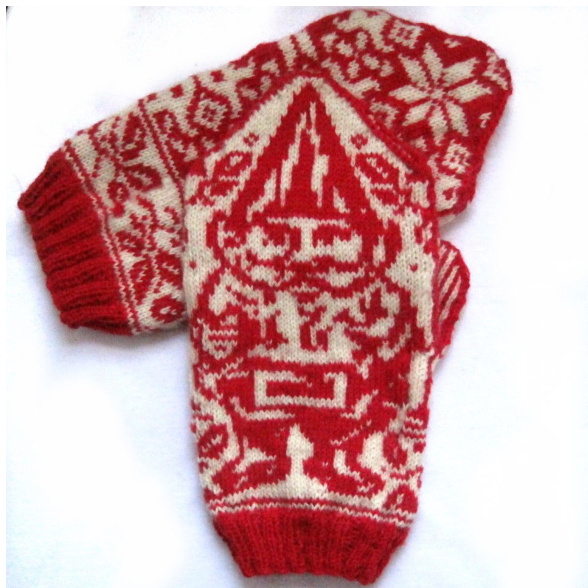
Garden Gnome Mittens
Tools: one set of 4 size 0 (2mm) double pointed needles, one set of 4 size 1 (2.25mm) double pointed needles, a stitch holder or piece of scrap yarn, stitch markers (2) needle to weave in ends. Materials: 1 ball of Knit Picks Palette in Cream, One ball of Brown Sheep Nature Spun Fingering in Red Fox.(each ball is about 50 grams- one ball of each is more than enough to make one pair of mittens). Gauge: 41 st and 46rows = 4 inches in stockinette, using size 1 needles in the round.
Finished Measurements:
9.25 inches from wristband to pointed tip, 4.3 inches wide. Thumbs are about 2.4 inches long.
Pattern technique:
Wrapping: In traditional fair isle knitting, one only carries the unused yarn color behind the knitted work for a few stitches. There are a couple of spots where this pattern requires you to carry the unused color behind the knitted work for longer stretches. This can create long “floats" of unused yarn behind your work. Long floats, when incorrectly handled, can screw up your tension causing the fabric to buckle, and can get caught on your fingers (yuck). We will avoid having dangling floats by using a wrapping method. When to use the wrapping method: whenever a float is going to be more than about 4-6 stitches long. (this is more often than I would suggest for other items, because these are mittens) When done carefully, there is no show-through of the unused color. How to create the wrap: put your right-hand needle into the next stitch as if to knit. Wrap the unused color once over the used color, then knit the stitch color as normal. Tug the unused "wrapped" yarn gently up toward the top and right-hand side of the work. What direction do I wrap the yarn? The wrap works best if you bring the yarn over the top of the used color. Increase: in this pattern, increases are made by knitting one stitch through the front and back loop. To do it: knit into the front loop as normal, but do not slip the stitch from the left needle. Working into the back loop of the same stitch, insert the right-hand needle from front to back through the back loop of the stitch on the left-hand needle. Knit through the stitch and then slip the stitches (you know have 2) onto the right hand needle.
Abbreviations:
CO Cast on DEC decrease INC increase K Knit K2, P2- knit 2, purl 2 K2TOG- knit 2 together P purl PM- place mark SI slip SSK slip, slip, knit St Stitch PM place mark
Directions for Mittens:
Using size 0 needles and color 1 (red), CO 36 stitches. PM, CO 36 stitches (72 total). Join, being careful not to twist. PM for beginning/end of round. Work 1.25 inches in K2P2 ribbing. Increase Row: switching to size 1 needles as you go, k all stitches, increasing 16 stitches evenly around. ( inc 1 st every 4 to 5 sts- check to be sure that PM continue to accurately mark 12 the stitches, adjust if necessary.) total 88 stitches. Join color 2(cream). Using color 2, k one round. Using color 1, k one round. Using color 2, k oneround. Shift your stitches so that the entire front of the mitten (44 stitches for the gnome chart) is on one needle. Divide the back of the mitten over two needles. Work evenly in front gnome chart and back pattern chart for 33 rounds Note: the allover back pattern is not perfectly symmetrical. There is one more stitch on the left edge than the right.
Shape thumb gusset:
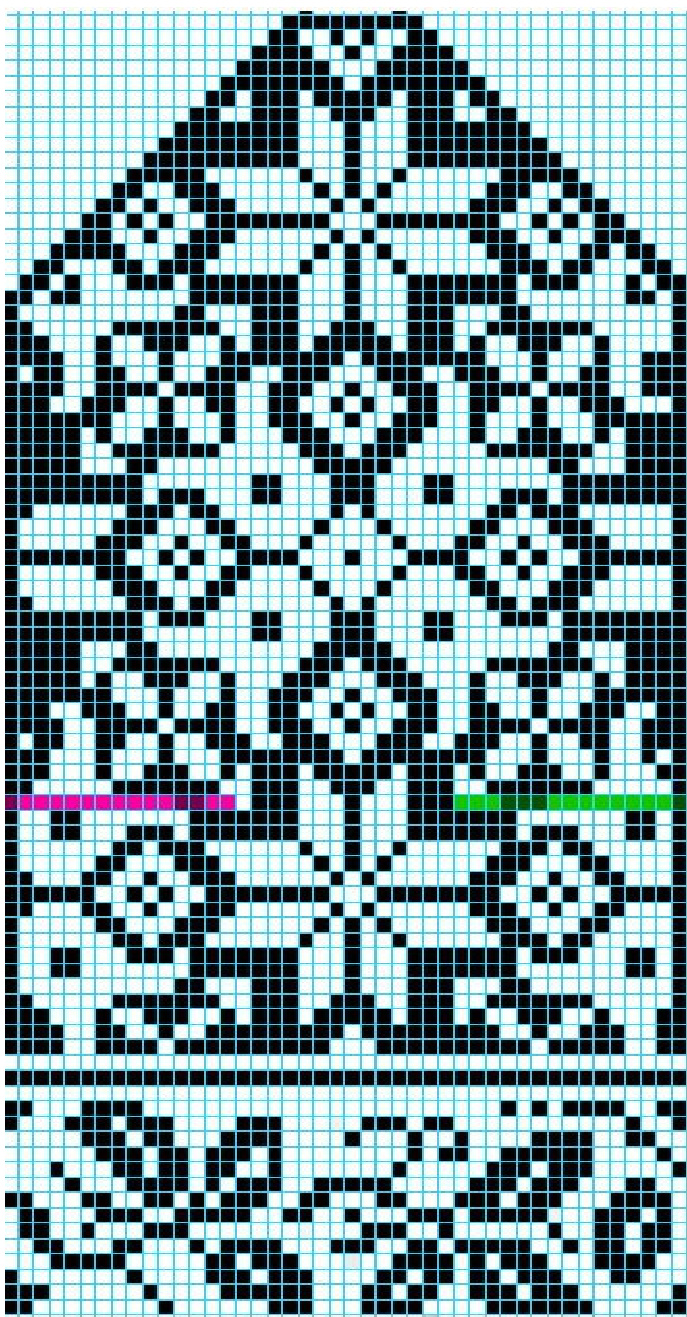
(try on the mitten! If you need to move the placement of the thumb, you can do so by shaping the gusset either sooner [lower thumb] or later [higher thumb].) Left Mitten: work across front of mitten. Work 29 stitches of back panel SL next 15 st (not yet worked) onto a stitch holder. The slipped stitches for the left mitten are indicated by the pink line on the chart. Using both colors together, snugly CO 15 stitches. (you could also use a provisional cast-on here, but I actually don't like it as much. Whatever you prefer!) Right Mitten: Work across front of mitten. SL next 15 st (not yet worked) onto a stitch holder (slipped stitches for the right mitten are indicated by the green line). Using both colors together, CO 15 stitches. Work the remaining stitches in the row. Is: after casting on, join and continue working in charts as establisher Instructions for Decrease Rows:
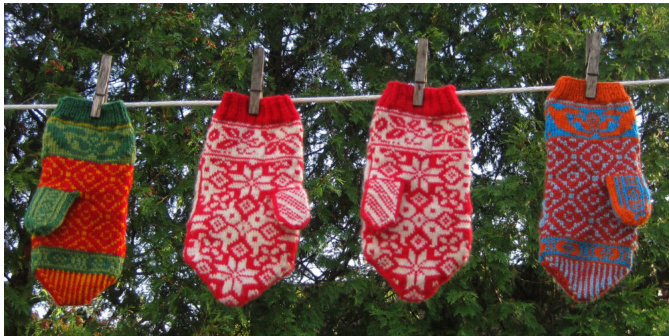
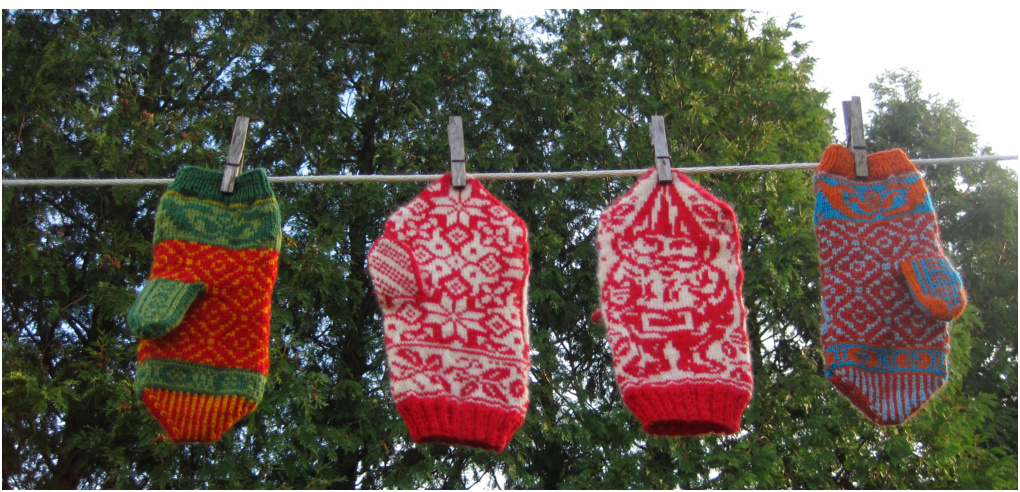
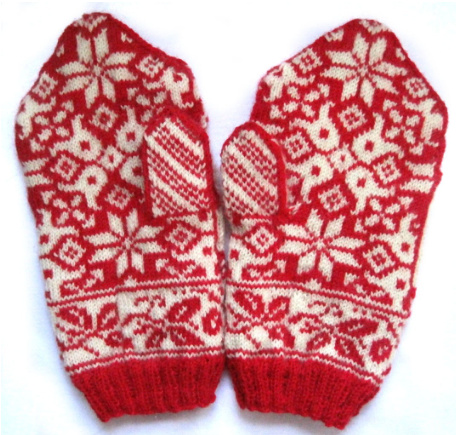
Work mitten top/decreases: following the chart for the top of the mitten, dec every row as follows: k2tog, k to 2 stitches from marker, ssk, sl marker, k2tog, knit to 2 stitches from marker, ssk. (dec of 4 stitches) When you have finished working the mitten, shift stitches on the back of the mitten onto one needle, so that all the front stitches are on one needle and all the back stitches are on one needle. Join using kitchener stitch. Thumb: using size 1 needles and color one: slip stitches on holder onto needle. Pick up 15 more stitches around (30 stitches). Join. Shift all stitches of the thumb front onto one needle, divide the thumb back over two needles. Work thumb chart. Thumb decreases: following the chart for the top of the thumb, dec every row as follows: k2tog, k to 2 stitches from marker, ssk, sl marker, k2tog, knit to 2 stitches from marker, ssk, (dec of 4 stitches) shift stitches on the back of the thumb onto one needle, so that all the front stitches are on one needle and all the back stitches are on one needle. Join using kitchener stitch. Weave in any ends. (note- the other mittens seen in the photos are the “Kitsune Mittens")

Charts: