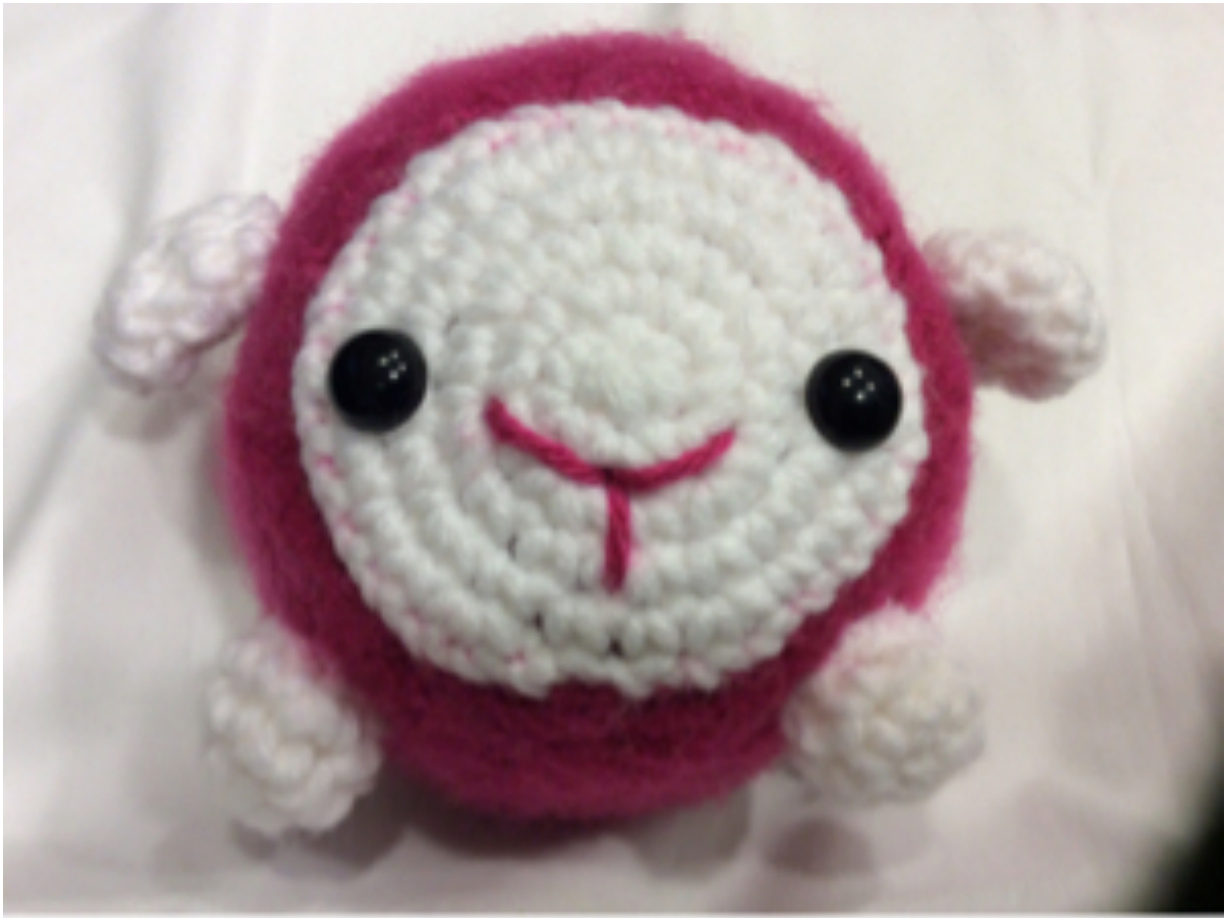
Little Lambie Stuffie:
Notes:
\*for areas worked in the round, do not join unless it is noted otherwise \*Place a stitch marker at the beginning of the round and move the marker up as each round iscompleted \*Make colour changes by switching to the new colour in the last yarn over of the last stitchof the old colour \*Chain 1 at the beginning of the row does not count as a stitch unless otherwise stated \*this pattern is written using standard US crochet terms \*finished piece is approximately 4" x 4"
Abbreviations used:
MR - magic ring or circle Sc - single crochet 2sc - make 2 single crochet stitches in one stitch - increase Sc2tog - turning 2 single crochet stitches into one - decrease Sk - skip a stitch \*to\* - means to repeat the directions inside the stars as directed - usually to the end of the round Ch - chain SI St - slip stitch St - stitch
Supplies needed:
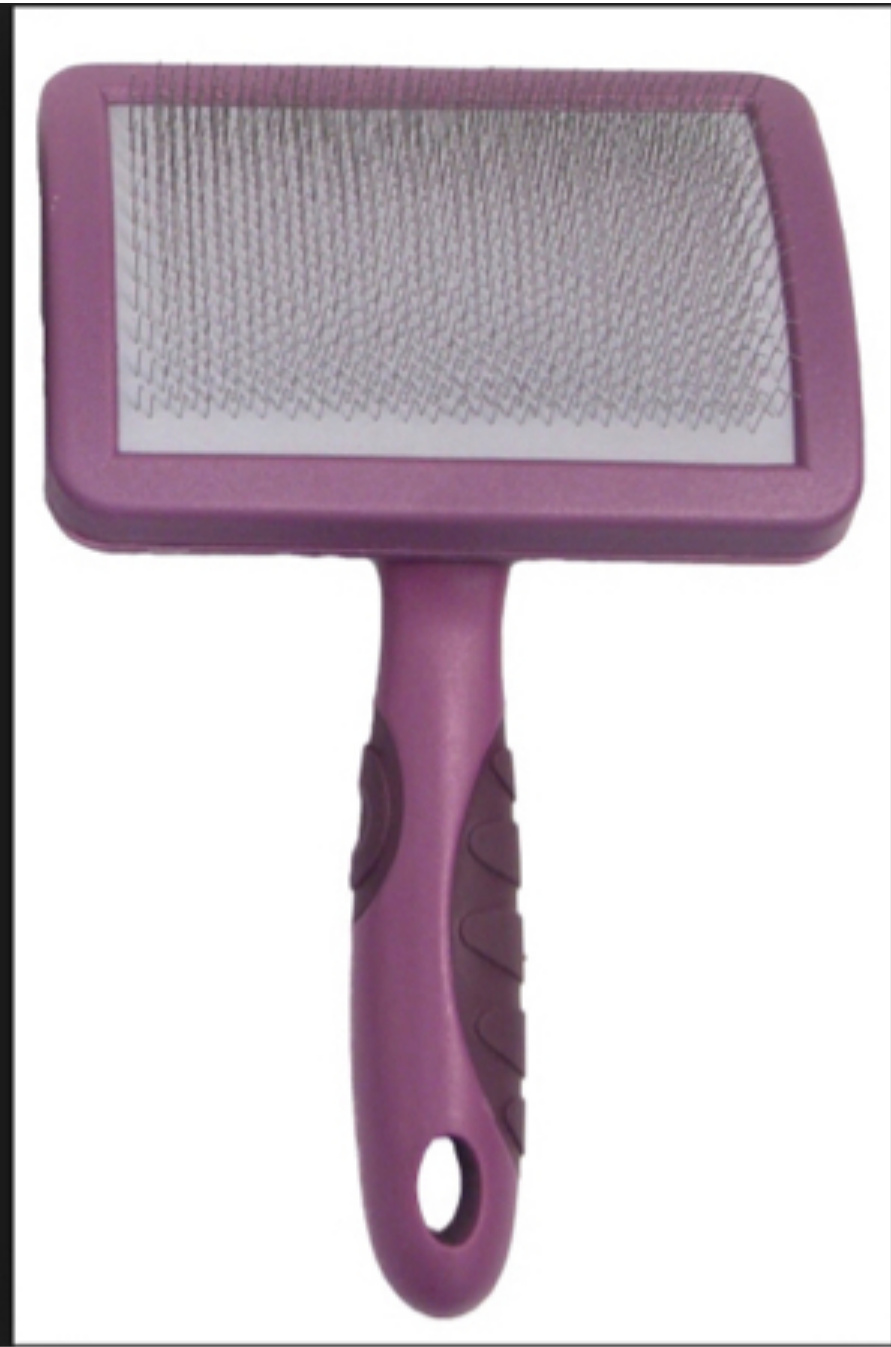
Red heart super saver : white (small amount) Vannas choice : dusty rose (small amount) 1 pair of 12 mm safety eyes 4 mm crochet hook Polyester stuffing Cat brush (see picture below :) Straight pins - used to pin your pieces in place before sewing Stitch markers
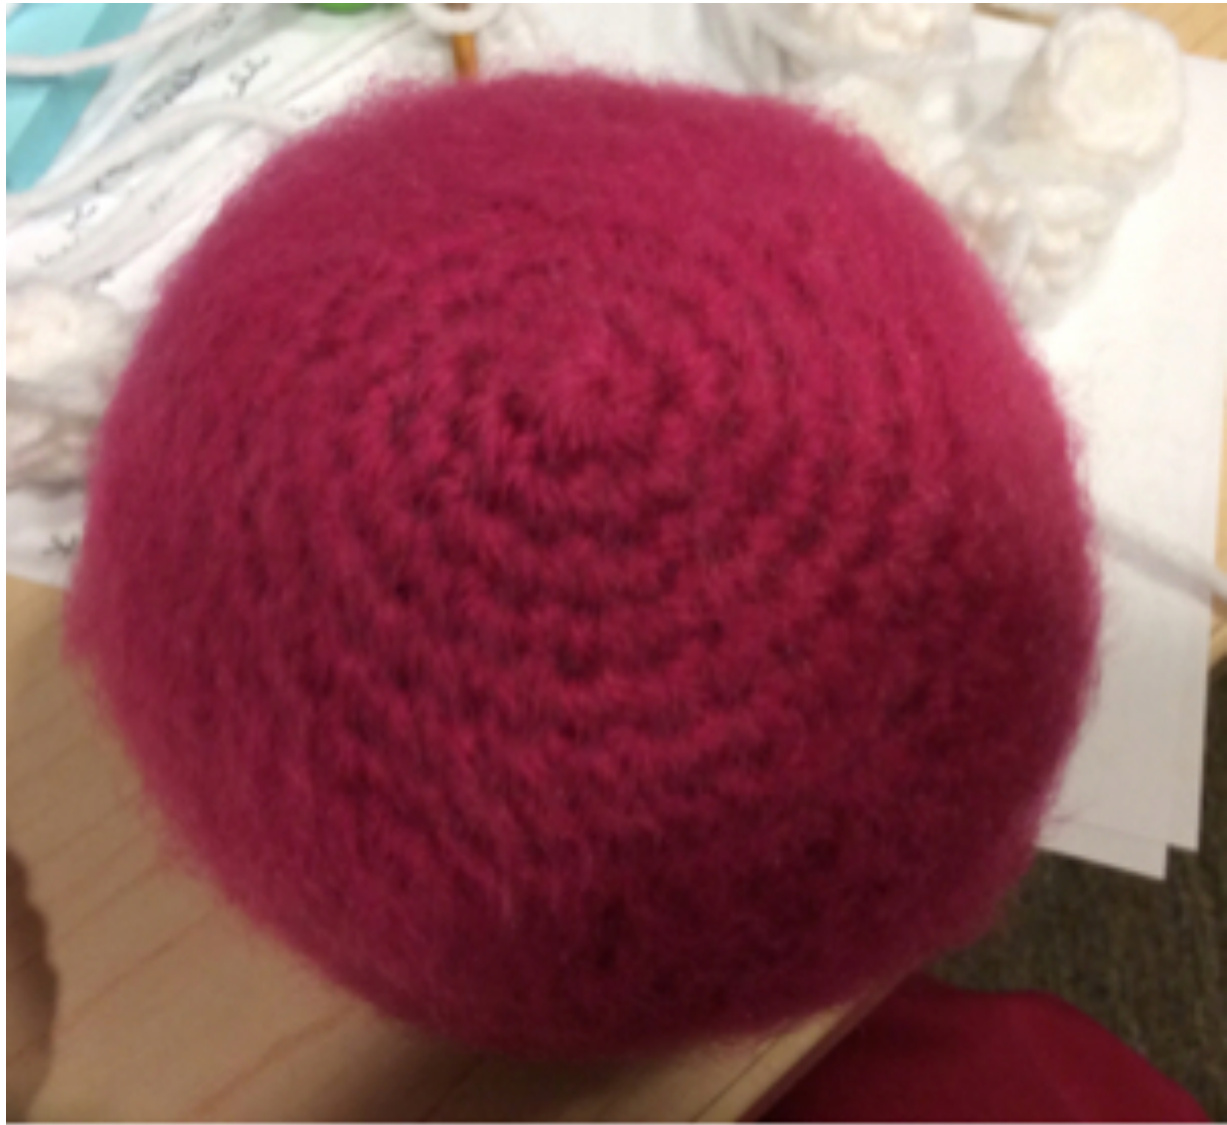
Body - dusty rose 1) MR - 6sc in the loop (6 St) 2) 2sc in each St (12 St) 3) \*sc in the next St, 2sc in the next st\* repeat \*to\* all around (18 St) 4) \*sc in the next 2 St, 2sc in the next st\* repeat \*to\* all around (24 St) 5) \*sc in the next 3 St, 2sc in the next st\* repeat \*to\* all around (30 St) 6) \*sc in the next 4 St, 2sc in the next st\* repeat \*to\* all around (36 St) 7) \*sc in the next 5 St, 2sc in the next st\* repeat \*to\* all around (42 St) 8) \*sc in the next 6 St, 2sc in the next st\* repeat \*to\* all around (48 St) 9 to 16) sc in each St around (48 St) 17) \*sc in the next 6 St, sc2tog in the next st\* repeat \*to\* all around (42 St) 18) \*sc in the next 5 St, sc2tog in the next st\* repeat \*to\* all around (36 St) 19) \*sc in the next 4 St, sc2tog in the next st\* repeat \*to\* all around (30 St) start stuffing and continue as work progresses 20) \*sc in the next 3 St, sc2tog in the next st\* repeat \*to\* all around (24 St) 21) \*sc in the next 2 St, sc2tog in the next st\* repeat \*to\* all around (18 St) 22) \*sc in the next St, sc2tog in the next st\* repeat \*to\* all around (12 St) 23) sc2tog all around (6 St) Fasten off and weave in the ends - this is the back of the head Using your cat brush start brushing the yarn , and keep going u till you are pleased with the fluffy factor , if you haven't done this before , do not be too aggressive , because you don't want to pull the stuffing out as your brushing :) Body after brushing :
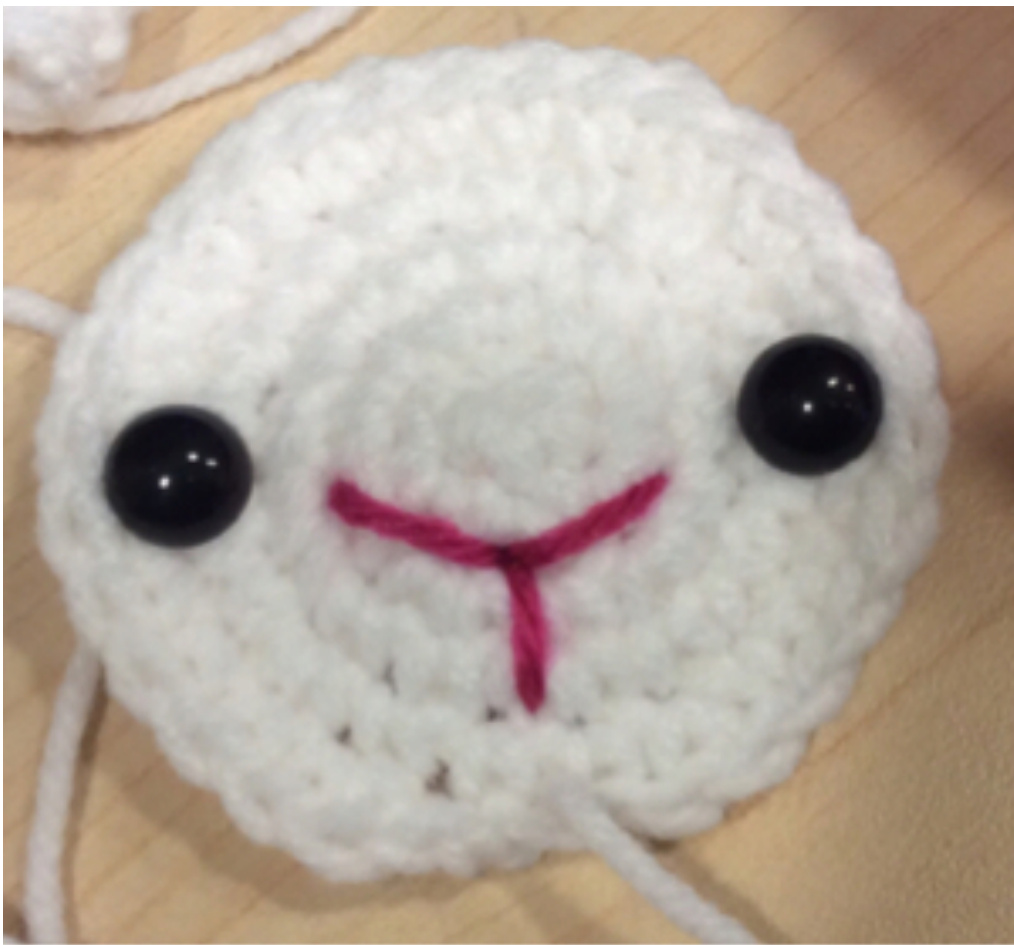
Face panel - using white 1)MR - 6sc in the loop 2) 2sc in each St (12 St) 3) \*sc in the next St, 2sc in the next St\* repeat \*to\* all around (18 st) 4) \*sc in the next 2 St, 2sc in the next st\* repeat \*to\* all around (24 st) 5) \*sc in the next 3 St, 2sc in the next st\* repeat \*to\* all around (30 St) Fasten off leaving a long tail to sew to the front of the body \*insert the safety eyes between rounds 4 and 5 - I inserted mine so they would be even with the magic ring or circle \* using the yarn that you used for the body , embroider or stitch the nose and mouth Showing you the placement of the eyes and mouth:
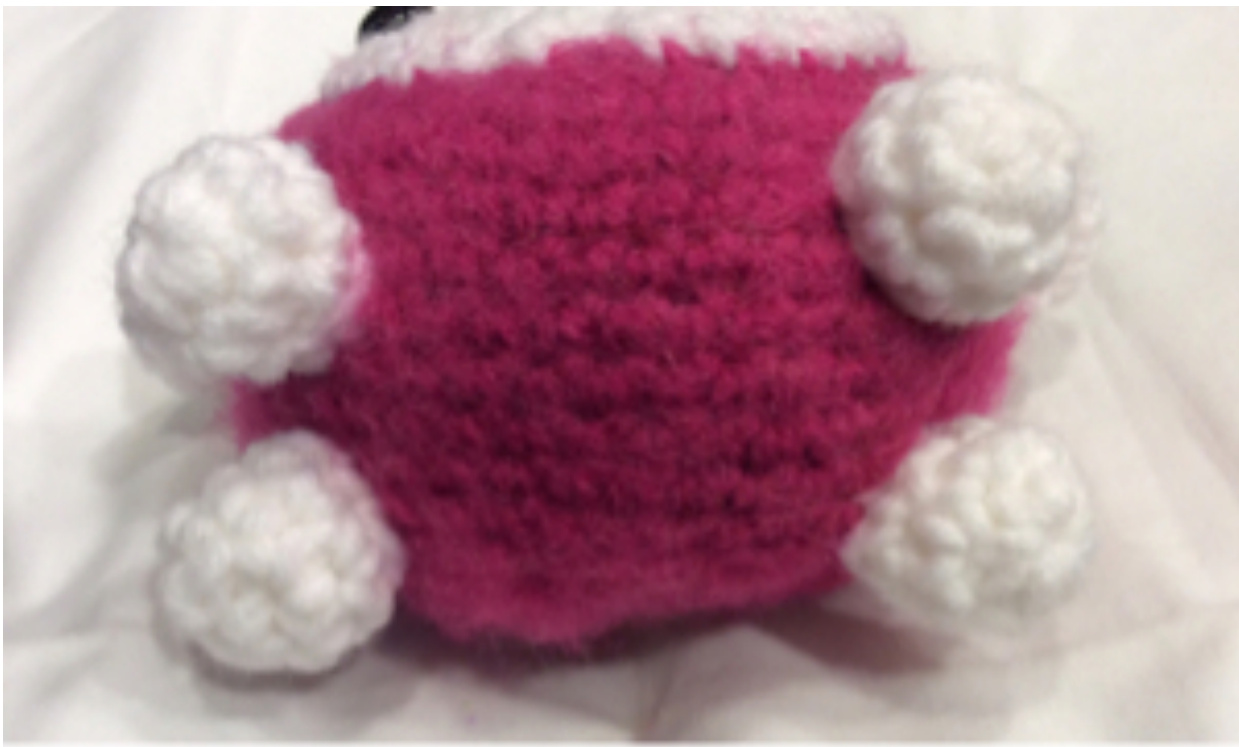
Feet make 4 - using white yarn 1) MR - 8 sc in the loop (8 St) 2 and 3) sc in each St around (8 St) Fasten off , leaving a long tail to sew to the underside of the body - stuff firmly Feet placement:
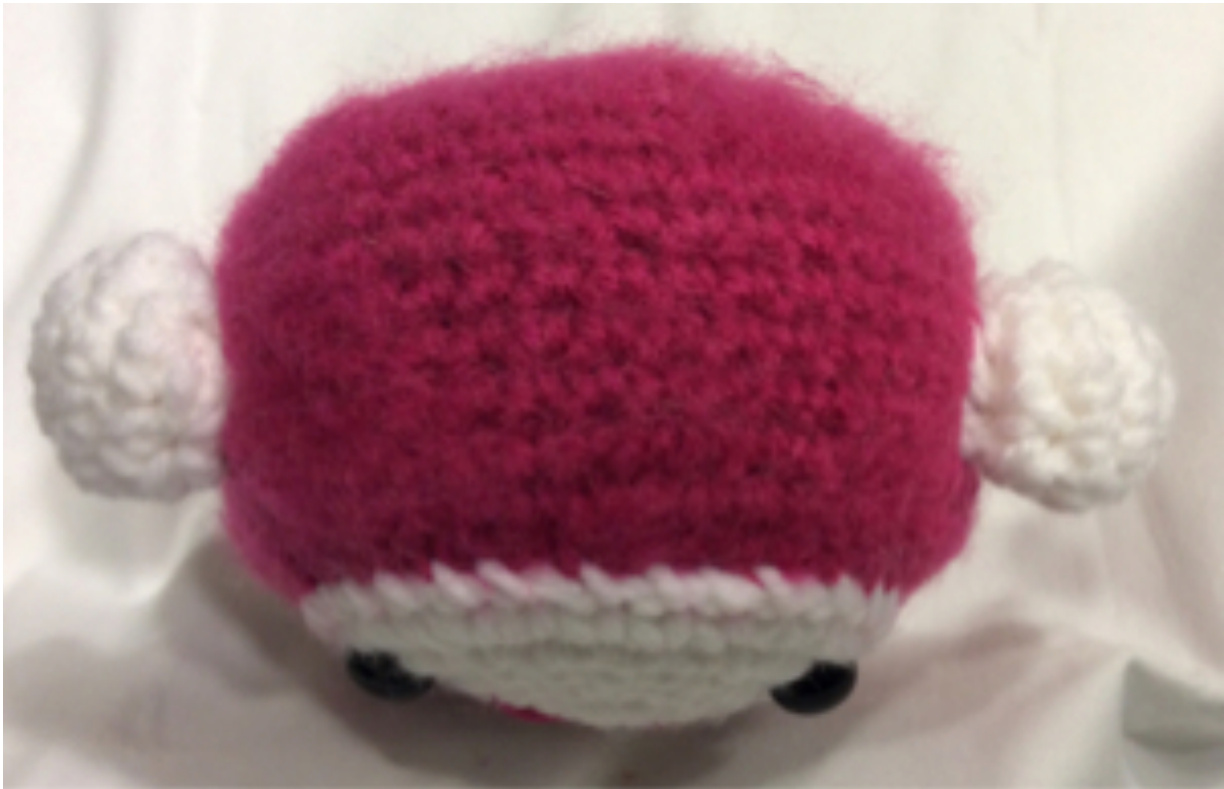
Ears - make 2 using white yarn 1) MR - 6 sc in the loop 2) 2sc in each St around (12 St) 3) sc in each St around (12 St) Do not stuff the ears - fasten off leaving a long length to sew to the sides of the body - flatten and attach them approximately 3 rounds away from the face panel Top view of the head - showing placement of the ears
Tada your little Lambie should be complete :) I hope you enjoyed making it and that the recipient enjoys it. If you should have any questions, please feel free to send me an email at the addressbelow:
The usual copyright conditions apply and yes you can sell your finished items You can find more of my patterns at the following links : http://www.ravelry.com/designers/lisa-kingsley https://www.etsy.com/ca/shop/Teddywings I also have a Facebook page if you are interested :) https://www.faceb0ok.com/pages/Lisa-Kingsley-Designs/830393556987932


