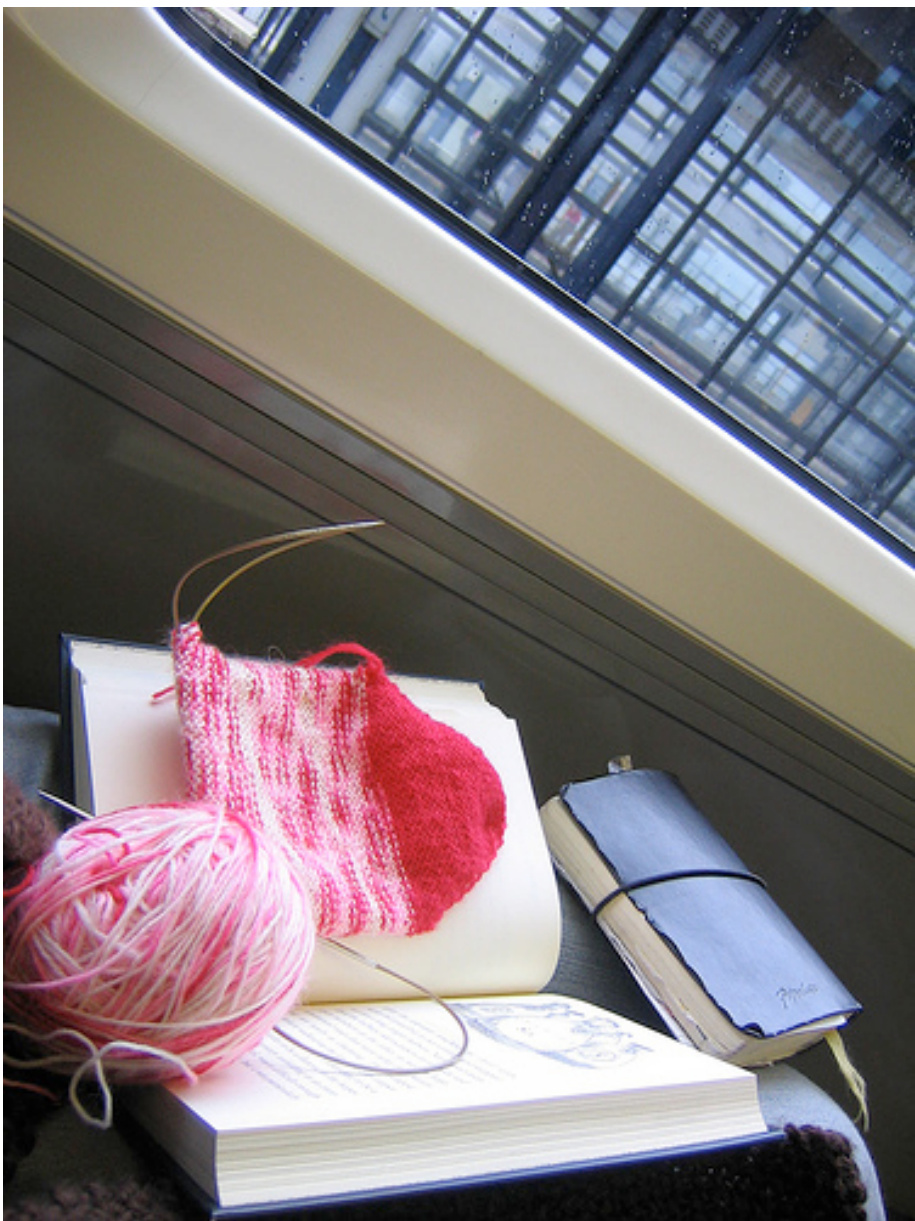
A guide to heels on toe-up socks
I was shocked recently to discover that many knitters, even very experienced ones, were under the impression that short rows were the only way to heel a toe-up sock.
How very wrong they are. Toe-ups are simply upsidedown versions of traditional cuffdown socks. And just as you can re-jig a jumper pattern to work top down rather than hip to neck, you can play most sock designs both ways too. As with any pattern modifications, there is the challenge of a bit of geometry and arithmetic to be worked out first. But don't worry because other knitters have got there first and done it for you. This article will outline the variety of heel options for the toe-up sock knitter before providing a very simple recipe for a toe-up fully-flapped heel. Please note the article talks exclusively about heels worked after completing the foot and before starting on the cuff of the sock. “Afterthought” heels, those so neatly replaceable ones knitted after the rest of the sock has been completed, are a whole other business.
Short row vs flap
Classically toe-up patterns utilise the short-row. Here, about an inch and a half from the end of the foot, you'll knit only to the last stitch of the round. Then you turn and work back to the other side of the sole, again leaving the last stitch. You continue like this, leaving a stitch at the end of each row to make a little triangle. You stop when you are left with about a third of the stitches in play, blunting the point of the triangle, and start working back, gradually bringing back into play all the stitches you left behind. If you avoid short rows simply because you find them a pain to knit, you might just be employing a short-row style that doesn't suit you. What do you mean you thought "Wendy's toe-up" pattern was the only way to do it? Sock designer extraordinaire, Lucy Neatby, is a fan of the no-wrap short row, which is sometimes also known as "Japanese short rows". Helpful knit-bogger Nona has produced a great tutorial on this - you'll find a link to it at the end of this article. However, we are seeing more and more toe-up patterns utilising flaps. These start around the same time as a short row, but work a set of increases on the sole half of stitches, before working a small "heel extension" (patch of fabric under the foot). The heel extension is worked back and forth rather than in the round, for only a few rows, then stitches are picked up either side of it and finally we gradually decrease back to the original number of stitches. It sounds complex put like that, but many knitters claim flaps are a lot simpler than short-rowing. The toe-up version of the infamous Jaywalker pattern utilises the heel from Judy Gibson's “you're putting me on" socks. This is an excellent design, and the wonderfully helpful Judy has provided charts to apply it whatever the gage and size of foot. If you prefer a dutch (that's a slightly squared) heel I'd recommend the version on the sockknitter's site cited below. For me, this is possibly a contender with short rows in the fun-to-knit stakes and the instructions she gives are applicable to any foot and gage. You can also see Widdershins and Baudelaire in the recent Knitty extremities issue for applications of other toe-up flappy heels.
The “right" heel (for you, for your foot, for your design...)
As already stated, my heel of choice is always the short row. For me (and I must stress how individual all of this is) it wins on three key criteria - look, fit and pleasure to knit. But despite my love of the short-row, there are occasions where I think the look of the flap suits a stitch pattern better. Take, for example, Knitty's Pomatomus sock pattern. This employs a flap style heel which takes the twisted rib right down to the bottom of the sock, emphasising the flattering and elegant lines of the stitch pattern. A short row heel would cut these lines short and look plain stumpy. There are some flapped socks I think would benefit from the neat diamond wedge of shortrow. You can chop and change all sort with socks. Indeed, I've heard knitters claim there is no such thing as a pattern for socks, just an “identikit" process of mixing a stitch pattern with toe and heel choices. Now, I'm all for the EZ attitude of making a pattern your own, but statements like this are rubbish. Like any of the “identikit" processes that might go on in constructing a knitted garment, there are questions of how well all the parts go together (be they yarn, gage, design, choice of toe, heel, cast on, bind off...) not to mention a whole load of maths, and if someone else has done that for you, all the better. Simply choosing flap or short-row isn't the only issue to consider. Playing with different widths and sizes within the heel will help you achieve the most comfortable and flattering fit, the best look relative to the stitch pattern and yarn and can improve the experience of knitting. How wide do you want the heel? How “pointy" do you want the end? Any heel is traditionally knitted over half the total number of stitches and brought into roughly one sixth of them (less sometimes for flaps). But there is nothing to say you stick to this; how well it works depends on the shape of the foot the sock is being made for. You should also consider how to knit the section at the back of the ankle (on flap heels, the flap). This area gets a lot of ware and accordingly sock knitters often reinforce this with a slightly stronger stitch. The most common is “heell stitch" which slips every other stitch of right side rows. This also has the effect of narrowing the flap, and with it the heel. You can put ribbing, heel stitch or other on short row heels, just start as you work the second half of the heel. But they can look and feel a bit weird (again, this is personal opinion - try it for yourself!). Most toe-up heel recipes tend to tell you to start either the gusset increases (for flaps) or short-rows (for, er, short-rows) about an inch and a half before the end of the foot. Normally, this works fine. With the small gage most socks are knitted on, what's a row or two extra between friends if it's needed to achieve the width of the heel. It tends to get evened out with the stretch around the foot anyway. But if you really want a perfect fit then I suggest you look through the way you are going to do your heel and work out exactly how many rows this will take. Divide this number by your row gage to work out how big this will exactly be (it will probably around an inch and a half...) and start the gusset increases/ short rows that far from the end of the foot.
Recipe for a (rounded) toe up flap
I want to give a very simple recipe for working a flap heel on any sock, without the need for complex charts Judy's “your putting me on" uses. In some ways it is a combination of that and the dutch heel linked to below and produces a slightly wider heel than Judy's. I want to encourage knitters to discover the heel that suits their own feet, and hope this overview is simple enough to communicate the “logic" of the tow-up flap heel. Think of what follows more as a canvas rather than a strict pattern. You will need to know your gage per centimetre. There is some (simple) maths coming, and centimetres make that so much easier. Working in base 10 means you can use your toes to count, wriggling them will help keep them warm until you've knitted the socks. Once you've worked out how many stitches the sock is going to be worked over (the circumference of your foot in cm times your st gage per cm) the really important number you will need is what is roughly one sixth of this? It doesn't have to be exact and it doesn't have to be even, but roughly a 6th the total number of sts is an important number, you'll probably have already used it in working the toe. I call it the magic sock number, and but we'll refer to her as M\* from now on. Work it out and remember it. My example sock was 36sts in circumference, so the M\* was 6. You start with some gusset increases. To do this, increase a stitch on the side of each end of the sock. If you are a magic-looper this will be at either side of one needle, but dpn users splitting the sock over three or four needles might need to place stitch markers at the start and middle of the round. With a round starting on the sole side of the sock, work as follows: Kfb, k to last two stitches before the sm (or rather, because I'm using magic loop, the end of my needle), kfb, k1, k to end of round. Knit one round plain. This gives you a neat, hole-free and symmetrical increase. Repeat these last two rounds until you have the size you want. What this size is, i.e. how many increase rows to do, is an important question. It relates to the width of your ankle and how long a flap you want to work (you get rid of these increases while knitting the flap). I suggest you increase by about 3cm on each side (that's your stitch gage in cm multiplied by roughly 3cm). My example sock has a gage of 2.4 sts/ cm and my feet are medium in width so I'm going to increase six times (12 sts added). Knit to the centre of the sole stitches, then half of M\* again. If M\* is an odd number, kfb in the centre of the sole to make your extra stitch. Turn. You will have left some stitches on the sole needle, make a note of this. My example sock had 9, we'll remember it as the mysterious Mr "x". If you are working magic loop you can just leave them where they are, but anyone using shorter dpns might want to hold them on another needle. P2tog and p back until there are "x" number of sts left on the needle (thus allowing you a heel worked in the centre of the sole). Turn, SSK, k to the p2tog. Turn, p2tog, p to the k2tog. Turn, SSK, k to the p2tog, and so on until you have the M\*of sts left in play. You should now have something that looks like a triangle with the top cropped off. Pick up M\* sts down the side of this triangle, if you twist the stitches (i.e. knit through back loop) it'll be neater with fewer holes. Slip the first st, purl back and then pick up M\* sts down the other side of the triangle. You are now going to knit the heel flap from the bottom up, incorporating one of the stitches left next to the heel with each row (remember the mysterious Mr "x"?) until you are back to the same number of stitches you started with and can go back to working in the round for the cuff. Slip the first st as if to knit and knit across to the last st, SSK. The second of the stitches you are SSK-ing will be from the Mr "x" held sts. If you want to work a special stitch on the heel, it is on this row that you should start. My example used heel stitch, so I after slipping the first stitch I k1, sl1 all the way to the end on all right-side rows. Turn, slip one, and purl back to last st, p2tog. Turn, sl1, k to last st, ssk it with the next of the “Mr X" sts. Continue back and forth like this until you are back to the number of stitches you started with. Now you can return to working in the round to finish the sock. As with short rows, you can help prevent holes on the sides of the heel by picking up a stitch at each side and knitting it together with the next one. I sometimes pick up a stitch several rows down, using a crochet hook to knit it up to the row I'm working.
Weblinks to other useful tutorials:
Judy Gibsons's "You're putting me on" sock pattern - http://tiajudy.com/soxform.htm Denise's Toe-up Dutch heel from sockknitters.com - http://www.socknitters.com/toe-up/lessonfour.htm Nona knit's Japanese short rows - http://nonaknits.typepad.com/nonaknits/2005/04/japanese_short_.html Wendy's toe up sock pattern (the classic on short rows) - http://wendyjohnson.net/blog/sockpattern.htm Author: A life-long Londoner, Alice learnt to knit when she got board of looking out the windows on the bus. Blog: http://slippedstitch.blogspot.com. Email: alicerosebell@gmail.com. Ravelry username: slippedstitch. Copy-right: Please note this pattern is published under a non-commercial unported license. You can share it (copy, distribute and transmit the wok), you can remix it (adapt away). But you must attribute it to me, and you may not use this work for commercial purposes. This includes selling yarn or classes that include this as 'free', and selling items applying the pattern.


