sublime sandals
by Lindsay Tabsh duckabroad.blogspot.com I was admiring all the new beautiful embellished shoes that are out walking around today. However, being on a budget, I didn't really want to spend extra money on shoes just because they had ruffles! But then I had an idea. I knit. So I designed this pattern...
Materials:
Yarn: Silky Malabrigo in Blackberry (less than 1 skein) Needles: Size US 5's Supplies: four 1/2" buttons, needle for sewing in ends Gauge: 5 stitches & 8 rows = 1"
Directions:
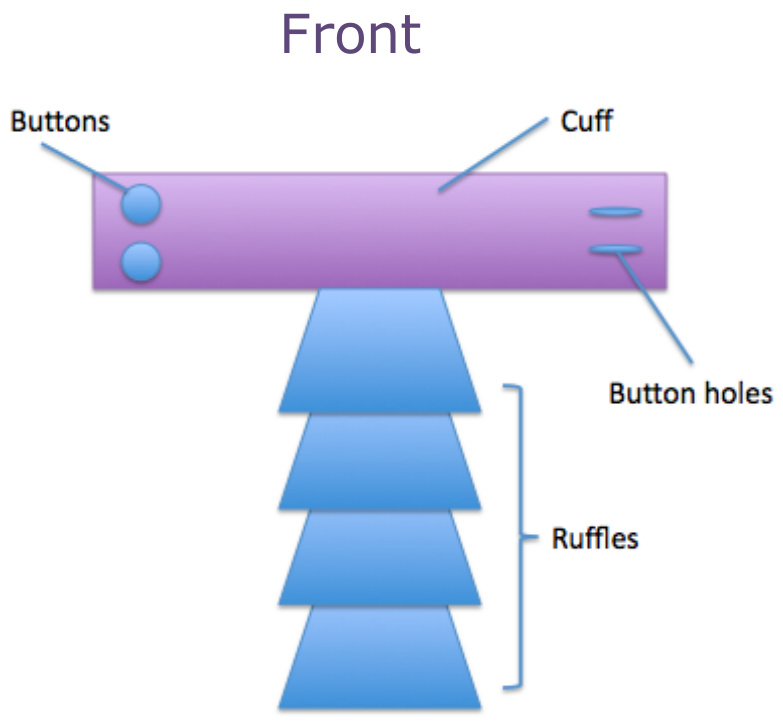
Right foot You will start by knitting a "T" where the top of the "T" will go around your ankle and the tail of the "T" should reach down to the beginning of your toes. Cast on 50 stitches. (this fit is for a 9.5" round ankle. you can increase/decrease the band in multiples of 2 stitches) Row 1: Knit (you will want to maintain St st for the entire piece Row 2: Purl Row 3: k2, yo, k2tog, k to end Maintain Stockinet stitch (St st) for 5 rows Row 6: k2, yo, k2tog, k to end St st for two rows Developed by Lindsay Tabsh BO 20 stitches purl-wise and then purl across the rest of the row (Make sure you adjust this number to account for any changes in the number of cast on stitches. You will want only 10 stitches remaining in the center, on the needles after thetwoBorows) BO 20 stitches knit-wise and knit across the 10 remaining stitches Knit in St st until the tail of the piece measures the length from the bend of your foot on the top to just before your toes (roughly 3.5 inches) BO 10 Adding the Ruffles: Pick up 10 stitches just below the cuff where the tail starts. Purl first row On first knit row: k f&B of every stitch and pick up the bar between the stitches (29 stitches)
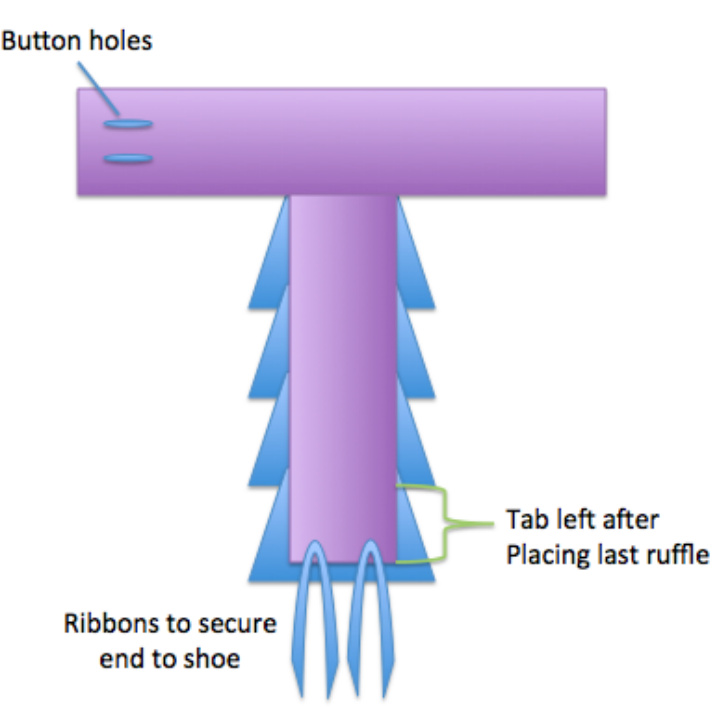
Maintain St st for 2 inches BO Repeat 3 times separating them evenly along the tail while leaving a 1-inch portion of the tail at the bottom. Repeat for the Left foot by following same directions only placing the buttonholes at the end of the rows instead of the beginning. Block out the shoe embellishers to prevent the edges from curling Attach the buttons on the bands to line up with the buttonholes Use one or two ribbons (depending on the shoes you want to attach them too) and pull one end between the stitches on each end of the 1" tab of the "T" you left at the toe and tie the ribbon to your shoe securely and tuck the ends under the straps. Then button the band aroundyour ankle.
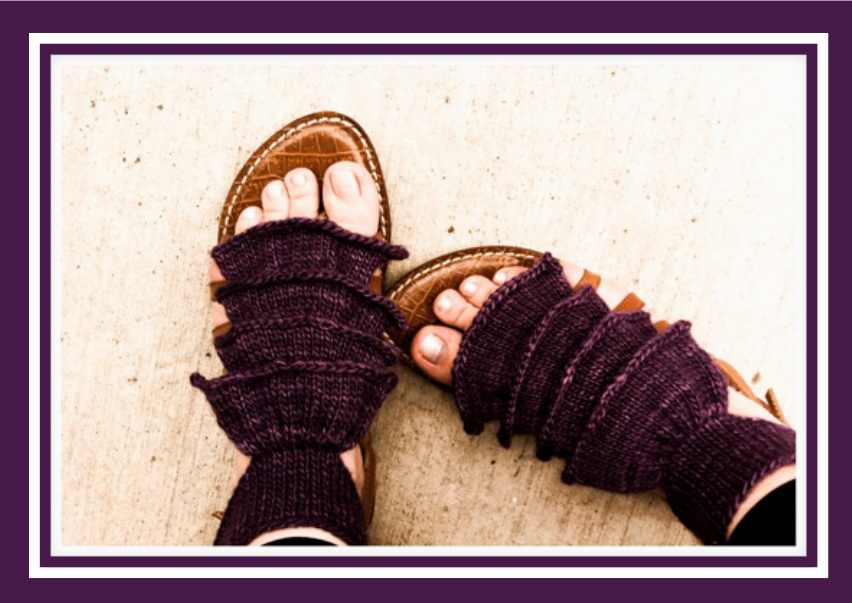
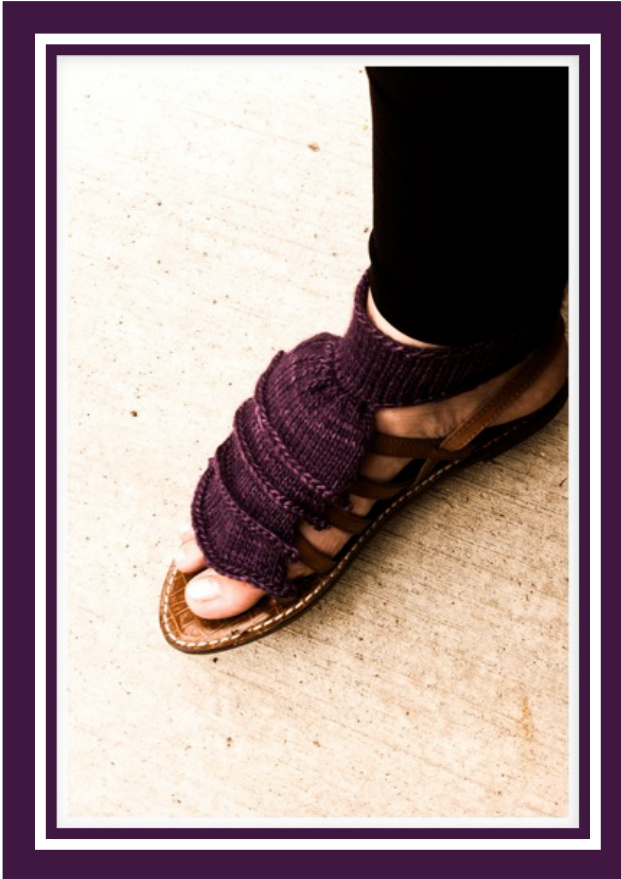
Your shoes have now been prettified!
Pattern and pictures @ Lindsay Tabsh 2010 - this pattern should not be used for the sale of any product or classes with out written explicit permission from the author knittingduck@hotmail .com