HEXAGON BABY BLANKET
Pattern by Charity Windham
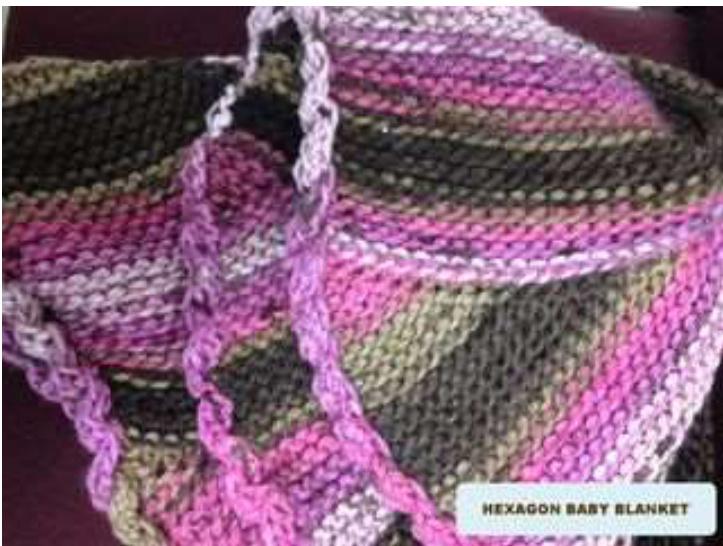
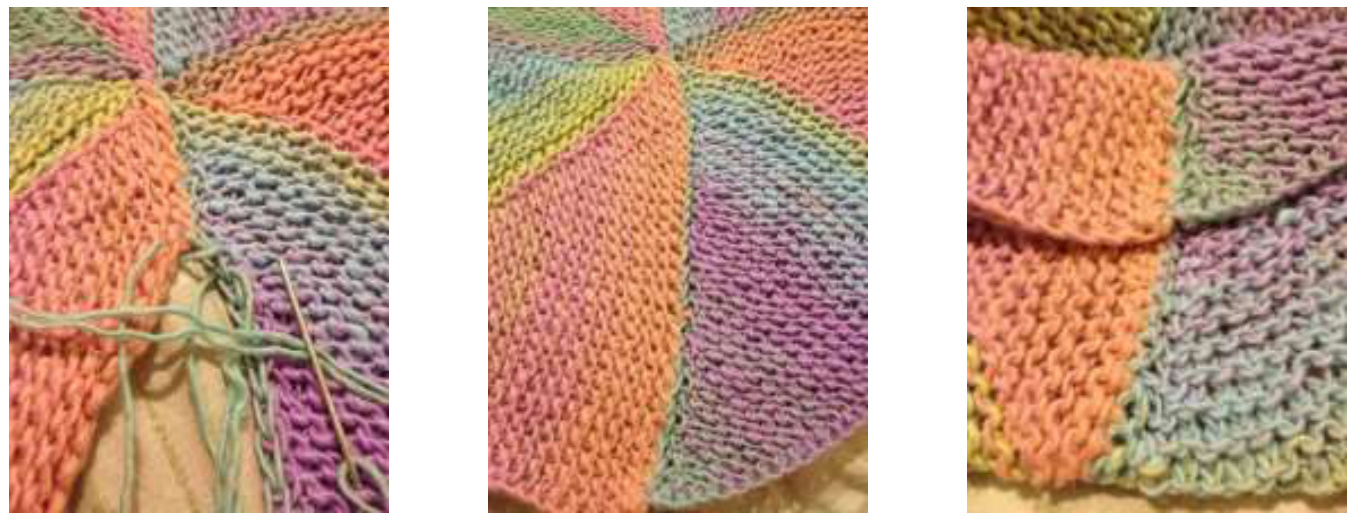
As I worked on a shawl pattern that included short rows to create a beautiful effect (the wingspan shawl for loom knitters by Renee Van Hoy), I was immediately taken with this technique and knew I wanted to create a baby blanket with this method. I am thrilled with the results.
MATERIALS
Large Gauge Knitting Loom: Large Gauge Loom with at least 36 number of pegs. ( Loops and Threads orange knitting loom was used in sample.) Yarn: 327 yards of Bulky #5 - OR - You can use 2 strands of Worsted Weight #4 held together and used as 1 strand. (4 skeins of Loops and Threads Charisma was used in sample.) Notions: Tapestry Needle, Knitting tool, crochet hook, stitch marker Gauge: Gauge is not critical to this project.
PATTERN NOTES:
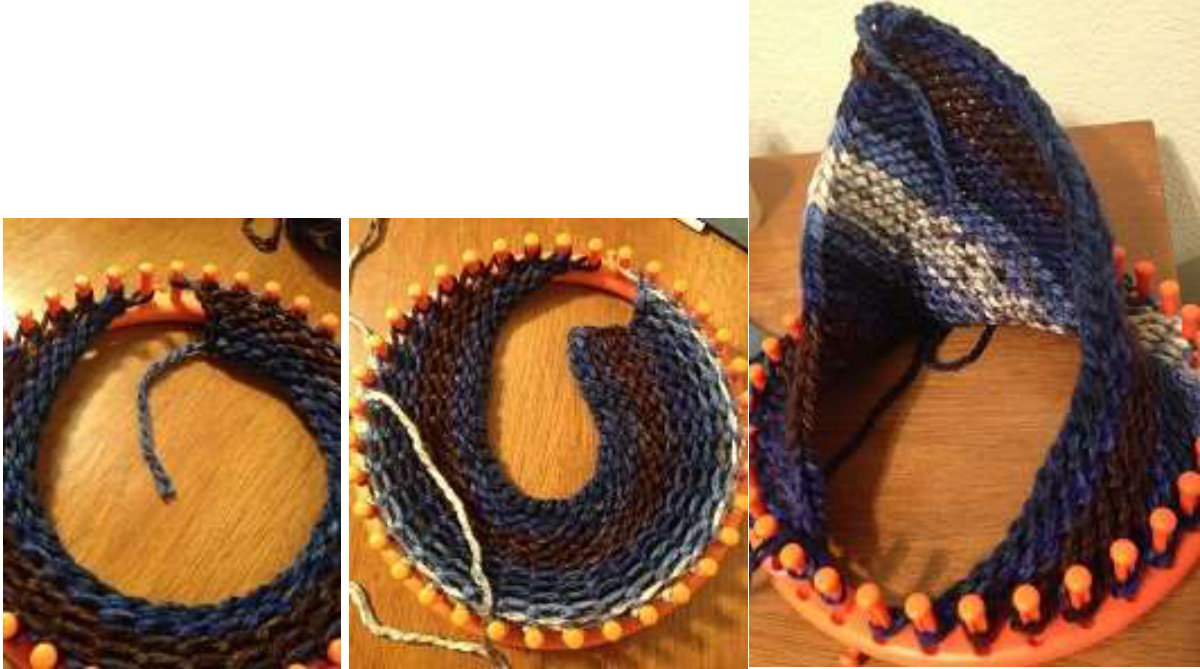
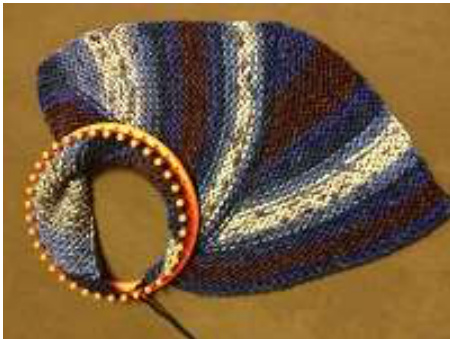
This pattern is made by using short rows to create wedges. You will make 6 wedges to complete the blanket. There are made in one continuous action, so the only "joining" needed is to connect the bind off andcast on edge. The blanket will have a beautiful clean edge with or without the pie crust edging. \*Although this technique will work on any loom with a minimum of 12 pegs - you may NoT end up with a hexagon (6 sided) shape. Some loom/yarn combinations will require additional wedges.
SIZE GUIDE:
When using the recommended yarn weights:
ABBREVIATIONS:
CO=CastOn K=E-wrap stitch P =Purl stitch HS = Half Stitch: The yarn is brought around the back of the peg to the front of the peg above the existing loop. The wrap stops in the front, half-way around the peg, so it is now ready to start the next row.
VIDEO LOOM ALONG:
Kristen at GoodKnitKisses has made a wonderful Loom Along video for this patter Hexagon Baby Blanket Loom Along DIRECTIONS: Place stitch marker on peg 2. CO: on peg 36 around to peg 1. This is the reverse of how you would normally cast on. You need your working yarn to be at peg 1 at the end of your cast on. WEDGE (this will be worked 6 times) Row 1: \*HS Peg 1 (do not knit off), Kto peg 35, HS peg 36 Row 2: skip end peg, P to marker (including peg that has the marker on it) Row 3: HS peg where marker is then move marker 1 peg to the right. Kto peg 35, HS peg : Row 4: skip end peg, P to marker (including peg that has the marker on it) Repeat row 3 and 4 until your marker has been moved to the very last peg. You will see your wedge beginning to form as you move along.
All pegs (except peg 36) should have 2 loops on them. Knit off all pegs, and move marker from peg 36 back to peg 2. Skip end peg, P to marker - skip this step on wedge 6. YOUHAVENOWCOMPLETEDWEDGE 1-CONGRATULATIONS \*NOTE: If you are making your wedges different colors, when beginning the new wedge, simply place the new color on wedge 1 with a slip knot instead of HS on peg 1\* Repeat wedge section until you have completed 6 wedges.
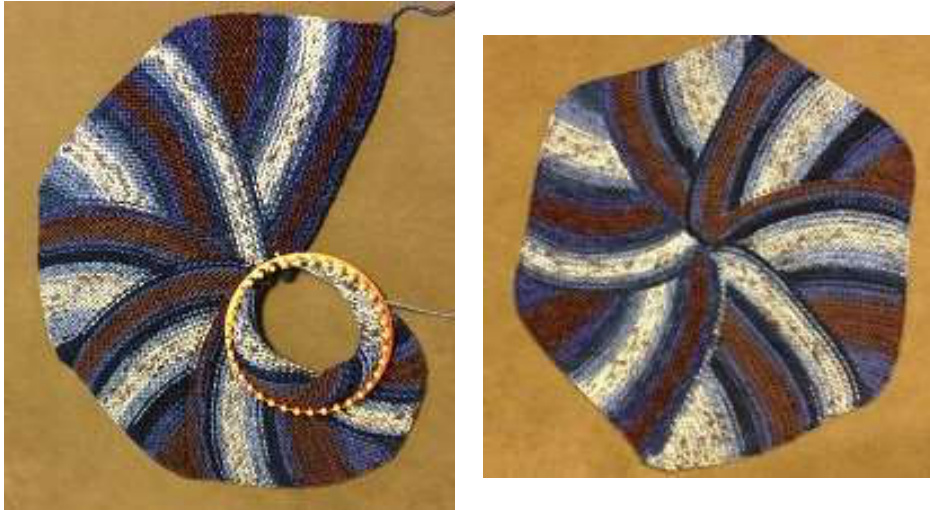
Once you have all 6 wedges completed, you can either bind off as shown in the video linked above (Russian Grafting) which creates a nearly invisible join. Kristen does a great job at teaching you how to do this technique. Another bind off option that works well is to do a basic bind off when you have completed wedge 6. Then seam cast on edge to bind off edge using a mattress stitch.
SUGGESTEDHELPFULVIDEOS
http://youtu.be/KjjiSzXno6g Mattress Stitch http://youtu.be/0y3kF tr4sU


