it's Paddy, not Patty!
Knit with wire and beads to create a brooch for St. Patrick's Day
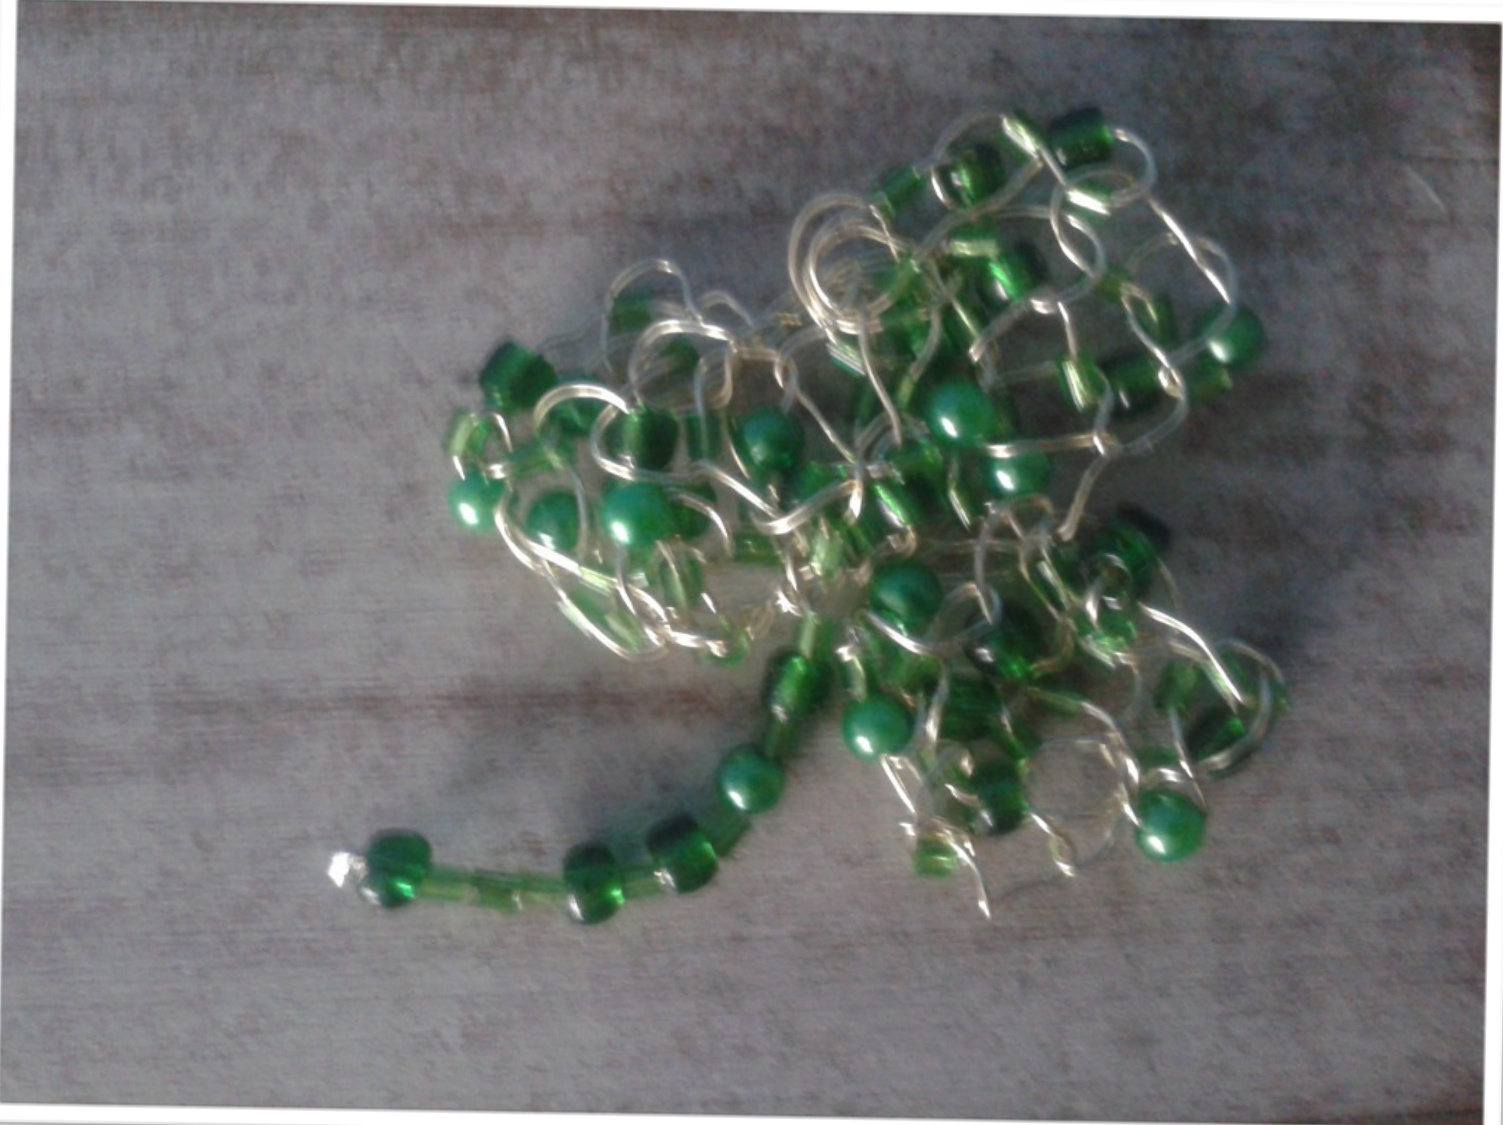
Knitting with Wire & Beads
You will need:
·0.5mm non-tarnishing wire (approx. 1.5 metres) ·4.5mm knitting needles ·8l seed beads ·1 crimping bead ·1 brooch pin ·wire cutters l) Select and organise your beads...
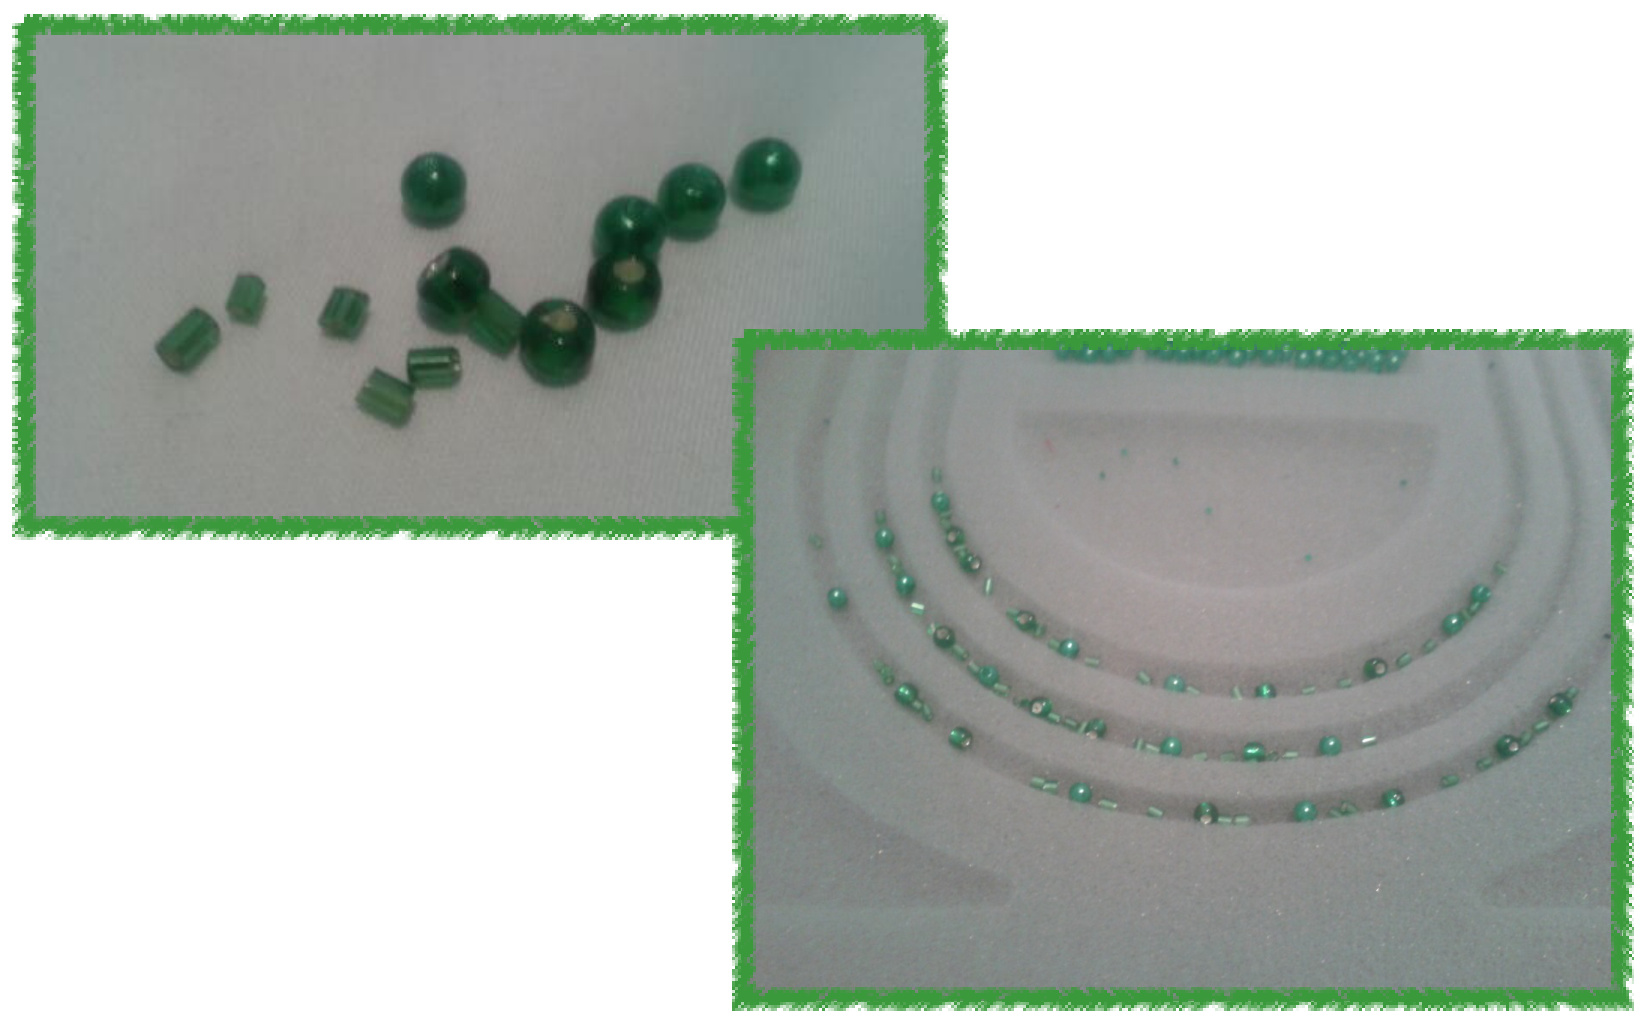
2) String beads onto the wire.
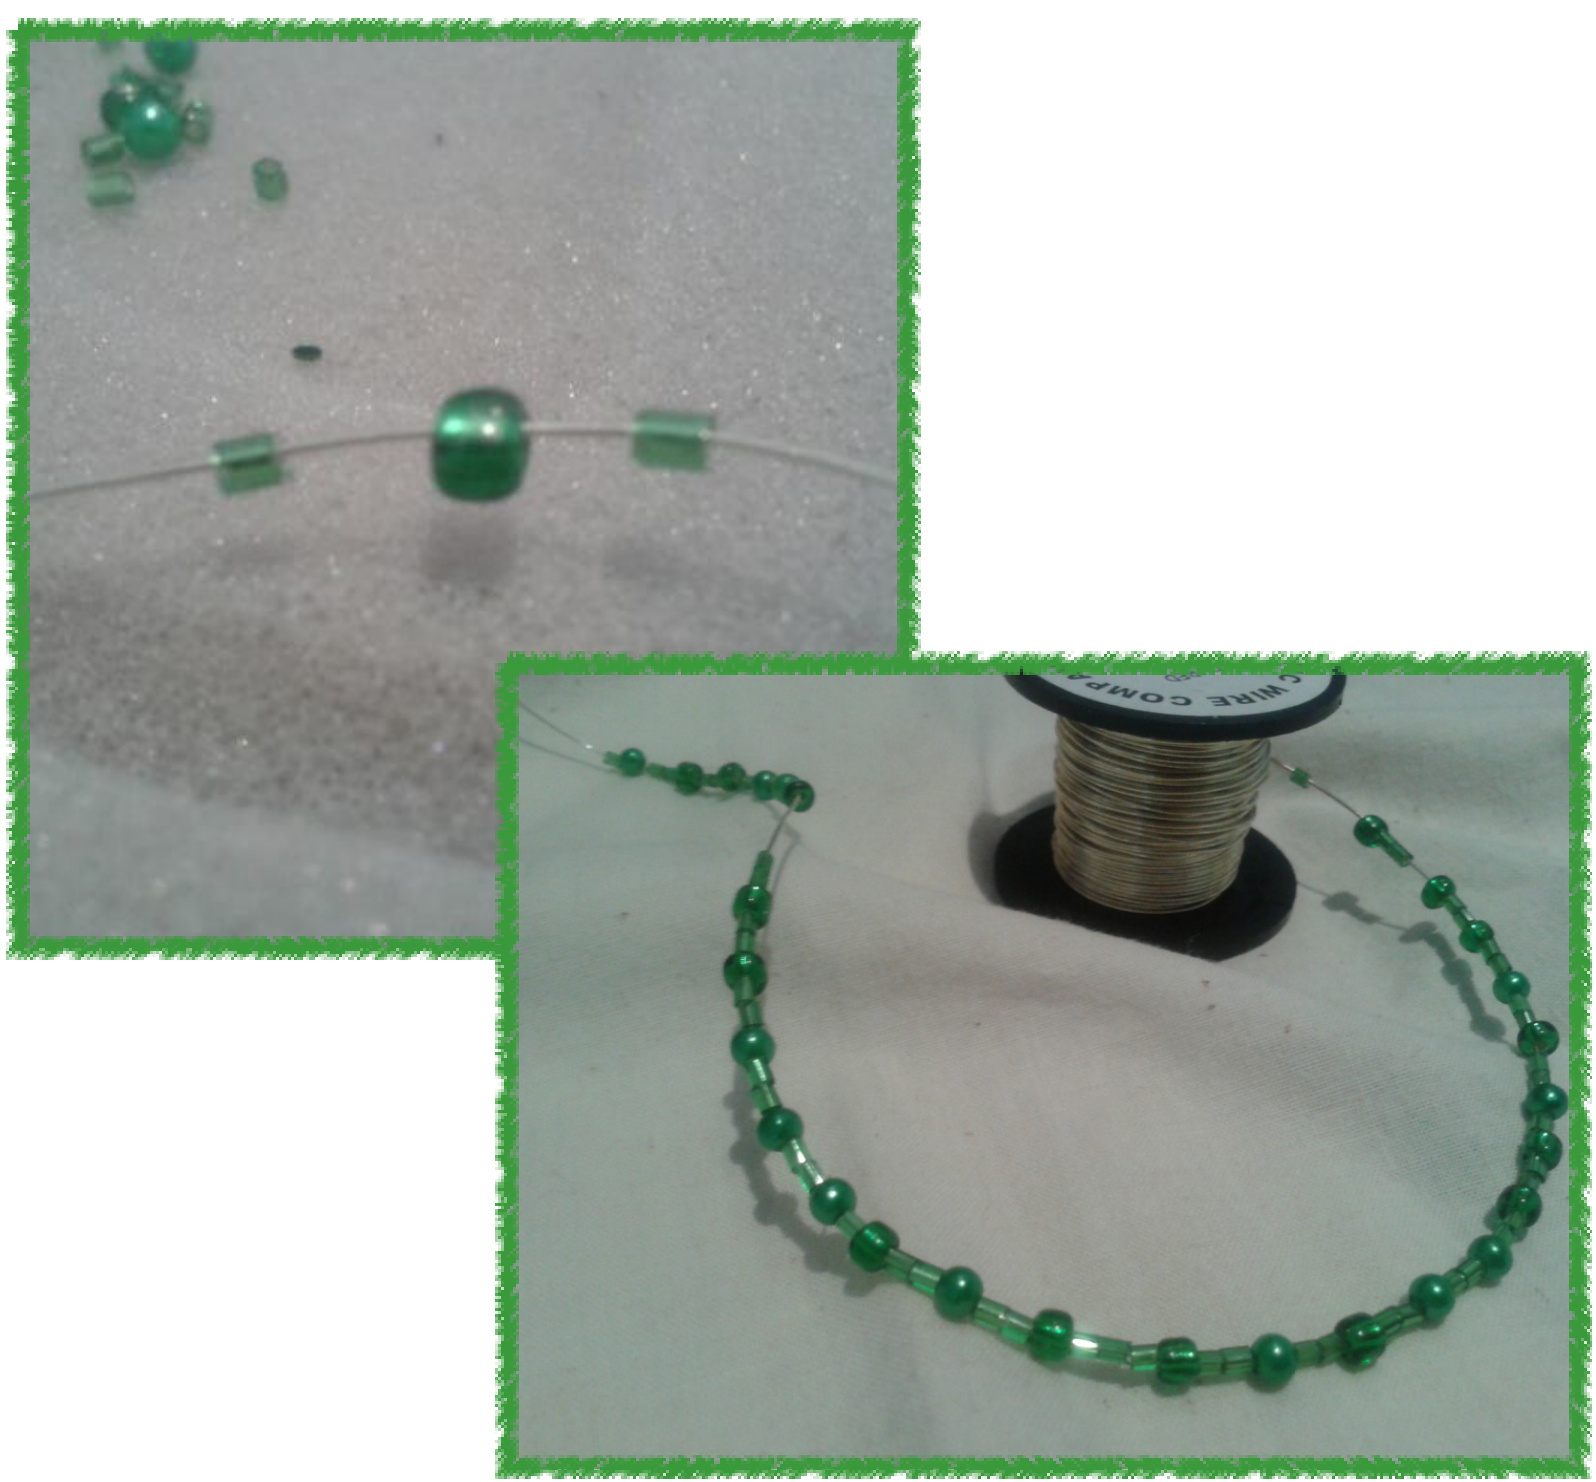
You are now ready to start knitting your shamrock.
Pattern with Photo Tutorial
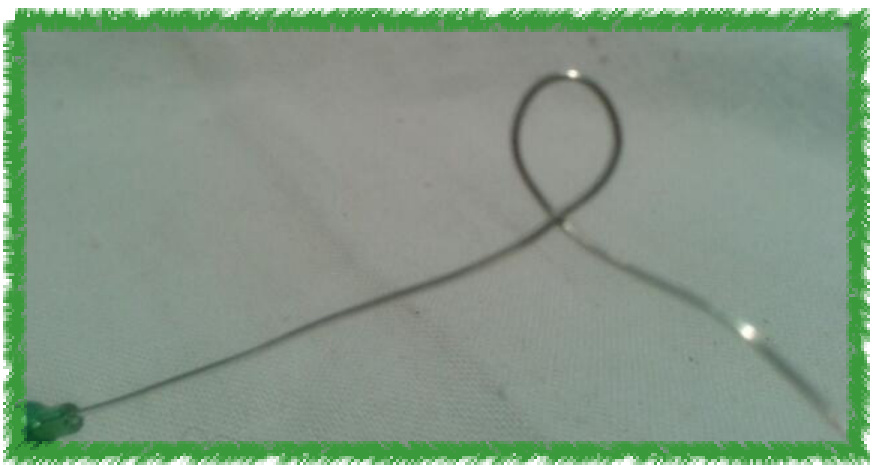
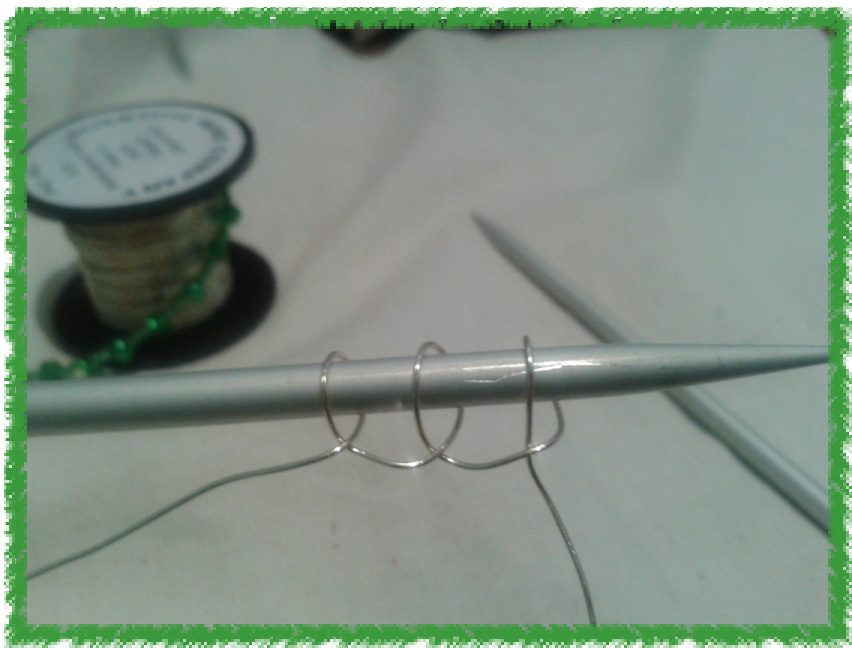
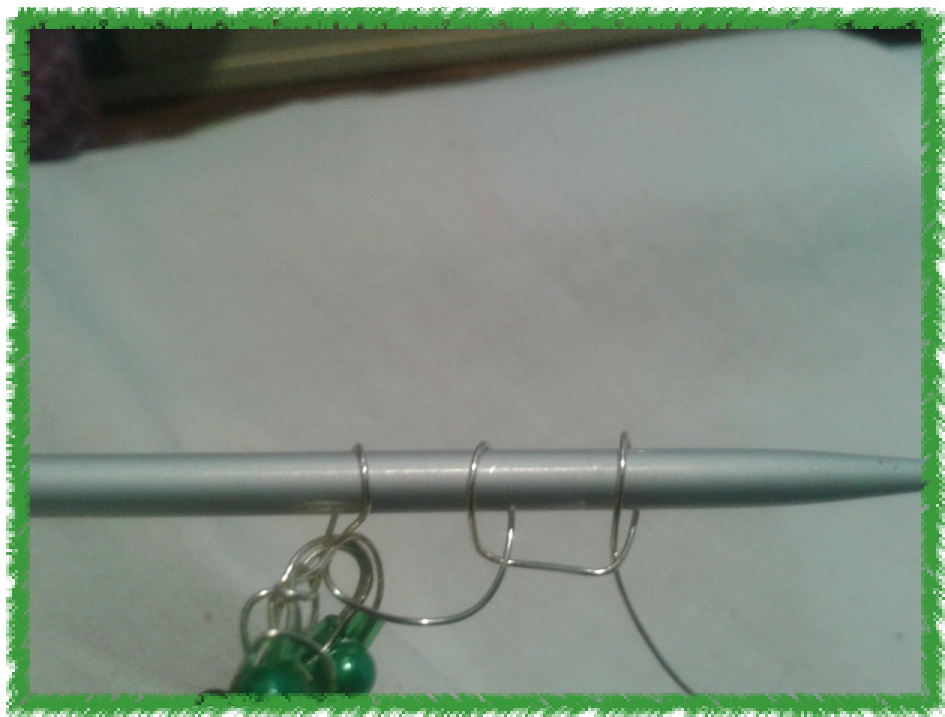
1. First shamrock section Cast on 3 stitches. (Tip: keep tension very loose as this will make it easier to knit your stitches) Row l: Knit a beaded row (3sts). Row 2: Knit a beaded row (3sts). Row 3: Knit a beaded row. Then, knit 3 stitches together (lsts). a) How to Cast on your 3 stitches: This is done by creating loops with the wire and placing them on the knitting needle.
Insert the knitting needle into the first stitch of the left knitting needle, slide the first three beads until it reaches the right knitting needle, then knit this stitch.
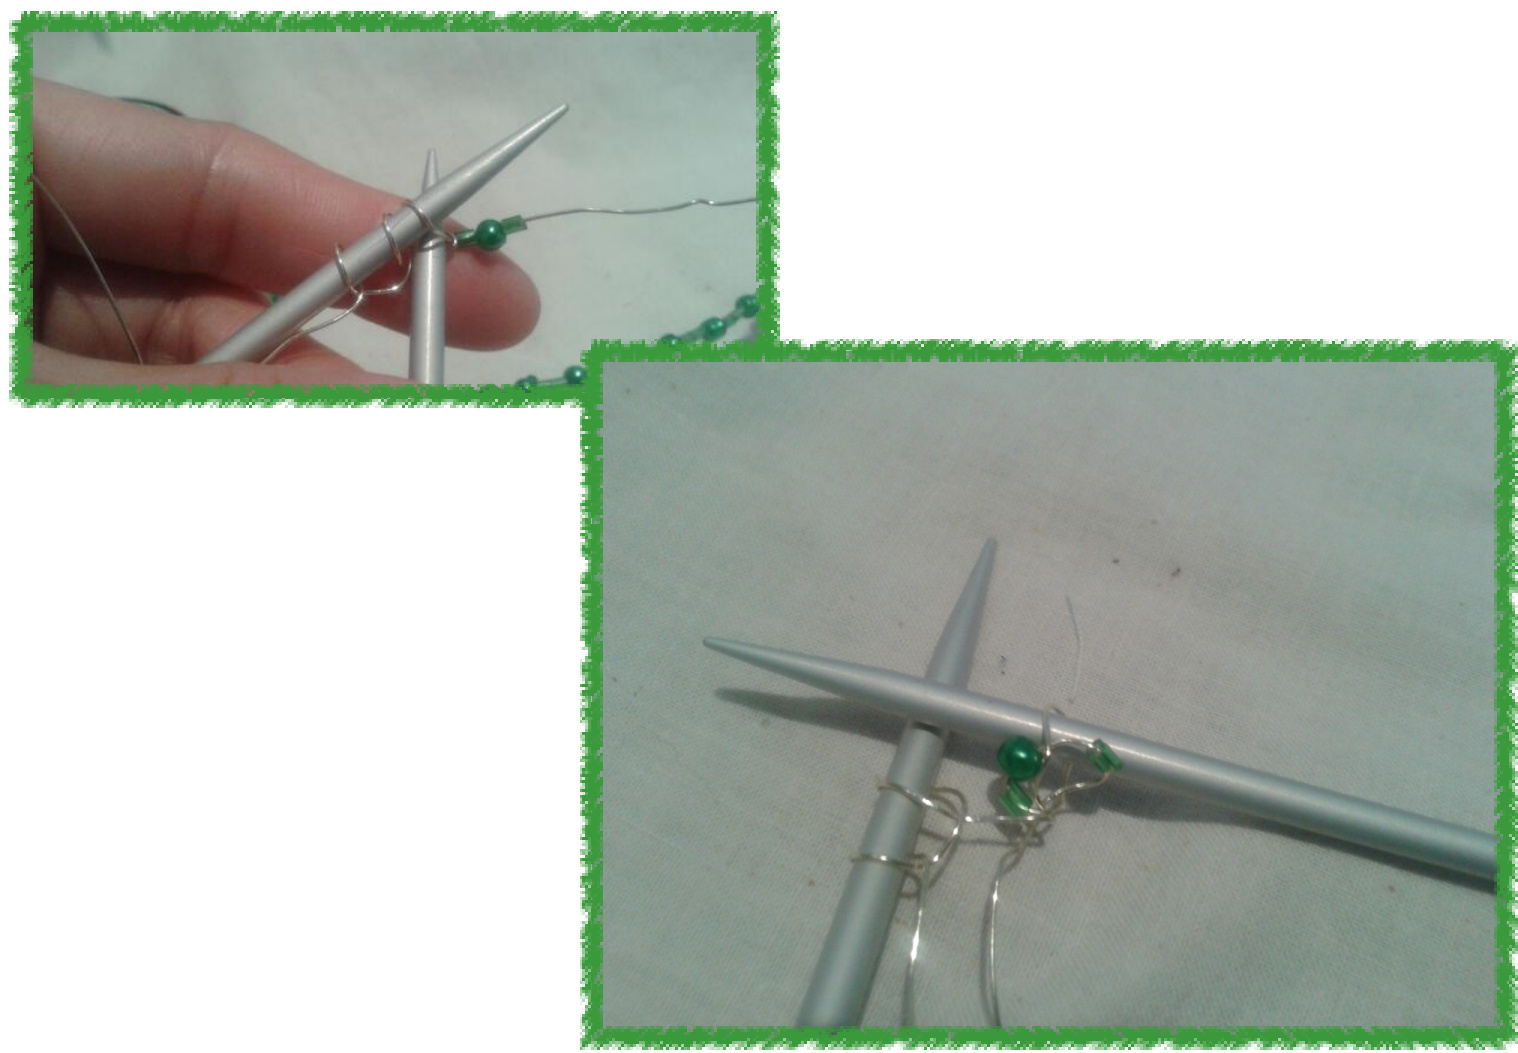
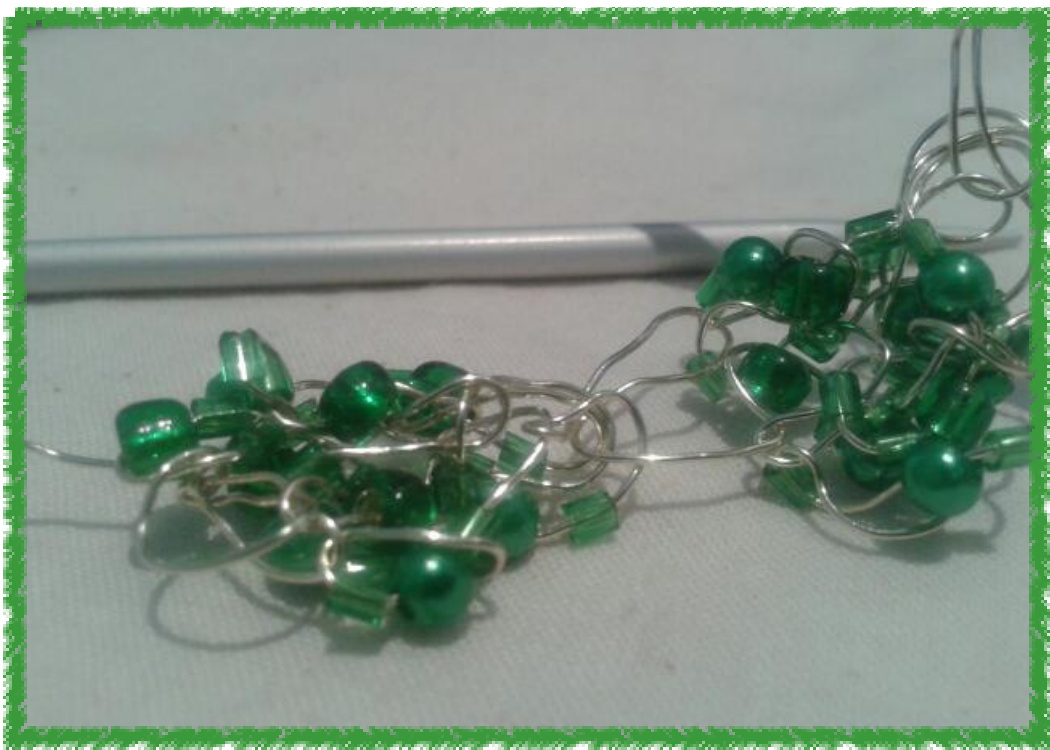
Repeat this beaded knit stitch to the end of the row.
c) Knitting 3 stitches together Keep tension loose as this will make it easier to knit the stitches together.
Cast on 2 stitches (there are now 3 stitches on your knitting needle).
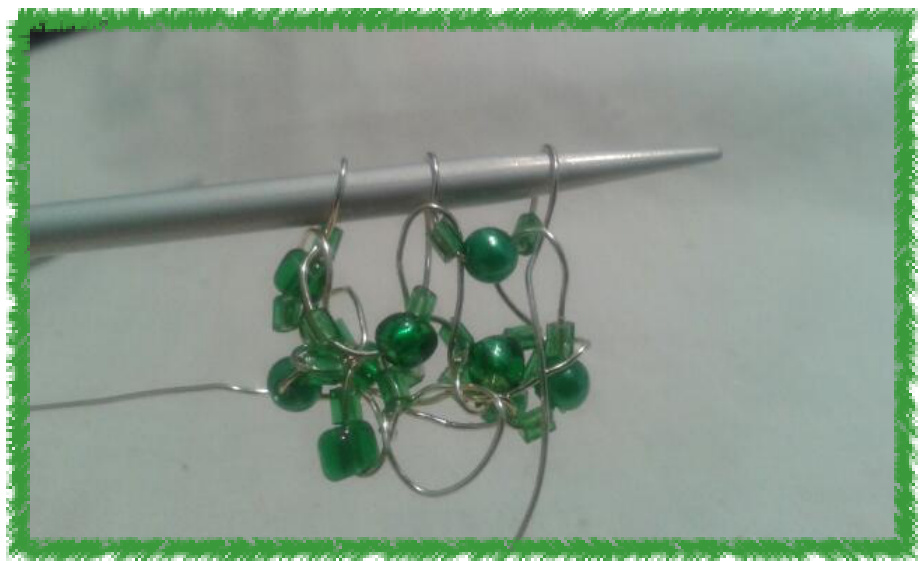
Row l: Knit a beaded row (3sts). Row 2: Knit a beaded row (3sts). Row 3: Knit a beaded row. Then, knit 3 stitches together (lsts).
Row 3: Knit a beaded row. Then, knit 3 stitches together (1sts).
3. Third shamrock section
Cast on 2 stitches (there are now 3 stitches on your knitting needle). Row l: Knit a beaded row (3sts). Row 2: Knit a beaded row (3sts).
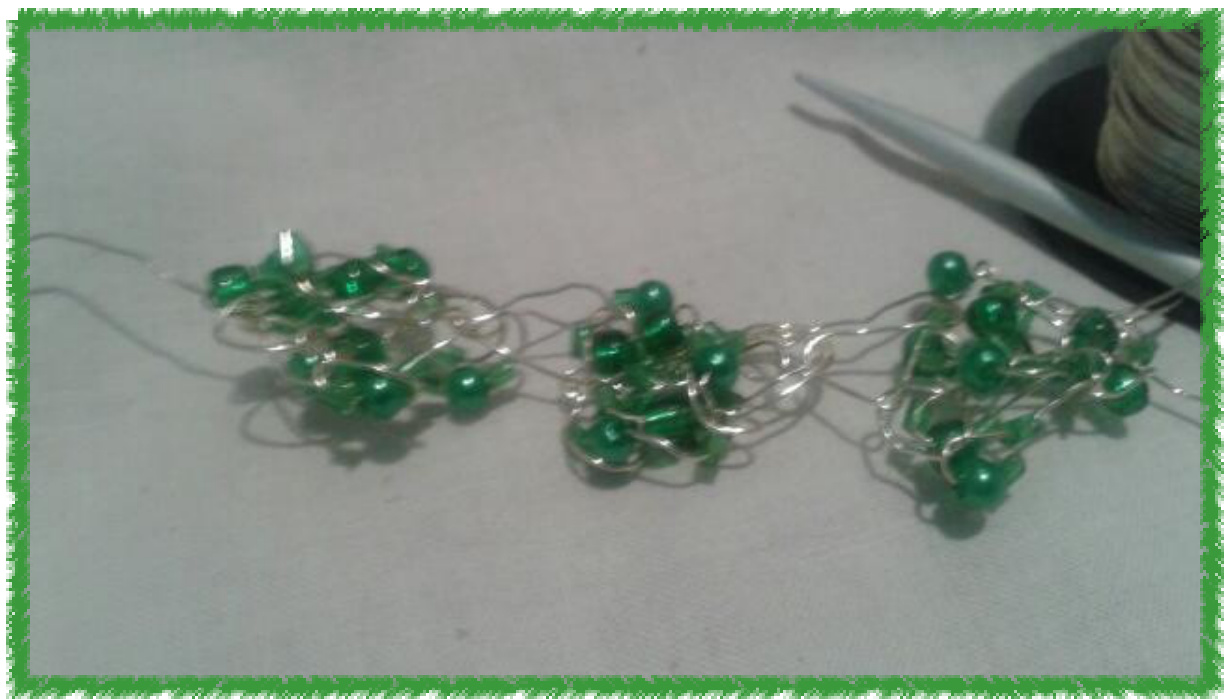
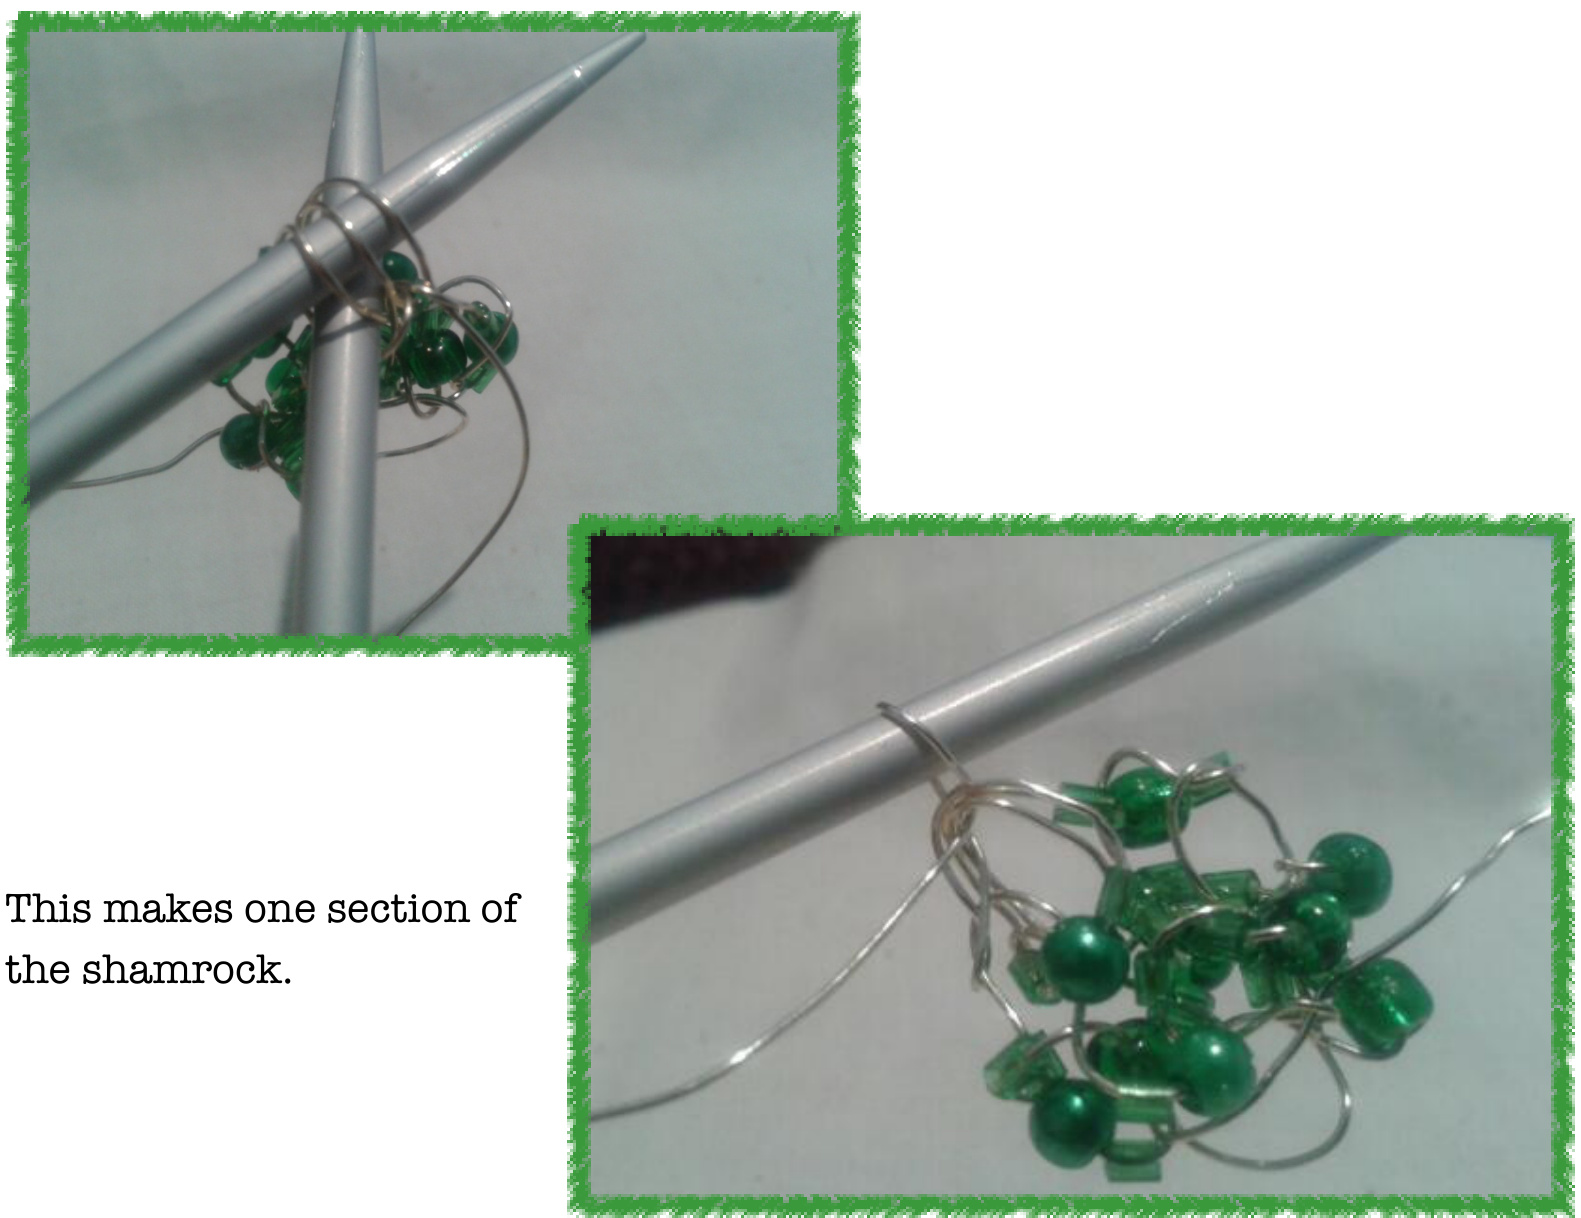
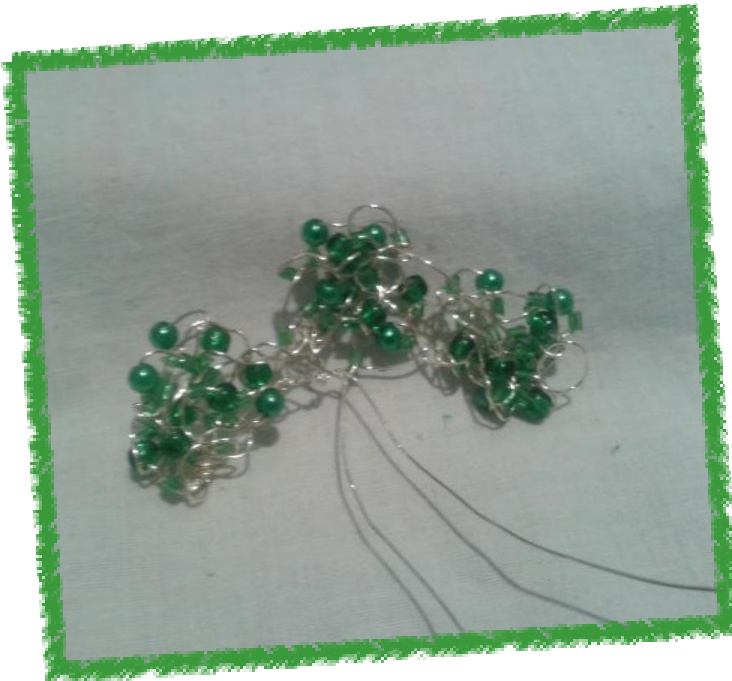
There are 3 sections that will form the shamrock. Using wire cutters, cut the wire leaving a tail of 15cm. Cast off the one stitch , by pulling out the knitting needle out of the stitch, and inserting the end of the wire through the loop.
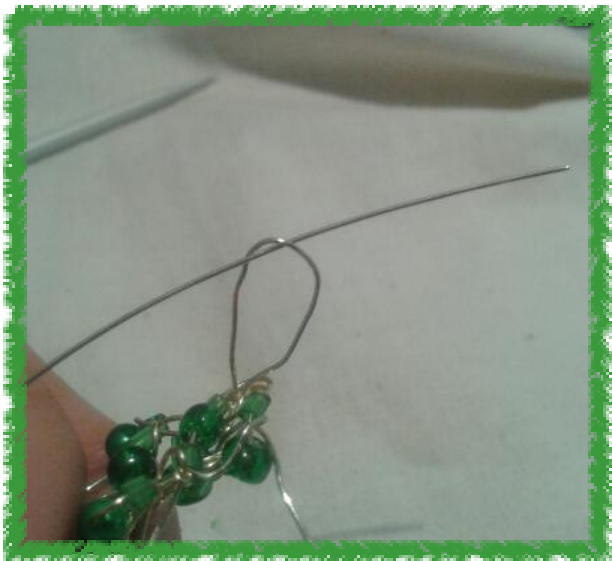
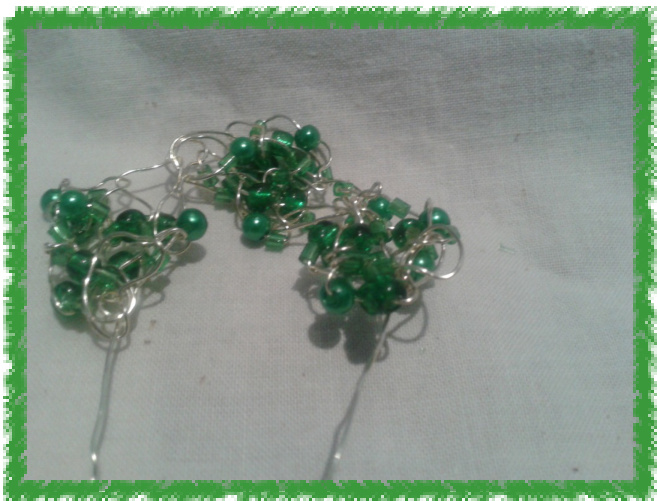
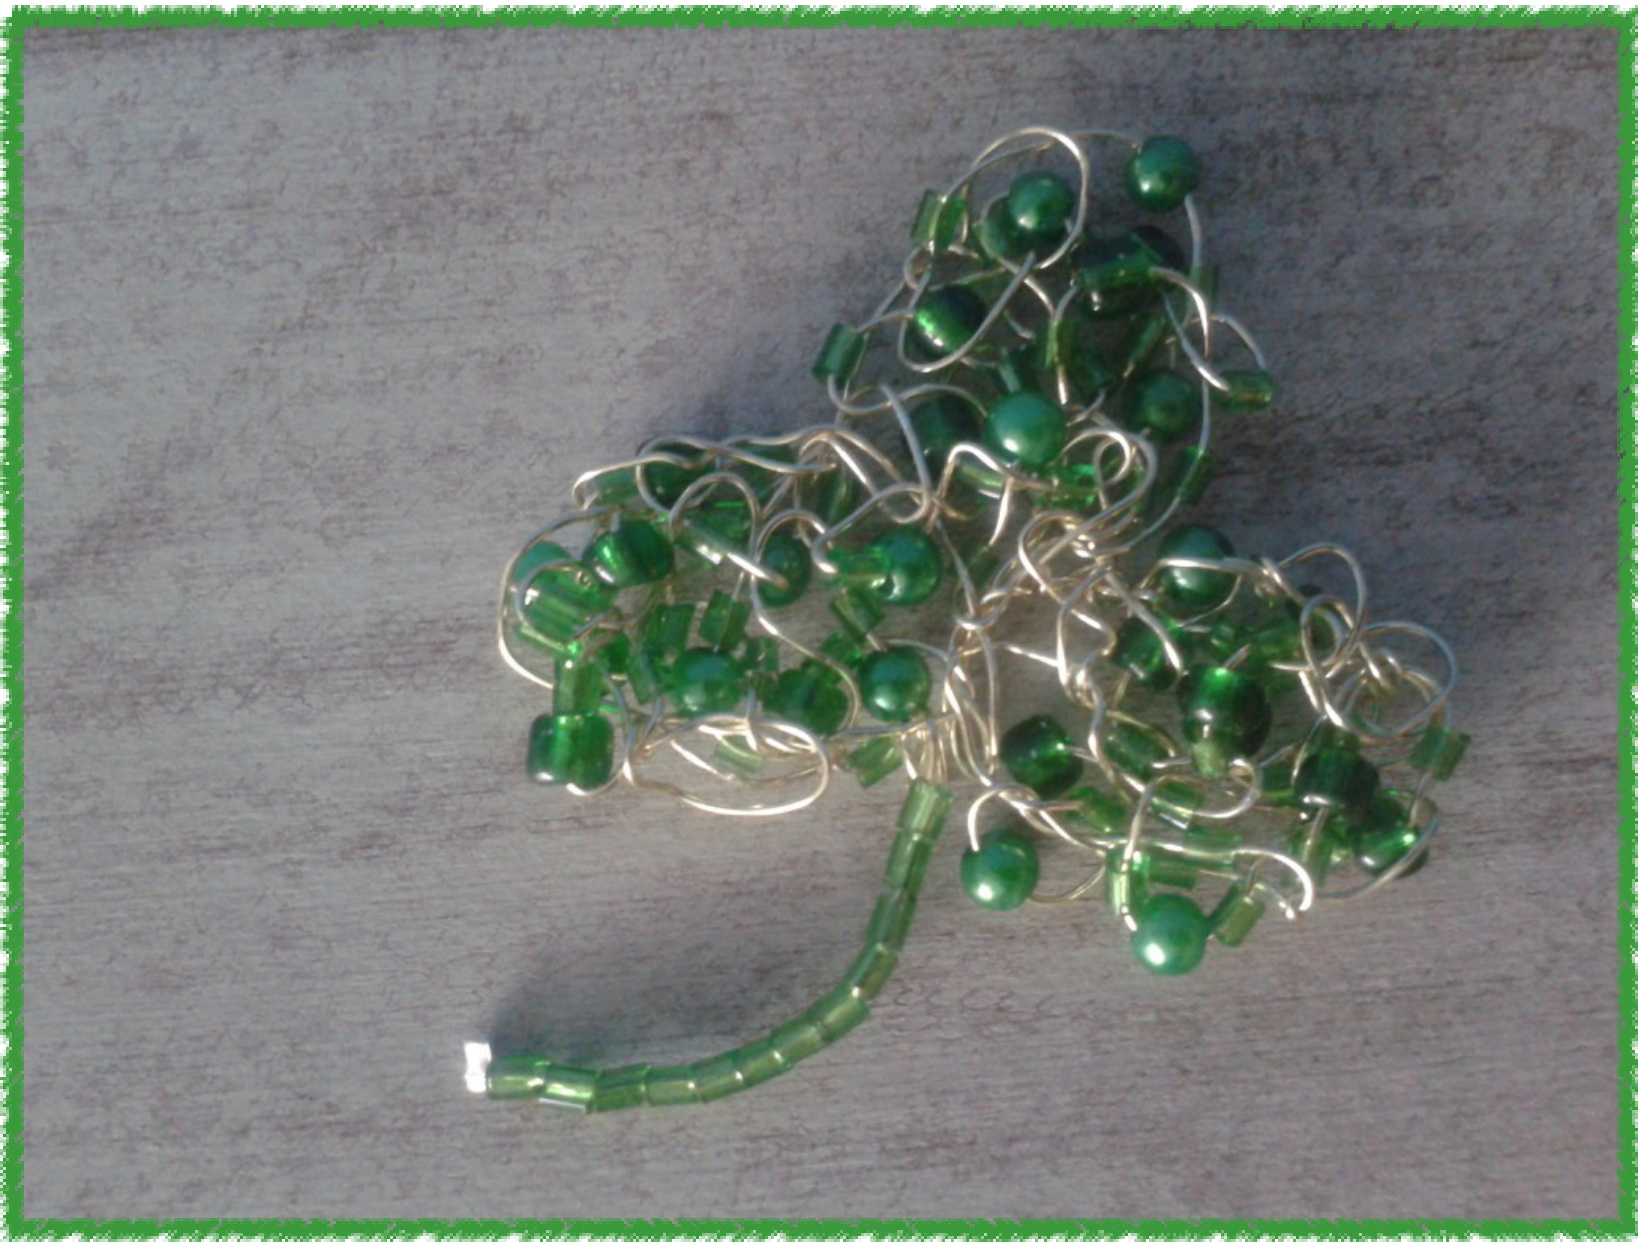
4. Shaping the shamrock
Weave each end of the wire tails towards the centre section, and at the same time shaping sections to
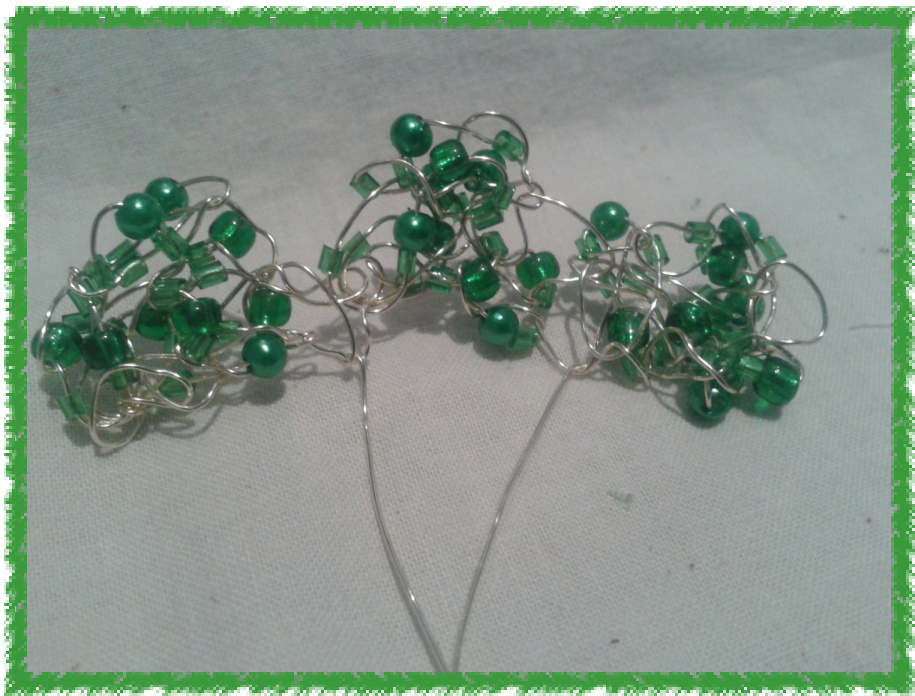
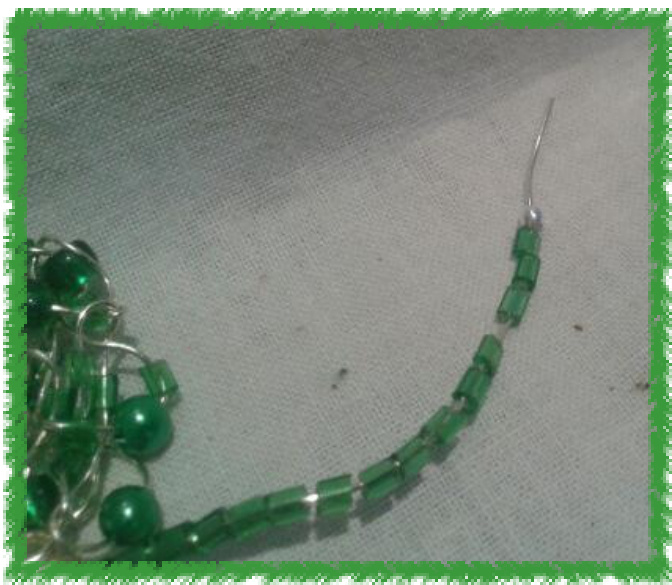
ends together and thread several beads to create the stem.
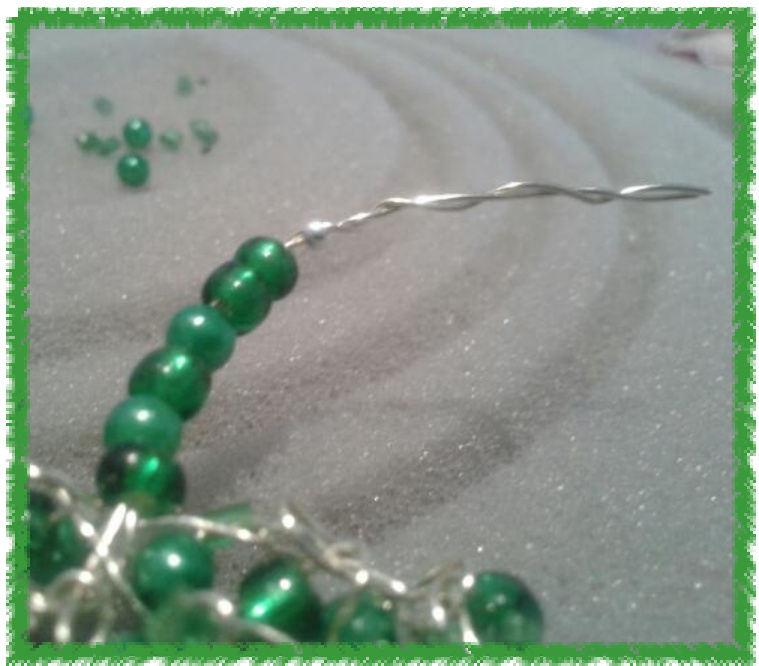
Insert a crimping bead at the end of the stem.
Using 10cm of wire, "sew" the brooch pin at the back of your work. Now you're ready to Proudly wear your Paddy brooch on the 17th of March.
Copyright February 2Ol4. Photos by Diane Murphy. This pattern is for personal use only. Please do not reprint or reproduce without permission.


