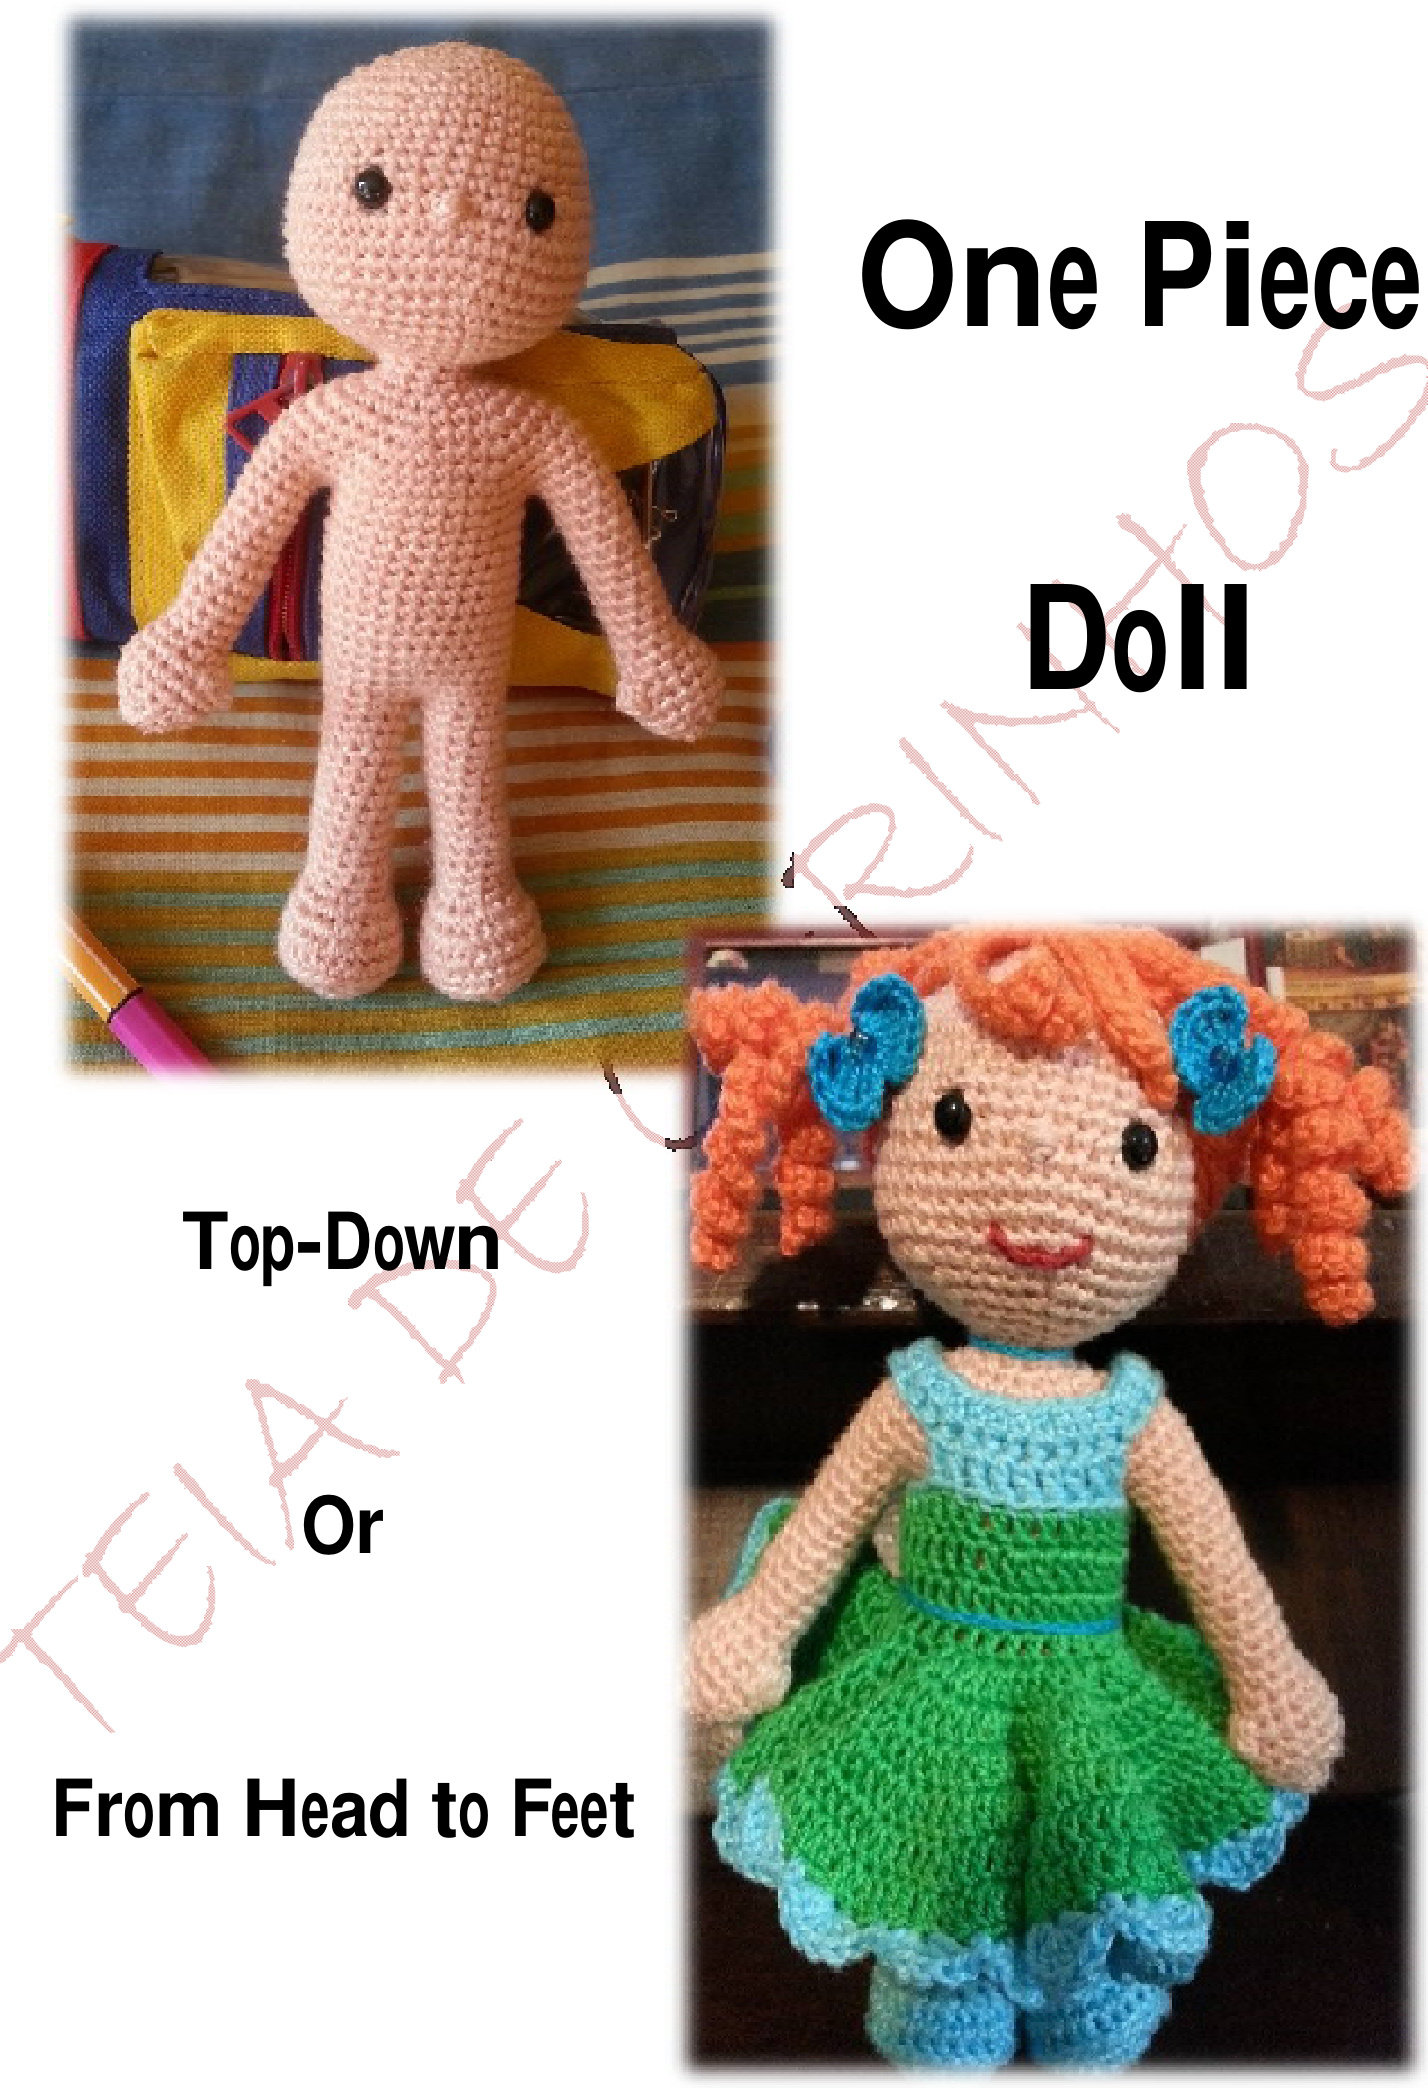
One Piece Doll - From Head to Feet
This doll is about 20cm tall. And she is made following the instructions from Vanja Grundmann on: AmigurumiBB: http://amigurumibb.com/2015/09/03/one-piece-doll-2/ This pattern is only the body of the doll. The hair and clothes will have their own pattern paper.
Material:
2,00mm Crochet Hook Anne Thread (Circulo)
Abreviations:
MR = magic ring ch = chain inc = increase \*\* = repeat what is between Just a little warning first: The separation in Body Parts is almost always merely to inform where you are. That said, here we go!!
HEAD
R1 MR, sc6 6 R2 inc6 12 R3 \*inc1, sc1\* 18 R4 \*inc1, sc2\* 24 R5 \*inc1, s SC3\* 30 R6 \*inc1, sc4\* 36 R7 \*inc1, sc5\* 42 R8 to R12 SC42 42 R13 sc6, inc3, sc6, 3inc, sc24 48 R14 to R19 Sc48 48 R20 \*dec1, sc6\* 42 R21 \*dec1, sc5\* 36 R22 \*dec1, sc4\* 30 Now it is time to put the eyes IF you are going to use safety eyes. I put on 12th row 3st each side from center of the face. And start stuffing the head firmly. R23 \*dec1, sc3\* 24 R24 \*dec1, sc2\* 18 R25 \*dec1, sc1\* 12
One Piece Doll - From Head to Feet
R26 to R27 SC12 12
SHOULDERS
R28 \*inc1, sc1\* 18 R29 \*inc1, sc2\* 24 R30 \*inc1, sc3\* 30 R31 \*inc1, sc4\* 36 R32 \*inc1, sc5\* 42 R33 \*inc1, sc6\* 48 R34 to R35 sC48 48 Now it is time to separate the points that will form the body and the arms. Bend your work in half so that the head is centered and looking forward. You just set 24 st for back and 24st for front. Now put markers to separate arms from the body so you can work arms and body separately. In this case: 10st left arm, 14st body front, 10st right arm, 14st body back. Stuff a little more the head, neck and shoulders.
BODY
Work only the stitches you separate to form the body (14st front, 14st back) As my row finished on the back of the doll, I made this way: One Piece Doll - From Head to Feet
| R36 sc1(both sides, back and front), sc9 (back) | sc3 (back), sc1(both sides, back and front), sc12 (front), 26 |
| R37 | sc3 (back), inc1, sc12 (front), inc1, sc9 (back) 28 |
| R38toR45 sc28 | 28 |
| R46 | *sc12,1dec* 26 |
| R47 | *sc11,1dec* 24 |
| R48 SC24 | 24 |
Now it is time to go to the arms. You can cut the thread but if you have another thread ball, the same color, you can use, so you won't need to cut.
ARMSANDHANDS
Now you will work those 10st each side you left behind, one at a time just like this: dentro do corpo. Como meu fio parou nas costas da boneca, depois de marcados os Go stuffing the arm and shaping the shoulders as you go. Don't forget to stuff very tight. 12 In the 15th row it is made the thumb. Follow the pattern of increases and when you reach the point that is on the inside of the arm, make a popcorn stitch, and then keep going with the pattern of increases until the end of the row. R15 \*sc2, inc1\* 12 R16 to R17 SC16 16 One Piece Doll - From Head to Feet
| R18 | sc2, dec1* |
| 12 | |
| R19 sc1, dec1* | 08 |
| R20 dec4 | 04 |
Stuff firmly and carefully and tie off. Make the other arm taking care to make the thumb to the inside of the arm. Now take your time to stuff the body and arms and shape the shoulders the best you can. Time to...
LEGSAND FEET
One more time bend your work so you will have defined the front and the back. Put a marker in the center of the front and other in the center of the back. There is the point the legs will join. Make one at a time. R1 sc1 (both sides), sc10 11 R2 inc1, sc10 12 R3 to R17 sC12 12 Find the center of the foot and put a marker. Make the 18th row following the pattern and take care to shape the front center of the foot with inc3 in the 3 center st. R18 inc3, sc9 15 R19 inc6, sc9 21 One Piece Doll - From Head to Feet
| R20 | sc5, inc3, sc13 | 24 |
| R21 to R22 | Sc24 | 24 |
| R23 | *sc2, dec1* only the back loop | 18 |
| R24 | *sc1, dec1* | 12 |
| R25 | dec6 | 06 |
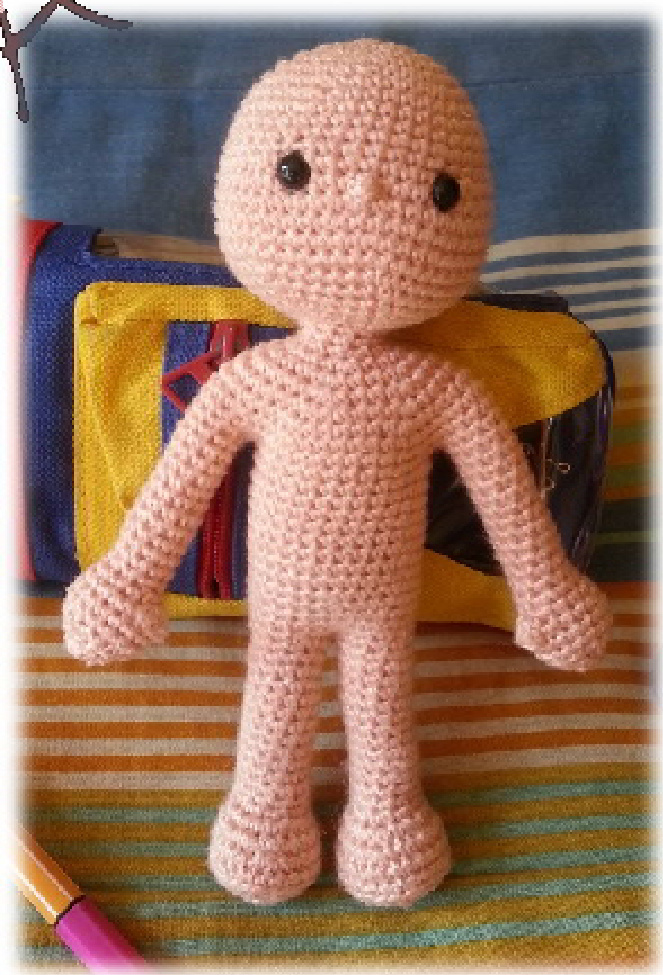
Tie off stuff carefully and shape the foot. Make the other leg/foot tending to centralize the stitches that will shape the foot. Now your doll is done! The base, at least. Must look like this. Have fun!! Please, this pattern is distributed free of charge, so I request that you don't sell it in any way and if there is interest of sharing, be kind enough to cite the source. Thank you very much!!
OCTOBER 07th,2015


