Oliver and Olivia
Designed by Sylvia Leake
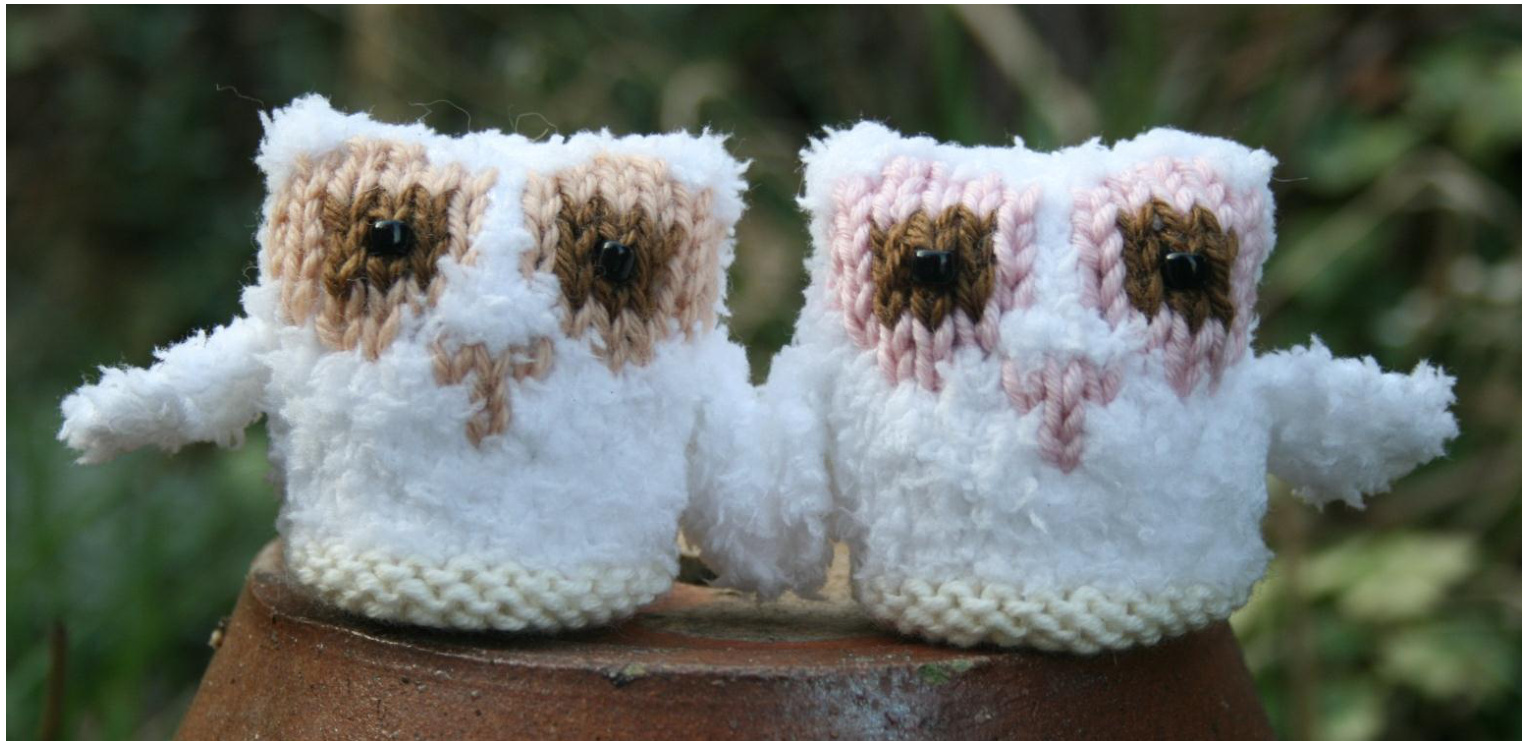
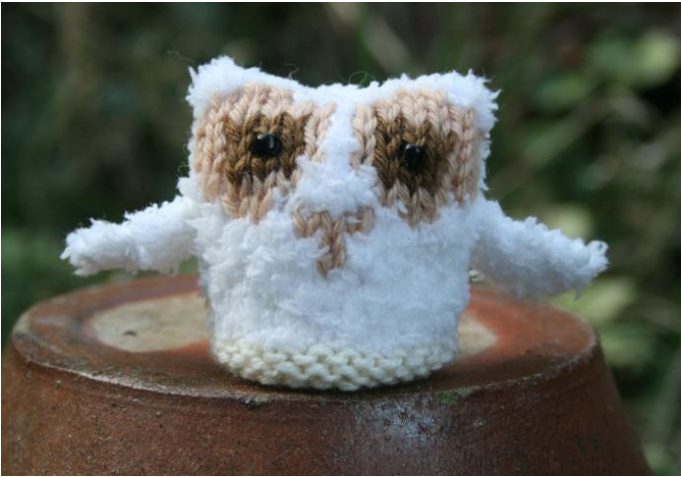
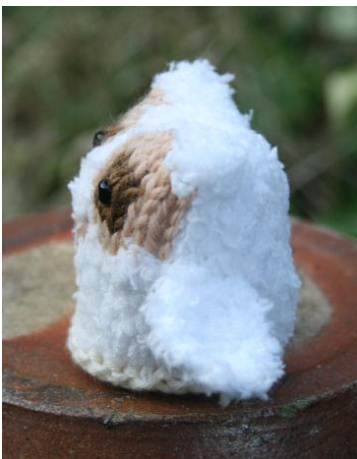
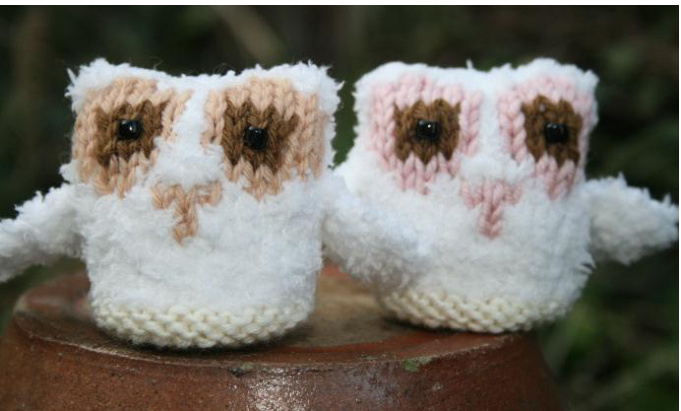
These cute owlets were inspired by my Oliver Owl Sweater motif and my daughter's request that I should design a softie with the same fleecy, white yarn used in that design. I, therefore, decided to stick with owls and base my softie on a baby owl similar to the Oliver Owl motif and to make him a friend for company! Oliver and Olivia stand unaided, at a height of approximately 6cm/21/4in.
PATTERN INFORMATION
Sizes
Using DK yarn: 6cm/2.5in high, 4.5cm/1.75in wide (diameter of base)
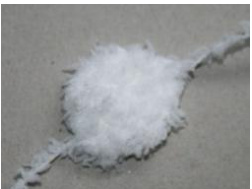
Materials
A fleecy, fluffy yarn in DK (8ply/light worsted) for the body and wings - I used Sirdar Snowflake, 100% polyester. 100% wool or a wool/acrylic mix in DK (8ply/light worsted) for the base, eyes and beak - I used Sublime extra fine merino, 100% wool. Suggested shades: White (MC), Cream (CC), Light Brown or Pale Pink (CC1) and Dark Brown (CC2). Yarn amounts: No more than 10g in MC, 5g in CC and oddments for eyes and beak. 1 pair 3.25mm (No10/US 3) needles 2 black beads for eyes (with hole large enough for yarn to pass through) Toy stuffing or wadding Note: Yarn amounts given are based on average requirements and are approximate.
Tension/Gauge
Will vary depending on your choice of yarn(s) - I suggest you use needles approximately 2 sizes smaller than suggested by the yarn company so that the toy stuffing does not show through your finished fabric. Page 1 of 4
Abbreviations
beg -begin(s), beginning CC - contrast colour cm - centimetre(s) cont - continue(s), continuing DK - double knitting (8ply/light worsted) foll - follow(s), following g st - garter stitch (k every row) in - inch(es) k - knit k2tog - knit 2 stitches together (knit the next 2 stitches together as one - to decrease) kfb - knit front and back (knit into the front and back of next stitch - to increase) MC - main colour mm - millimetres p-purl patt - pattern RS -- right side rem - remain(s), remaining rep - repeat st — stitch, sts - stitches st st - stocking stitch (k1 row, p1 row, rep these 2 rows throughout) tog - together WS - wrong side
PATTERN INSTRUCTIONS
Base
Using 3.25mm/US 3 needles and DK yarn in CC, cast on 9 sts. Work in g st thus: Row 1: k1, kfb, k1, kfb, k1, kfb, k1, kfb, k1. (13sts) Row 2: k. Row 3: k1, kfb, k3, kfb, k1, kfb, k3, kfb, k1. (17 sts) Row 4: k. Row 5: k1, kfb, k5, kfb, k1, kfb, k5, kfb, k1. (21 sts) Row 6: k. Row 7: k1, kfb, k7, kfb, k1, kfb, k7, kfb, k1. (25 sts) Row 8: k. Row 9: (RS facing) purl - creates fold line Row 10: knit. Tip - When changing yarn leave a long tail in both colours, to use when sewing up base and back seams.
Body
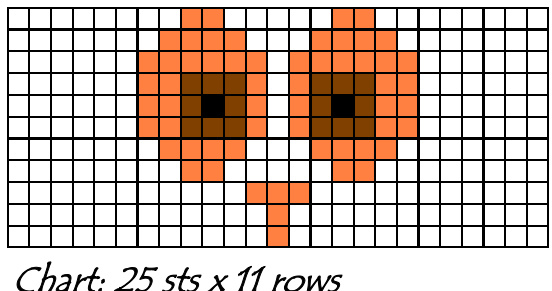
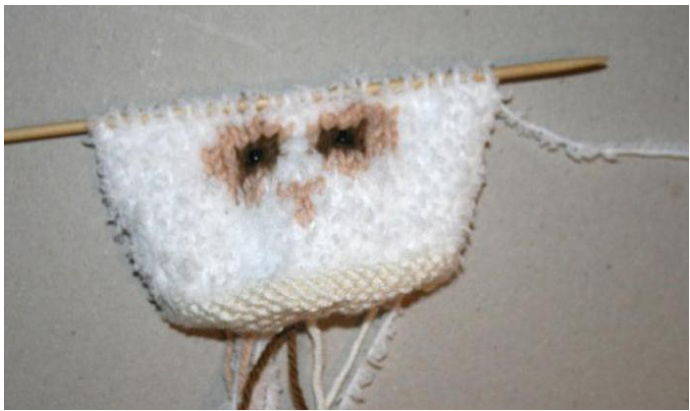
RS facing, change to MC and, starting with a k row, work 6 rows in st st. RS facing, cont to work in st st and, using MC, CC1 and CC2 and beads, work the next 11 rows using the intarsia method from chart, thus:
Intarsia
Use separate balls or bobbins as required, twisting yarns when changing colour to avoid a hole. When working from chart read odd rows (knit) from right to left and even rows (purl) from left to right. Row 1: k12 MC, k1 CC1, k12 MC. Row 2: p12 MC, p1 CC1, p12 MC. Row 3: k11 mC, k3 CC1, k11 mC. Row 4: p8 MC, p2 CC1, p5 MC, p2 CC1, p8 MC. Row 5: k7 MC, k4 CC1, k3 MC, k4 CC1, k7 MC. Row 6: p6 MC, p2 CC1, p3 CC2, p1 CC1, p1 MC, p1 CC1, p3 CC2, p2 CC1, p6 MC. Row 7: k6 MC, k2 CC1, k3 CC2 (adding a bead to the second st in CC2 - see Pattern Tip for adding beads), k1 CC1, k1 MC, k1 CC1, k3 CC2 (adding a bead to second st in CC2), k2 CC1, k6 MC. Row 8: p6 MC, p2 CC1, p3 CC2, p1 CC1, p1 MC, p1 CC1, p3 CC2, p2 CC1, p6 MC. Row 9: k6 MC, k6 CC1, k1 MC, k6 CC1, k6 MC. Row 10: p7 MC, p4 CC1, p3 MC, p4 CC1, p7 MC. Row 11: k8 MC, k2 CC1, k5 MC, k2 CC1, k8 MC.
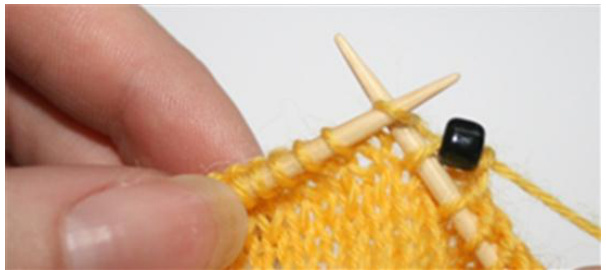
Pattern Tip
A small number of beads can be added securely as follows: Place a bead on a crochet hook (you will need a small hook size so that the bead will fit). Use the crochet hook to take the last st worked off the right hand needle. Slip the bead off the hook and on to the st. Replace the st on to the right hand needle.
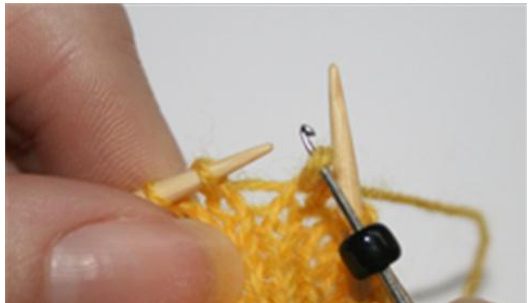
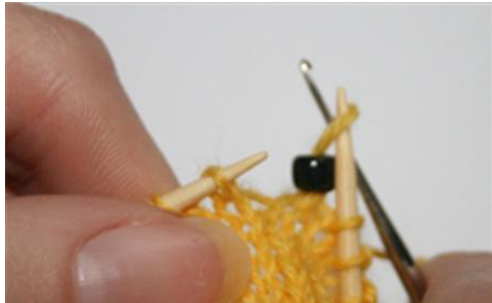
Cont to work along the row.
Next Row: p. Cast/Bind off.
Wings (make two)
Using 3.25mm/US 3 needles and MC, cast on 3 sts. Work in g st thus: Row 1: k1, kfb, k1. (4 sts) Row 2: k. Row 3: k1, kfb, kfb, k1. (6 sts) Row 4: k. Cont in g st and work 4 rows straight. Row 9: k1, k2tog, k2tog, k1. (4 sts)
To make up
Join back seam, using MC tail end and a flat seam (mattress stitch is difficult with this

Join seam across top of head, making sure back seam is at centre back.
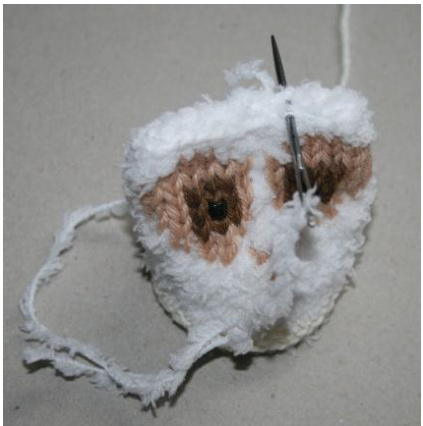
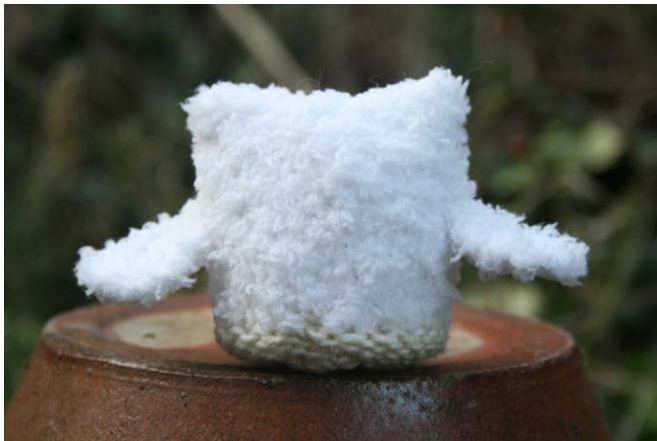
Page 3 of 4 Using slip stitch, sew cast/bind off edge of wings securely to each side of the owl, just behind, and in line with bottom of eyes, see photograph.
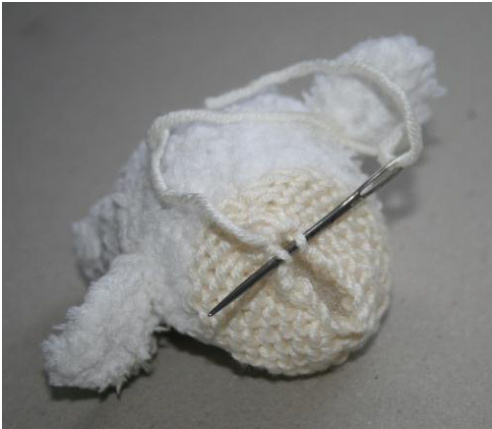
Stuff owl using toy stuffing or wadding, push stuffing into place until you are happy with the owl's shape - be careful not to over stuff! Join base seam, using a flat seam.
Pattern Note:
A couple of duplicate stitches in black could be used in place of beads for the eye pupils if you prefer.
① Sylvia Leake 2012 This design and written pattern is for personal use only and should not to be used for profit.


