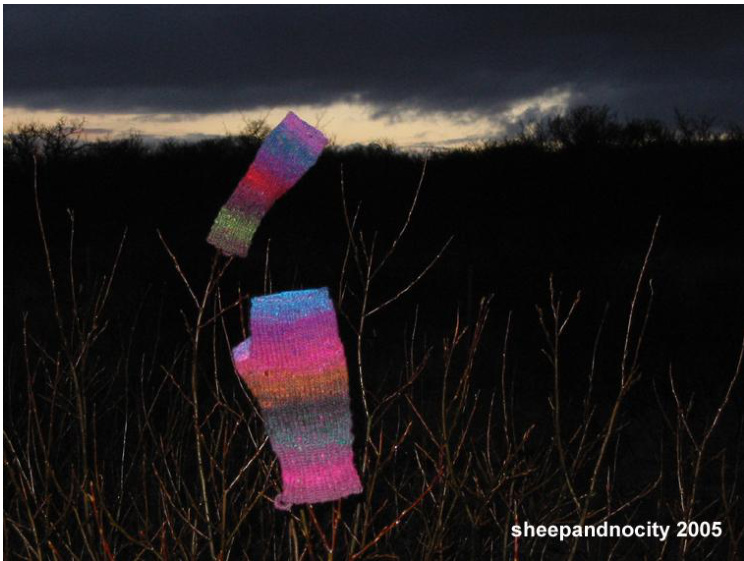
KOLENYA
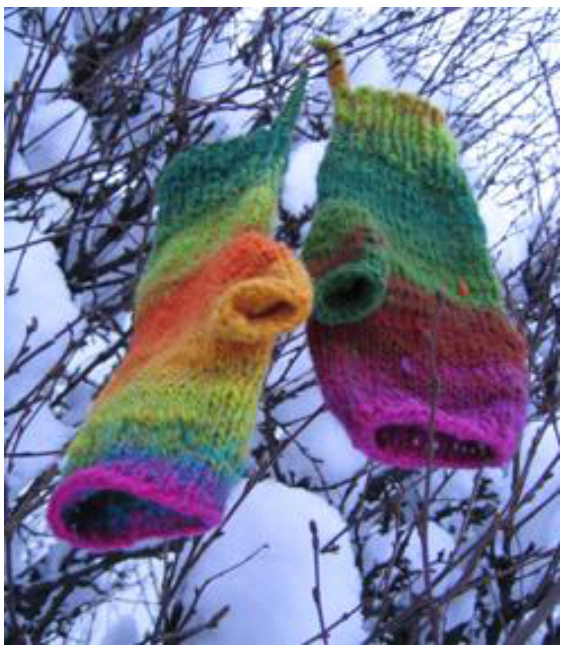
The design for these fingerless mittens derived from the need to use my fingertips while having warm hands. To ensure a snug fit and to keep any cold breeze outside, I unvented crocheted bridges between the fingers. Once you wear them you don't need to take them off anymore: They are perfect on cold stearing wheels, they prevent you from shaky signatures when receiving yarn deliveries and they do a pretty good job in isolating coffee mugs. Striking features include being a one-skein project and very fast knit. Additional feature is a crocheted chain-loop to ensure that they won't get lost!
Difficulty level Simple
Supplies
1 skein Noro Kureyon (100% wool, 109 yd/100 m per 50 g skein) 3,5mm dpns or two 3,5mm circular needles 2 stitch markers, waste thread Crochet hook Tapestry needle
Gauge
18 sts and 30 rows 0ver 10cm / 4" The directions are written to knit the right hand first with the directions for the left in brackets.
Cuff
Cast on 30 st using a long-tail cast-on', join. Distribute stitches evenly on your needles. Knit the cuff in klp1 ribbing for 12 rounds. Insert SM1 in the first row after the first knit stitch. (for left hand: insert SM1 between second last and last st of first row) Next round: k4 M1, k4 M1, k6 M1, k4 M1, k6 M1, k4 M1 k2 (you increased from 30 to 36 stitches) Knit 11 more rounds
Thumb gusset
K1, slip SM1, kfb1, place (another) SM2 and complete the round. (for left hand: K34, slip SM1 kfb1, place SM2, k1) Knit 1 round Next round: after SM: kfb2 (between the two SMs), complete round Knit 1 round Next round: after SM: kfb1 k2 kfb1 (SM), complete round Continue in this manner (kfb in second st after and second last before SMs, every 2nd row) until you have 12 st between the SM. Knit 3 more rounds. In the next row place 12 st between SMs on a stitch holder or waste thread. CO 5 st, join and complete round. (you should have 40 st on the needles), remove SM2 Knit 10 more rows.
Tip:
Knitting one or both mittens first and add thethumbs laterwill result inan interruption in the colour flow. Ifyou wish to knit the thumb in the neighbouring colourway, do as following: Check the colour development in you skein when you are approaching the thumb gusset. Look for an appropriate spot to secure the yarn for the thumb. Stop knitting one or two stitches before the thumb gusset and slip the mitten over your hand.Wind the yarn 4 times around your thumb for every row you are intending to knit later (don't forget to count the C0 row!) 7 rows x 4 = 28 times. Secure the yarn with a safety pin on the inside of the mitten and continue knitting.
'Bridges'
Prepare the glove for crocheting the bridges between the fingers. You might want to mark them with SMs or waste yarn: count 3 times 5 st in both directions of SM1.
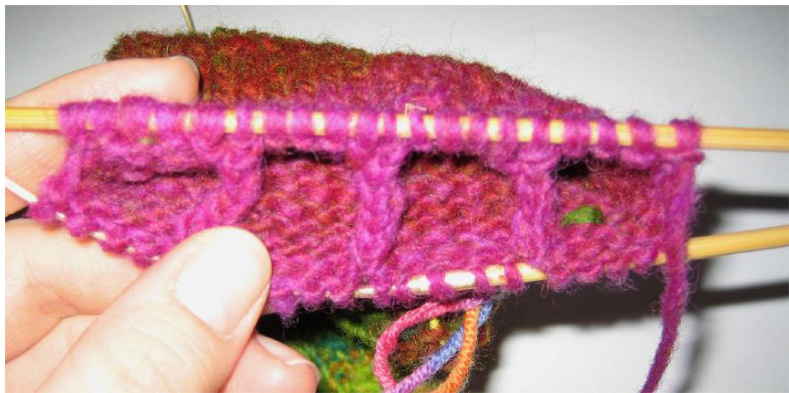
K25 st, \*catch the strand between last knitted st and next st on the left needle and start crocheting a chain, 4 st. With the crochet hook catch the strand between st 5 and 6 on the opposing side (10 st backwards from last knitted st). Pull yarn through this strand and as to form another chain st. Repeat this with the strand one row below. Turn direction and crochet backwards along the chain as following: push hook through the “V' on the chain, catch yarn and pull through. (repeat 2 times) Pull yarn through the second row of the first st on the left needle (facing the inside/wrong side, you pull it through the strand that forms the ^purl') and pull as if to crochet a chain.
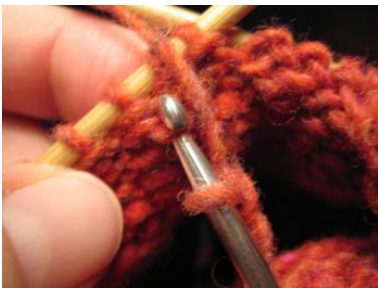
catching the ‘purl' Place the reminding st on the crochet hook onto the left needle and k2tog\*. k4 and repeat crocheting bridge from\* two times, k4
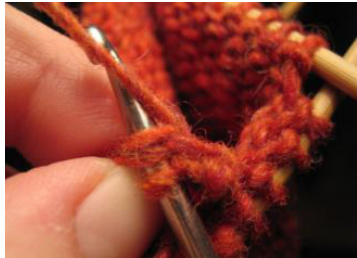
crocheting through the “V" (for left hand: k5 st, start making 3 bridges like described above between \* and \*, k25.) Knit one row K19 st, k2tog, k18, k2tog (slip SM) Knit 3 rows K1 p1 for 2 rounds Cast off in klp1 ribbing pattern.
Thumb
Place the 12 st from the waste thread onto 2 needles. Begin to k these 12 stitches. Pick up 6 st along edge, join. Knit one row (18 st) K2 k2tog k2 three times (decrease from 18 to 15 st) Knit 3 more rows (or until required length) Cast off. Using the initial tail of the long-tail cast-on crochet a chain of 15 st (or requested lengths when used together with a button), and reconnect with a crochet slip st to the cuff. Weave in ends.
Abbreviations
Kknit Ppurl K2togknit 2 stitches together M1 make one stitch by lifting the strand of the next stitch onto the left needle and knit it through the back loop SM Stitchmarker This is a free pattern and also my first. Please accept my appologies in case of mistakes or inaccuracy. The pattern is for non-commercial use only and I would like to ask you to not duplicate it and/or distribute copies (digital or print) without my permission. Please do not hesitate to send me your comments, question or corrections to falca@ web.de. Of course tell me if you published a picture of your finished Kolenyas on your blog!