Super scrappy slouchie
I first came up with thiz pattern, when I bought some GORGEous qivuit fibrez to spin up. There was no way I could afford enoughto make a slouchie hat. so I searched Ravelry for a solution. I did not want just stripez, so I adapted thiz slip stitch patternto make a slouchie. I now use this pattern to use up any worsted/aran weight handspun left over's - I hate to waste yarn I have spun!!!
skilz required:
28 per 4 inches per inch Knitting in the round Knit Purl slip stitchpurlwise Knit two together Make one slightly dueto
Materialz Reguired
100-150m of worsted to aran weight yarn (depending on how long yow want your slouchie to be. 4.5mm 16 inch circular needles 5.5mm 16 inch circular needles 5.5mm double pointed needles stitchmarker Tapestry needle
Instructions
Cast on 80 stitches onto the 4.5mm needles. Join in the round, making sure that you do not twist the stitches. Place a stitch marker to show the beginning/end of each row. I like to complete all ofthe rib- in the same colour yarn. Therefore I choose the yarn with the most yardage to do this. Complete 3.5-4 inches ofK2 P2 rib (depending upon how much rib you like your slouchie to have, and how much yarn you have) Increase row For the slip stitch pattern to work we need 92 stitches. Therefore in thiz row we will increase by 12. (K7, M1) until the last 3 stitchez. K3 M1.
Body of the hat
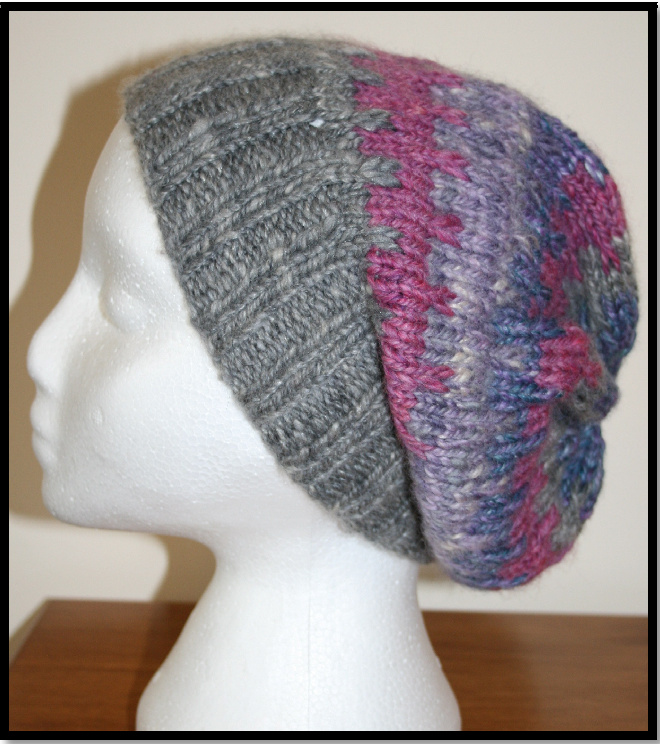
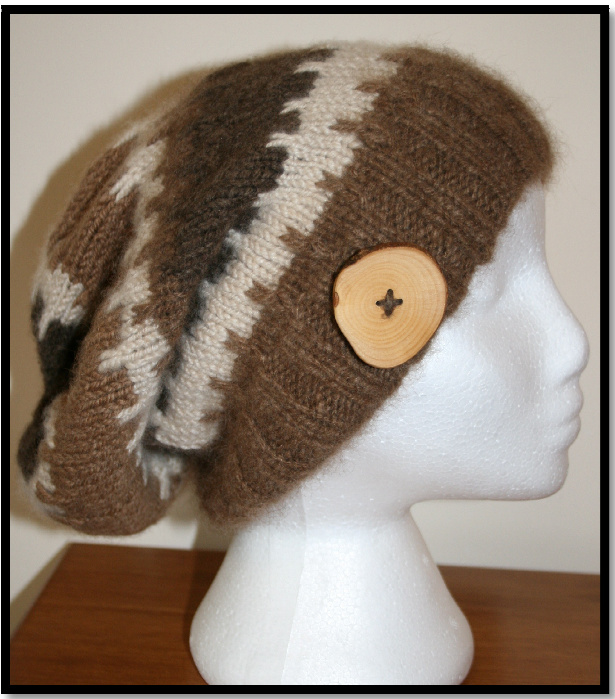
Next row : Changeto 5.5mm needlez : knit 1 round in rib- colour. change 1 - and all odd numbered changes At the stitch marker switchto colour 2. Next 3 rows: In new colour (K3 S1) to end Make sure all slipped stitches are donepurlwise Then continue knitting in stocking stitch (all knit stitches) until the band iz az deep as you wish it to be OR you are running out of yarn. Make sure that you finish at the stitch marker for the end of the round. change 2 - and al even numbered changes At the stitch marker change to the new colour. Next 3 rows: Using new colour : K1, S1 (K3, S1) tothe last 2 stitches, K2 Thiz makes sure that the slip stitch "teeth" are off set from each other. Then continue knitting in stocking stitch (all knit stitches) until the band iz az deep as you wish it to be OR yow are running out of yarn. Make sure that you finish at the stitch marker for the end of the round. Continue working in this way - making sure that the slip stitch "teeth" are off set each time you want to change yarn. Until the hat measurez 9-11 inchez long from the cast on edge - thiz depends on how slouchie you want your hat to be. Picture 1 shows 9 inches, picture 2 shows 11 inches.
Decrease Rows
I make sure that all ofthe decrease rows happen in the same colour after the slip stitching haz been completed - it just means that the decrease does not messupthepattern. change to double pointed needles as needed Row 1 - (K2 K2tog) to end Row 2 (K1 K2tog) to end Row 3 (K2tog) to end Row 4 (K2tog) to end Row 5 (K2tog) to end
Finishing
Cut offyarn, leaving 12-18 inches. Thread yarn onto-tapestry needle and thread the yarn through the remaining stitches. Pultightly and weave into the wrong side ofthe hat. Weave in the rest of the endy Enyoy your hat! @ carolhodgson2010@hotmail.co.uk. You may use thiz pattern for personal use, and to make hats for charity. Please do not sell either this pattern or hat produced for profit. Thank you.


