
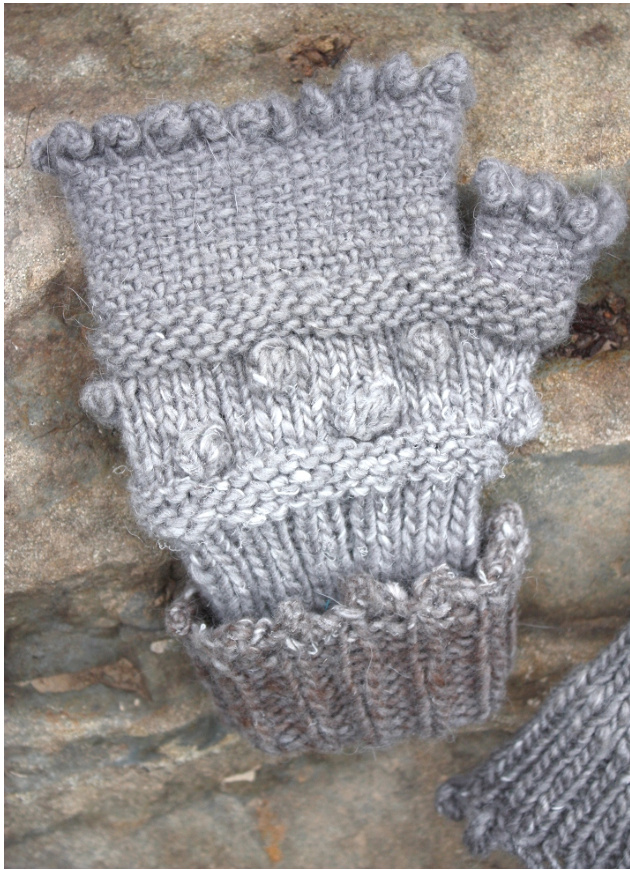
: Finished size: Medium (for a larger glove increase your yarn weight and move up to size 6 needles) : Needles: US 5 (3.75 mm) double pointed needles : Notions: 2 stitch markers 1 tapestry needle for weaving in ends : Gauge: 5 stitches = 1" in stocking stitch :\*There isalist ofterms used in this pattern, along with some links to some : helpful YouTube videos, on page 4. · Cast on 36 stitches using a picot cast on. To do a picot cast on, you are going to cast i on 5 stitches, bind off 2 stitches then slip the remaining stitch from your right needle to ! your left needle. Divide your stitches evenly onto your double-pointed needles and join in the round, being careful not to twist your stitches. For the next 5 to 6 inches do a knit 2 purl 1 rib. Or even longer if you want a longer cuff。 Next 3 rounds: purl. Next 2 rounds: knit. On the next round you will place the markers for the thumb gusset and start with the bobble action!: k1, mb, k6, mb, k6, Pm, m1f, mb, mlf, pm, k6, mb, k6, mb, k6.
I'm FereverMakng Bebles!.
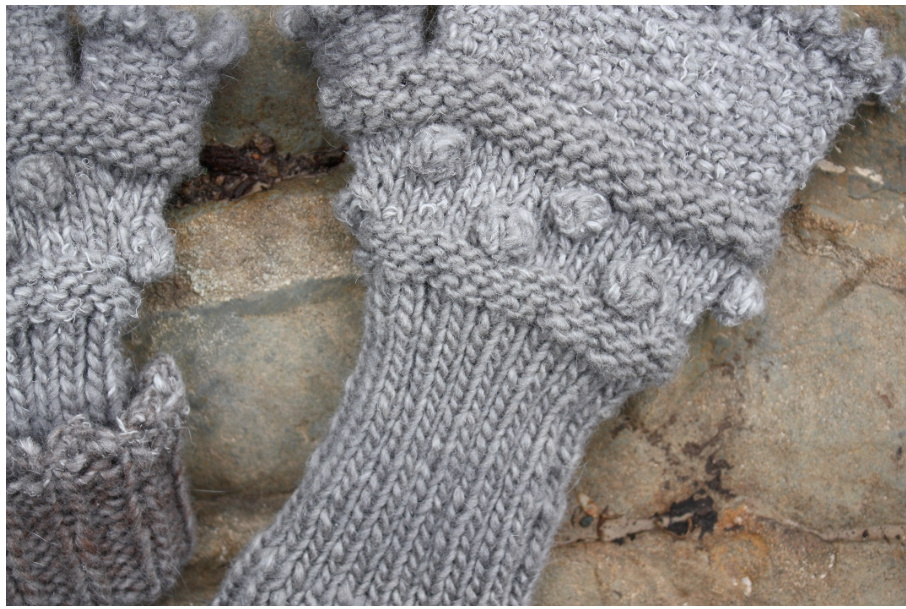
Bobbles are fairly straightforward to make. There are several ways of making them but this is my favorite: 大Make 5 stitches in one stitch as follows: knit into the front, then the back of the same stitch twice, then knit into the front it once more. ★Turn your work and purl those 5 stitches. ★Turn your work again and lift the 2nd stitch on left needle over 1st stitch. Do this 3 more times slipping the next 3 stitches, one at a time, over the first stitch. Slip the first stitch to your right needle. Le voila!C'est une bobble! When you knit the next stitch make sure you knit it quite snuggly! On the following row that you knit you will notice a little gap preceding the bobble. Knit that nice and snug as well so that you have a minimal bobble gap. Yes, that is the technical name for it ;0)

Next round: knit. d knit to marker then: sm, m1f, k3, mlf, sm, knit to end of round Next round knit. Next round: k5, mb, k6, mb, k to marker, sm, m1f, k5, m1f, sm k2, mb, k6, mb, k7, mb, k last two stitches in the round. Next round knit. Next round knit to markers, sm, m1f, k7, mlf, sm, knit to end of round. Next round purl. Next round purl to markers, sm, pinc, p5, pinc, sm, purl to end of round. Next round purl.

\* The linen stitch is a very sturdy and tight weaveit's beautiful but rigid. Once you have knit your gloves feel free to get in there and stretch the linen stitch portion so that it has more give. You can also forgo the linen stitch and go for a straight up garter stitch. If you chose to go this route do not add the increases (m1f) in the next round Next round m1f, k6, m1f, k5, m1f, k4, slip the thumb stitches onto waste yarn (make sure that you knit your next stitch quite snuggly), k3, mlf, k5, mlf, k6, mlf, k6. Next round you are going to start your linen stitch: \*slip one stitch with your yarn forward (yf sll), k1\* to the end of the round. Next round k1, yf sl1\* to the end of the round. Continue the above two rounds until you have the desired length. · Next round picot cast off (\*cable cast on 2, bind off 4 slip stitch to left needle\* to end of round)。
The Thumb. .
·You will notice there are two stitches that look like they can be picked up in the thumb gusset. Pick up the stitches directly below them and distribute the remaining 11 stitches on your dpn's. You now have 13 stitches on your dpn's. Proceed in linen stitch for the next 8 rows (\*yf sll, k\*). Picot bind off (\*cable cast on 2, bind off 4 slip stitch to left needle\*). · Weave in all of your ends and head on over to the pauper's picnic to show off a little! k = knit P = purl pm = place marker pinc - purl increase mb = make bobble kfb = knit front and back sm = slip marker mlf = make one front DPN's = double-pointed-needles yf sll = yarn forward slip one : YouTube Videos: · mb = http://www.youtube.com/watch?v=sGbuGxPYcJU (slightly different from my style) . pinc = http: / /www.voutuhe.com/watch?v=555il darAnk kfb = http:/ /www.youtube.com/watch?v=ILcTB5hcoXM m1f = http:/ /www.youtube.com/watch?v=gGboilvWLjc linen stitch = http://www.youtube.com/watch?v=IHTX8xDWmtw (because this pattern is done in the round there is never any second row to do so, in this case, just follow the first steps in the video.) Picot cast on = http://www.youtube.com/watch?v=aycg1TX2eYc&feature=Bfp&list=fLIpovwknI19-1sS3QQlgow Please feel free to contact me if you need any help at all with this pattern! saltspringstrings@gmail.com And please feel free to use this pattern as you wish. If you want to knit up a whole slew of these and sell them knock yerself out. But please, pretty please, give me credit for the pattern and direct people to my blog: www.saltspringstrings.ca


