Cable Sampler Neck Wrap
Designed by Crystal Guistinello Experience level: Advanced Beginner
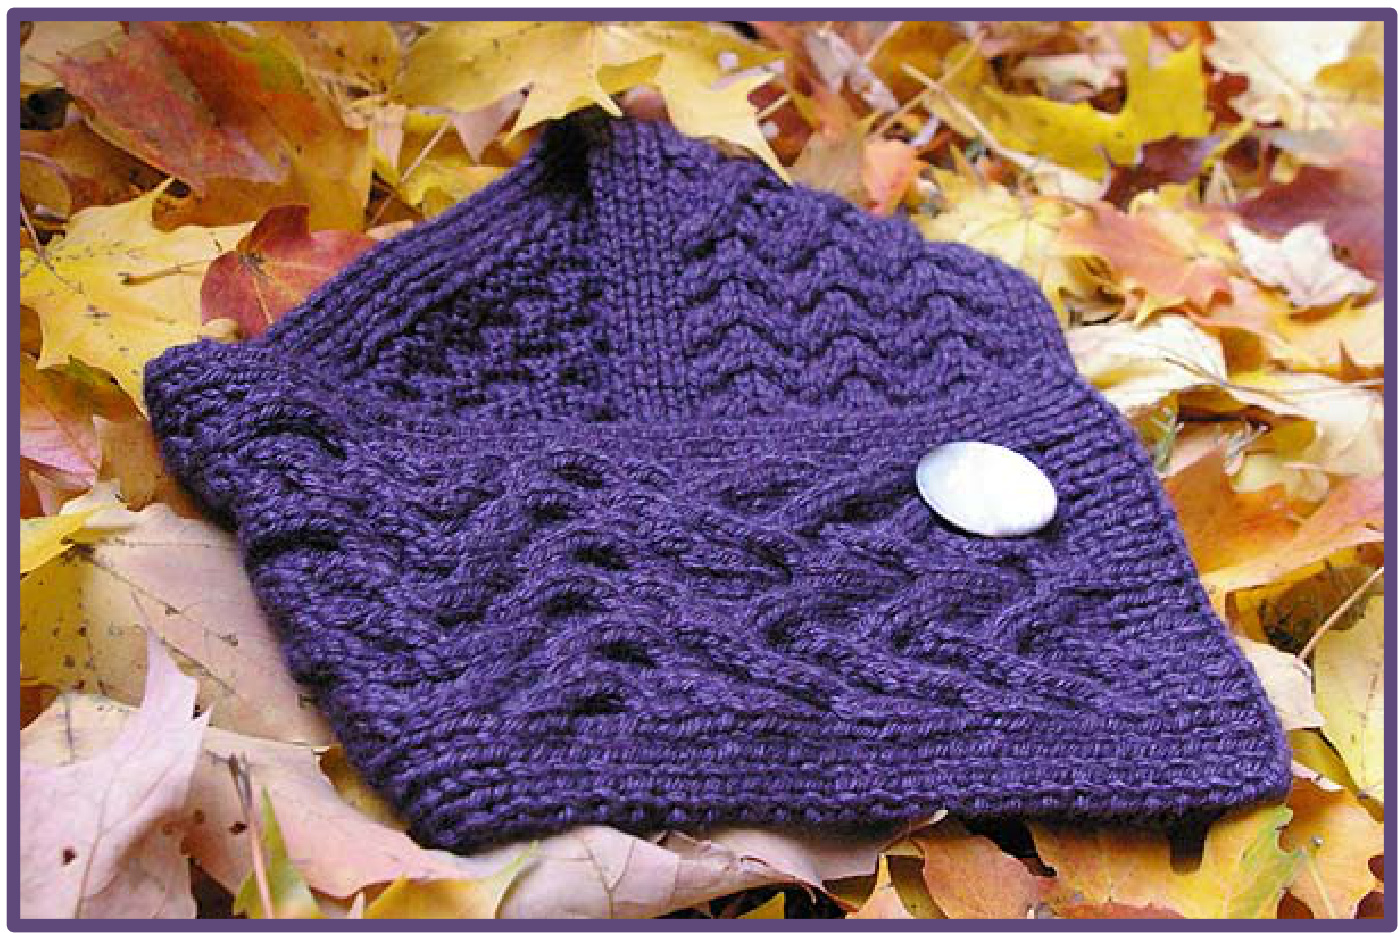
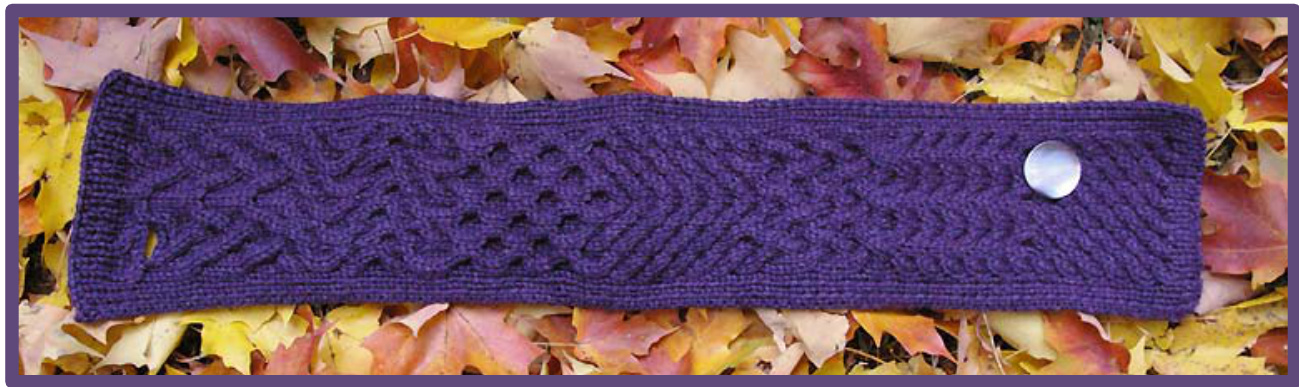
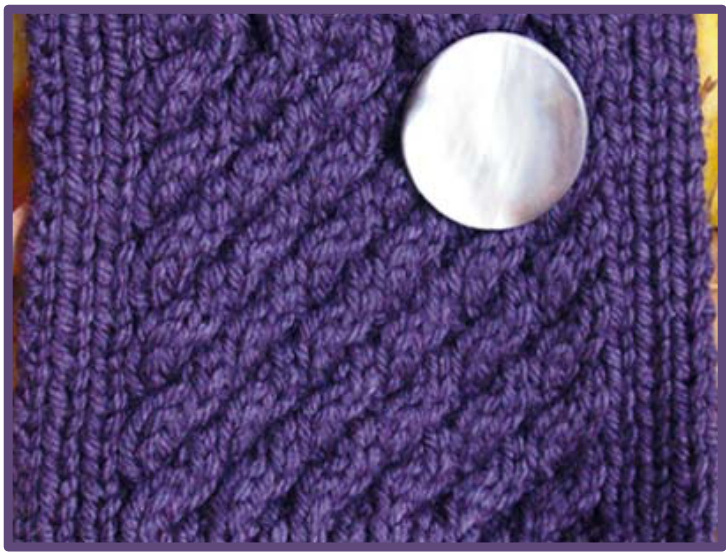
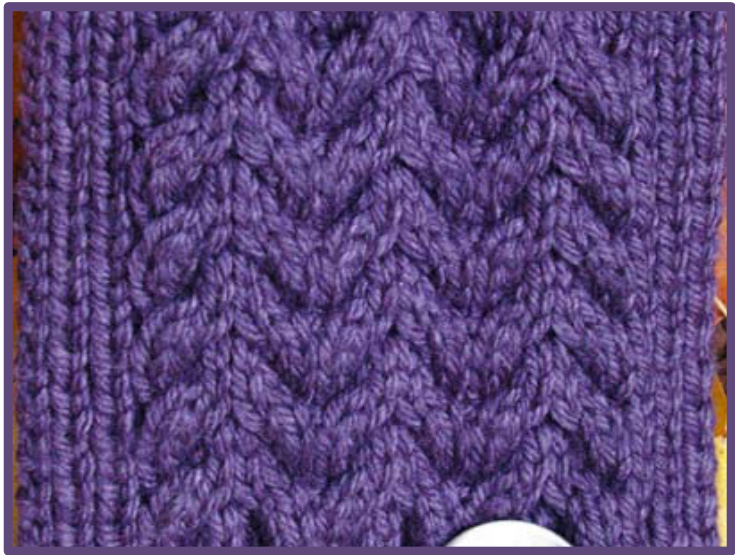
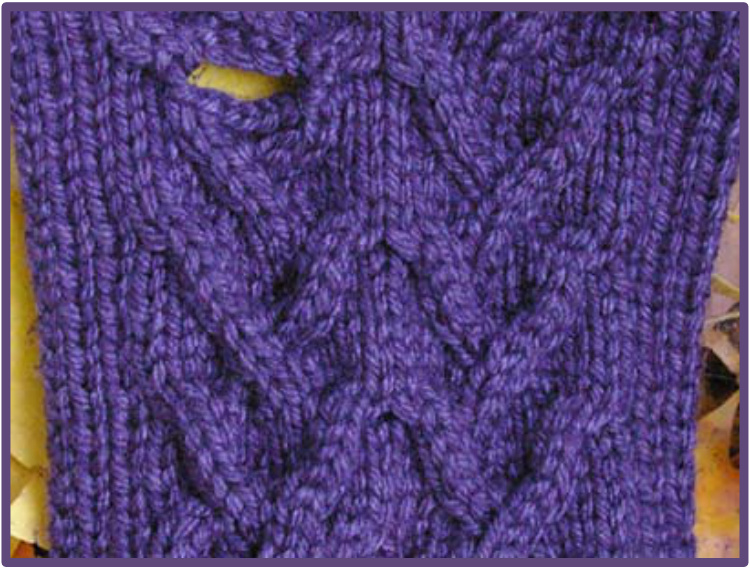
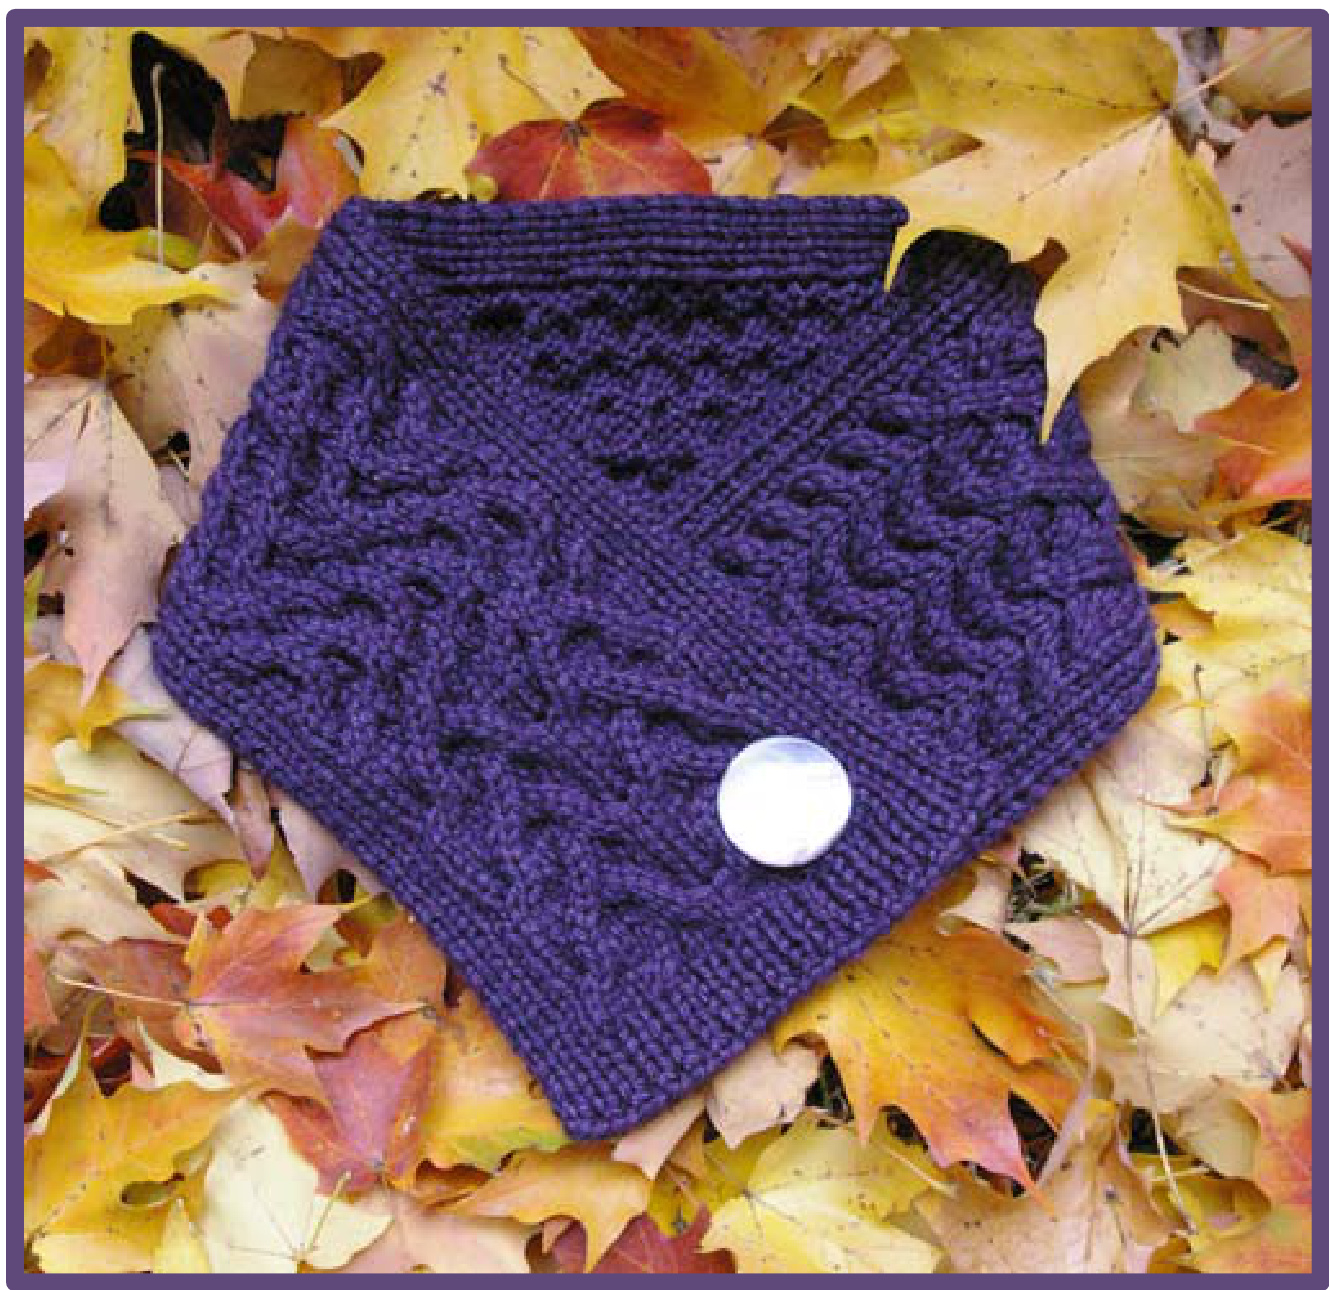
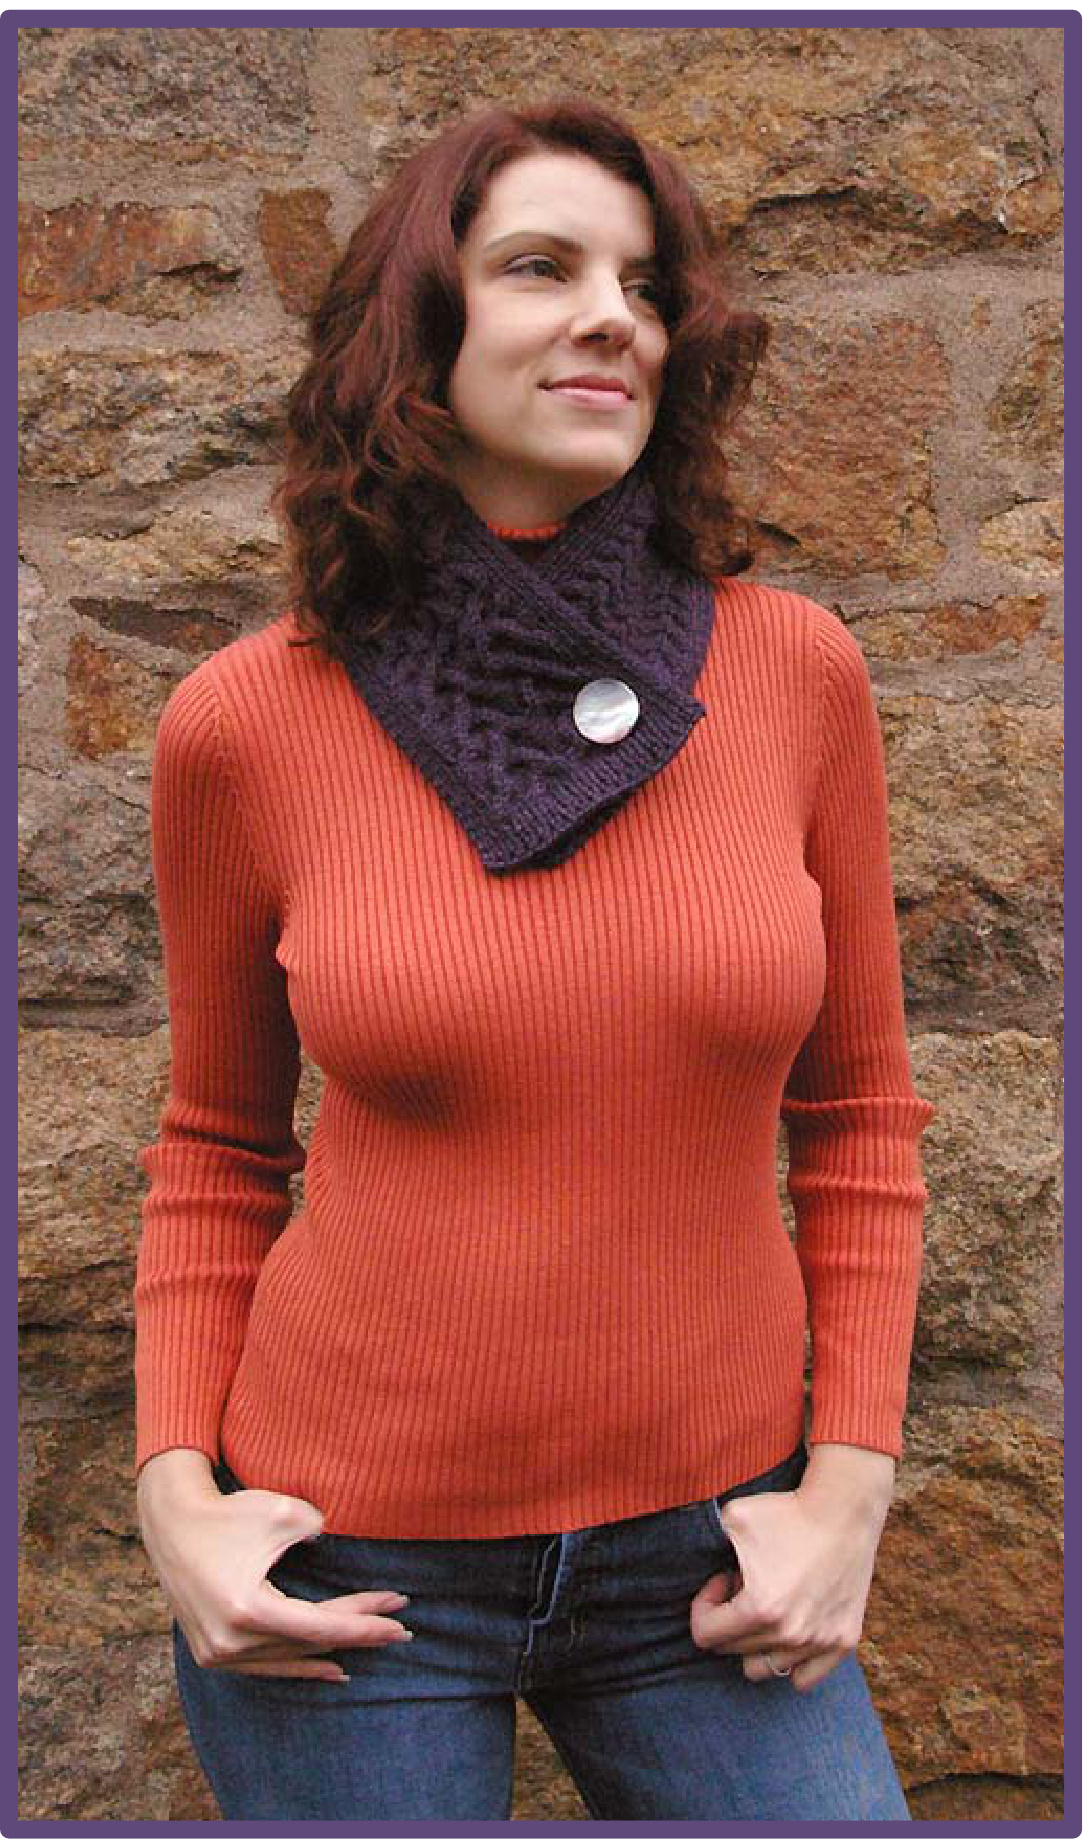
A fun way to explore cable patterns without committing to a full size sweater, this pattern provides seven "squares" of cabled patterns that add up to be just the right length for a simple neck wrap. Full instructions are given for a nice 6 stitch buttonhole for a fancy big button to finish it off. Knit up in a heavy worsted weight wool, the work is quick and easy to see. Good for someone who wants to learn some basic cable patterns, and for anyone who would simply like an excuse to "swatch" several patterns and end up with something wearable in the end. Each section is interchangeable so you can also pick your favorite(s) and make up your own variation very easily. These are written instructions only. There is a detail photo for each of the seven sections.
General Information
Sizes:
Finished wrap dimensions: approximately $5.75^{\prime\prime}$ wideby $30^{\prime\prime}$ long at gauge given after blocking
Materials:
This does not include a full swatch. You may need to make a small swatch $(2^{\prime\prime}\times2^{\prime\prime})$ Orpull out the swatch to use the yardage in the wrap. You can also just go for it and if you are getting an overall width of around 5 or 6 inches in the first panel, it should come out just fine.
Needles and Notions
One pair size U.S. 8 $(5.00\;\mathsf{m m})$ needles Darning needle One 1.5 inch button Sewing needle to sew button on
Gauge:
18 stitches and 24 rows equal $4^{\prime\prime}$ in stockinette stitch on a U.s. 8 ( $^{\leftmoon}:00\:\mathsf{m m}^{\prime}$ needle One cable section, not including rib border, is 4 inches on same needle.
Abbreviations used in this pattern:
K - Knit P- Purl co - cast on pm - Place marker LH - left hand (needle) cn - cable needle RS - right side of work WS - wrong side of work rep-repeat sts - stitches C4B - Slip the next two stitches onto a cn and hold to the back, knit next two stitches off LH needle, then two off cn C4F - Slip the next two stitches onto a cn and hold to the front, knit next two stitches off LH needle, then two off cn I recommend www.knittinghelp.com for great video tutorials if you are unsure of any of the techniques used in this pattern. For e-mail pattern support please contact me at handmade@guistinello.com.
Instructions
Cast on and set up:
Cast on 36 sts as follows - co 6, pm, co 24, pm, co 6 Work in P1, K1 rib for 5 rows. You will now begin cable sections by working to first marker in rib as set, to second marker knitting a cable section as detailed below, and then to the end in rib as set. Choices for your wrap: To create a wrap like the example shown, work each section, 1-7, one right after the other. You can change the order, alternate two, or if you have a favorite, you can pick one section and repeat it 7 times. Have fun with it! If you choose another order, or a single section is repeated to the end, be sure to follow the buttonhole instructions given in section 7 to place the buttonholeintheright location.
Cable Section 1:
Row 1: C4B 6 times Row2: Pto end Row 3: K to end Row 4: P to end Repeat these 4 rows 6 times
Cable Section 2:
Row 1: $*_{C4\mathsf{F}}$ , C4B; rep from $^\ast3$ times Row2: P to end Row 3: Kto end Row 4: P to end Repeat these 4 rows 6 times
Cable Section 3:
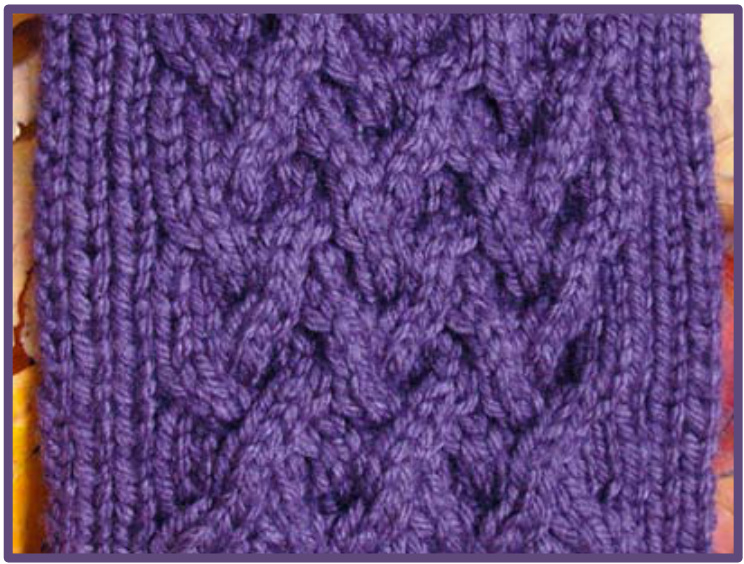
Row 1: K2, $^{*}\mathsf{C}4\mathsf{B}$ , C4F, rep from \* once more, C4B, K2 Row2: Pto end Row 3: Kto end Row 4: P to end Row 5: $^{*}\mathsf{C}4\mathsf{B}$ , C4F; rep from $^*3$ times Row 6: P to end Row 7: K to end Row 8: P to end Repeat these 8 rows 3 times
Cable Section 4:
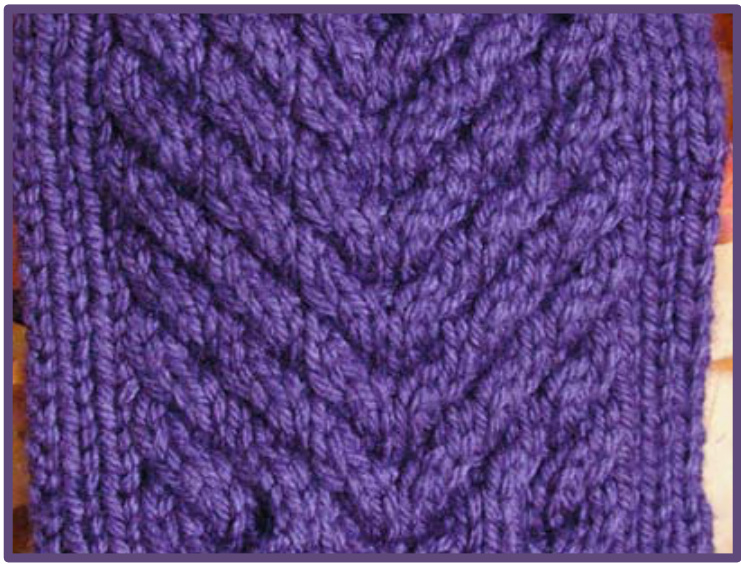
Row 1: C4B 3 times, C4F 3 times Row2: P to end Row 3: K to end Row 4: P to end
Repeat these 4 rows 6 times
Cable Section 5:
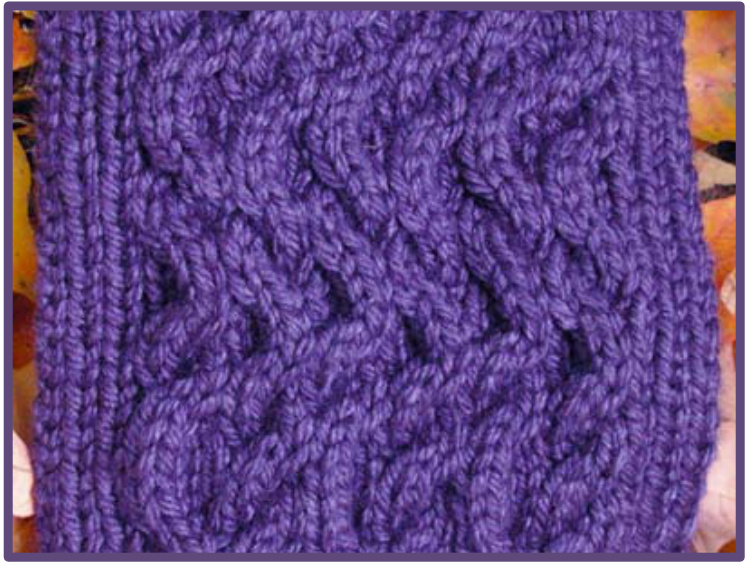
Row 1: $*_{C4\mathsf{F}}$ , C4B; rep from $^*3$ times Row2: P to end Row 3: K to end Row 4: P to end Row 5: $^{*}\mathsf{C}4\mathsf{B}$ , C4F; rep from $^*3$ times Row 6: P to end Row 7: K to end Row 8: P to end Repeat these 8 rows 3 times
Cable Section 6:
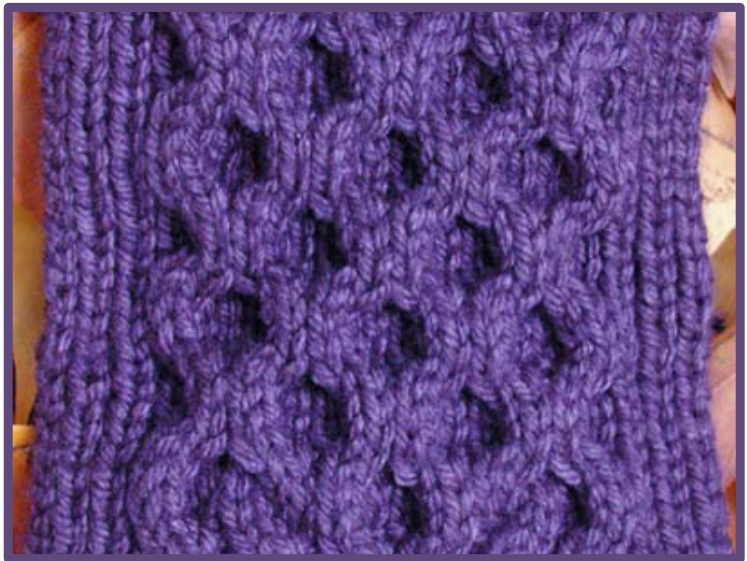
Row 1: $^{*}\mathsf{C}4\mathsf{B}$ , K4; rep from $^*3$ times Row2: P to end Row 3: $\ast_{\mathsf{K4}}$ , C4B; rep from $^*3$ times Row 4: P to end Repeat rows 1-4 once more Row 9: $*_{C4\mathsf{F}}$ , K4; rep from $^\ast3$ times Row10:Ptoend Row 11: $\ast_{\mathsf{K4}}$ , C4F; rep from $^\ast3$ times Row12:Pto end Repeatrows9-12oncemore Repeat rows 1-8 once more\*\*\*
Cable Section 7:
Row 1: K2,C4B, C4F,K4,C4B, C4F,K2 Row2: P to end Row 3: K to end Row 4: P to end Row 5:C4B,K4,C4F,C4B,K4,C4F Row 6: P to end Row 7: K4, C4B, K8, C4F, K4 Row 8: Pto end
Repeat these 8 rows 3 times; \*\*\* at the same time\*\*\* on row 19 (the third row of the third repeat, a plain knit row) place a six stitch buttonhole as follows: Work row to last 15 sts (overall, including the 6 ribbed edge stitches) Bring yarn to front, slip 1 purlwise, bring yarn to back again. \*Slip 1 purlwise, pass first slipped stitch over second; repeat from \* 5 more times. Place last stitch back on left needle, turn your work. (WS) Cast on 7 stitches as follows: \*Insert right needle between the first and second stitches on left needle, draw up a loop, and place it on the left needle; repeat from $^{\ast}6$ more times. Turn your work. (RS) Bring yarn to back, slip first stitch on left needle onto right needle and pass last cast on stitch over it. Work to the end of the row. For help with buttonholes, check out http://www.knittingdaily.com/glossary/one-row-buttonhole.aspx
Finishing:
Work four rows in K1, P1 rib and then bind off all stitches in rib. Darn in ends and block work. Sew on the button at the top right side of the first section, RS facing you as you worked it. The other end will cross over this section at right angles to wrap and close as shown in the photos.
\*\*If you choose to use Cable Section 6 forthe etire length of the work, you ill want to repeat the first 16 rows for the entire length of the garment. This is a total of 10.5 repeats of those 16 rows.
For more pictures of this and other upcoming designs, You can find me on www.ravelry.com, user name "colourknits"


