Both hats can be blocked 20-24", height approx $7^{\circ}$ for the top hat, brim approx $5^{\circ}$ for the pirate hat.
Full Size Top Hat
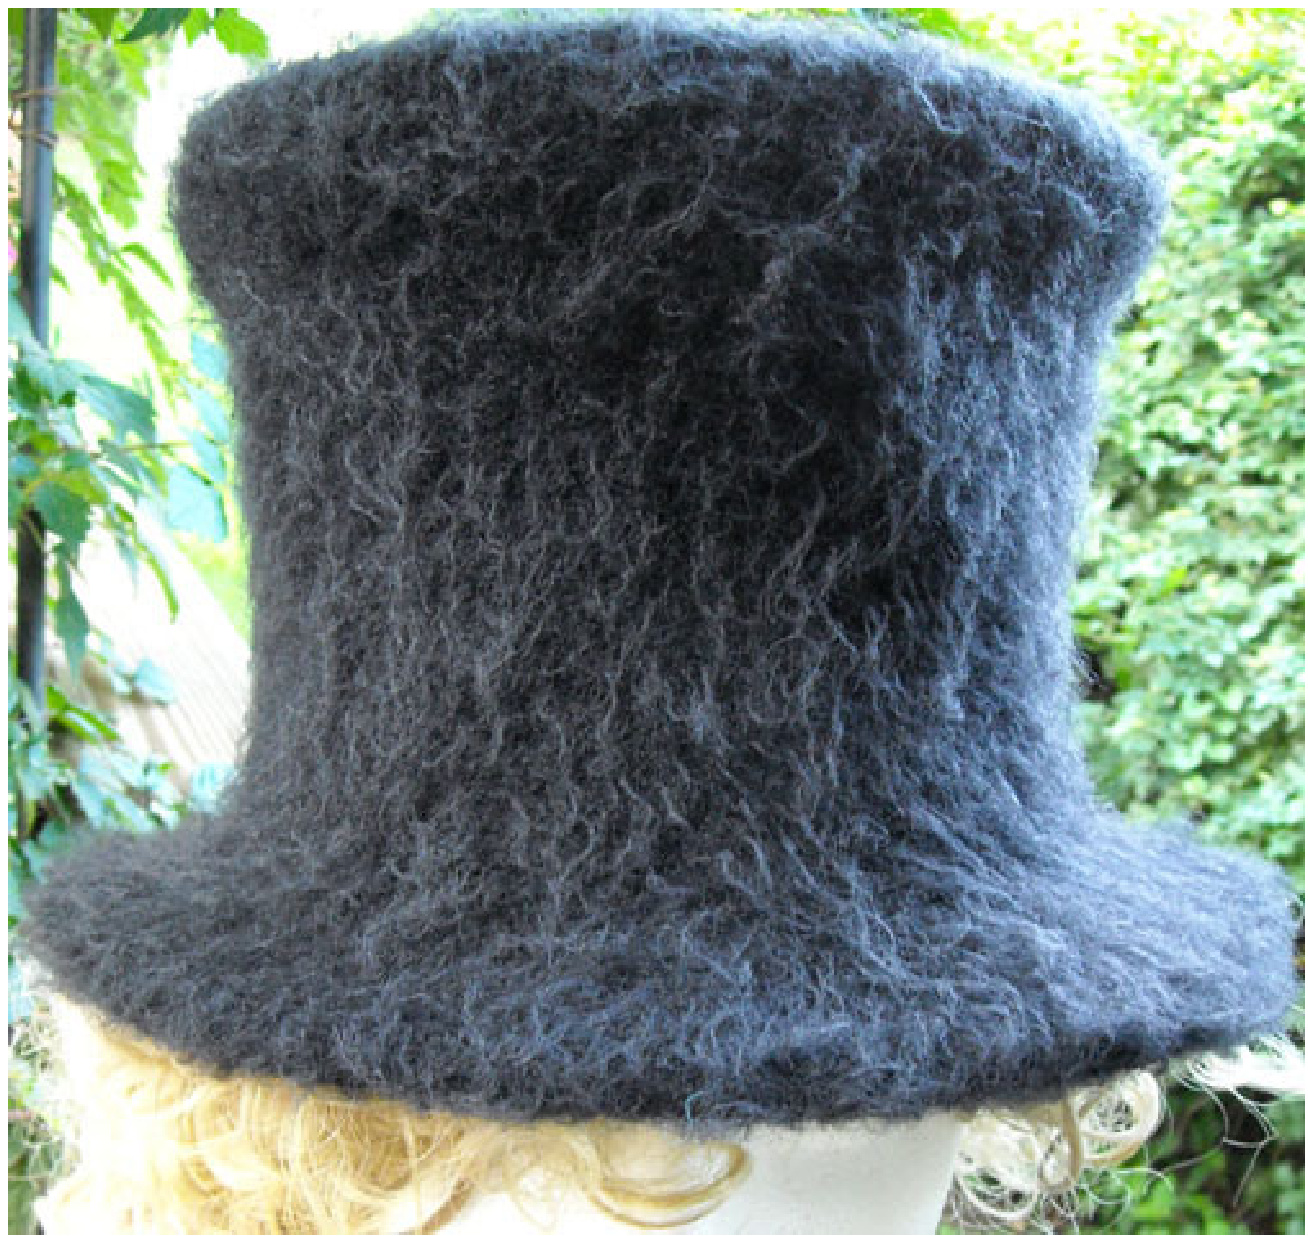
Materials: Yarn - 2 skeins any $100\%$ wool worsted, approx 500 yards Paton's Classic Merino used in sample) Needles - 13 (circular) Gauge: With worsted weight held double, approx 2.75-3 st to the inch. Due to popular demand, I've worked out alterations for a full size version. I would highly recommend a gauge swatch and felting it to get an accurate measurement of your finished gauge before attempting to make a hat intended to fit down on anyone's head. Also, while the pattern is written in the round, working flat and then seaming would certainly be possible. If you'd like help converting the pattern for straights, just email me, lara $@$ darktwist.com $\mathrm{Pm}=$ place marker, $\mathbf{sm}=$ slip marker CO 8 R1: knit R2: kfb around R3: (and subsequent odd rows) knit R4: (k1, kfb, pm) around R6: (k2, kfb, sm) around R8: (k3, kfb, sm) around R10-18: continue to increase before each marker until (k9, kfb) [88 sts] - for more of a mad hatter flair to the top, inc for one more round giving a total of 96 sts. R20: purl around For the sides of the hat, rows are less important than the height measured. Knit 1", work decrease round (k2tog at each marker) Knit $2^{\bullet}$ , dec round Knit 3", dec round (removing markers), work straight 2" Hatband row 1: purl around Hatband row 2: knit Hatband row 3: purl Brim: knit 1 row, (kfb, k2) around, knit straight $3^{\circ}$ ,BO Finishing: Use beginning tail to close top. Weave in ends. An I-cord bind off would also be an Option. The denser the felt, the better the hat shape. I throw mine in the wash with heavy agitation and then allow to dry stretched over a gallon paint can, but I have a big head and loads of hair, so search until you find the right blocking form. Starch is wonderful after the initial blocking, but beware spraying the outside (especially dark colors) as it can catch on the fuzzy bits and leave you with hat dandruff. Another option I have not tried is using millinery wire to shape the brim. This may be especially helpful if some of your decorations are large or heavy. Another tip for large decorations, line the inside of the top of the hat with a bit of plastic canvas to give you additional structure to attach to, and help keep the hat from crumpling to one side. Pirate Hat Materials:
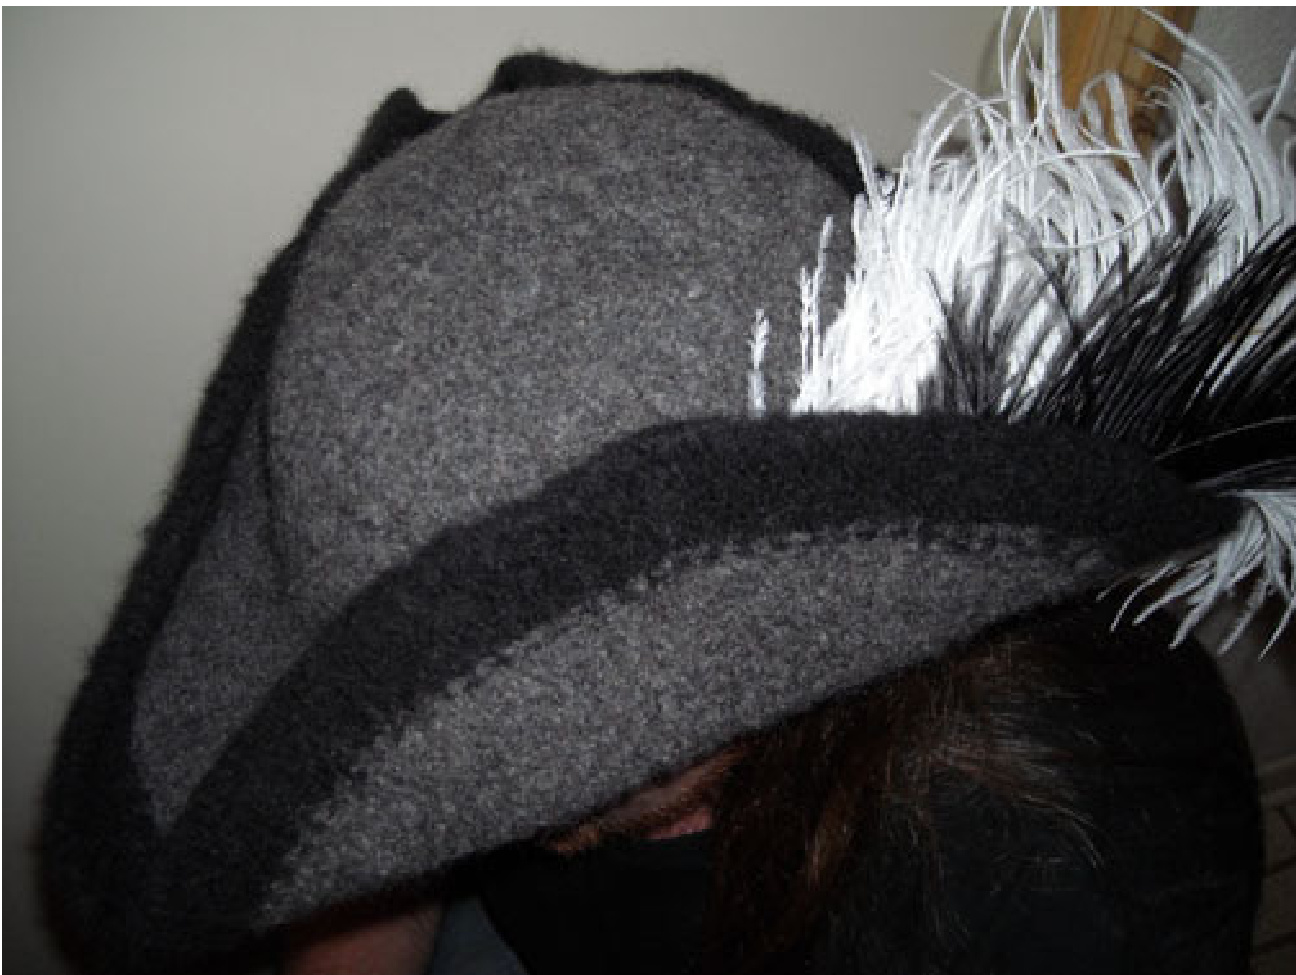
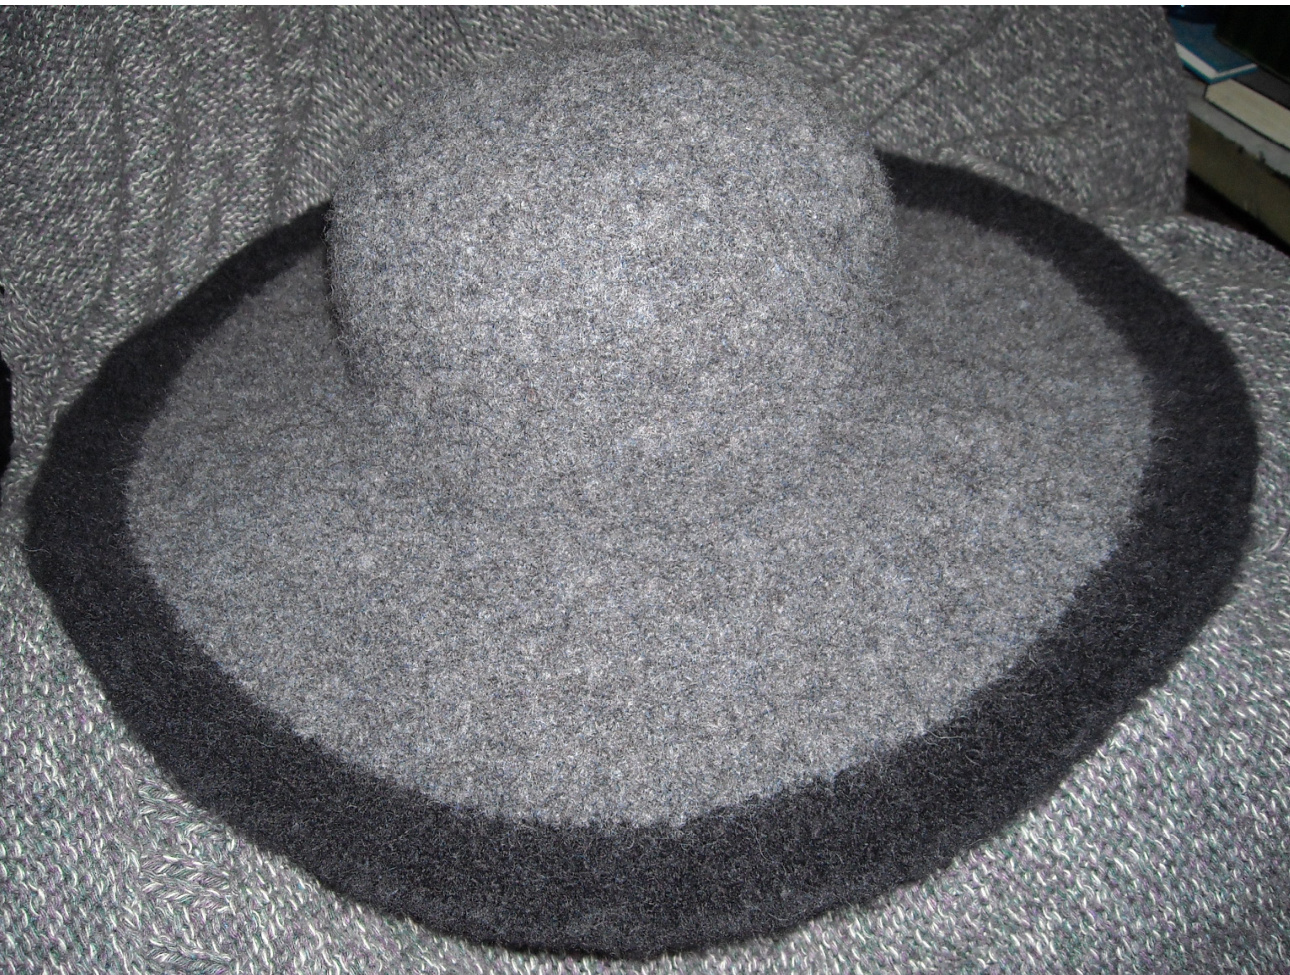
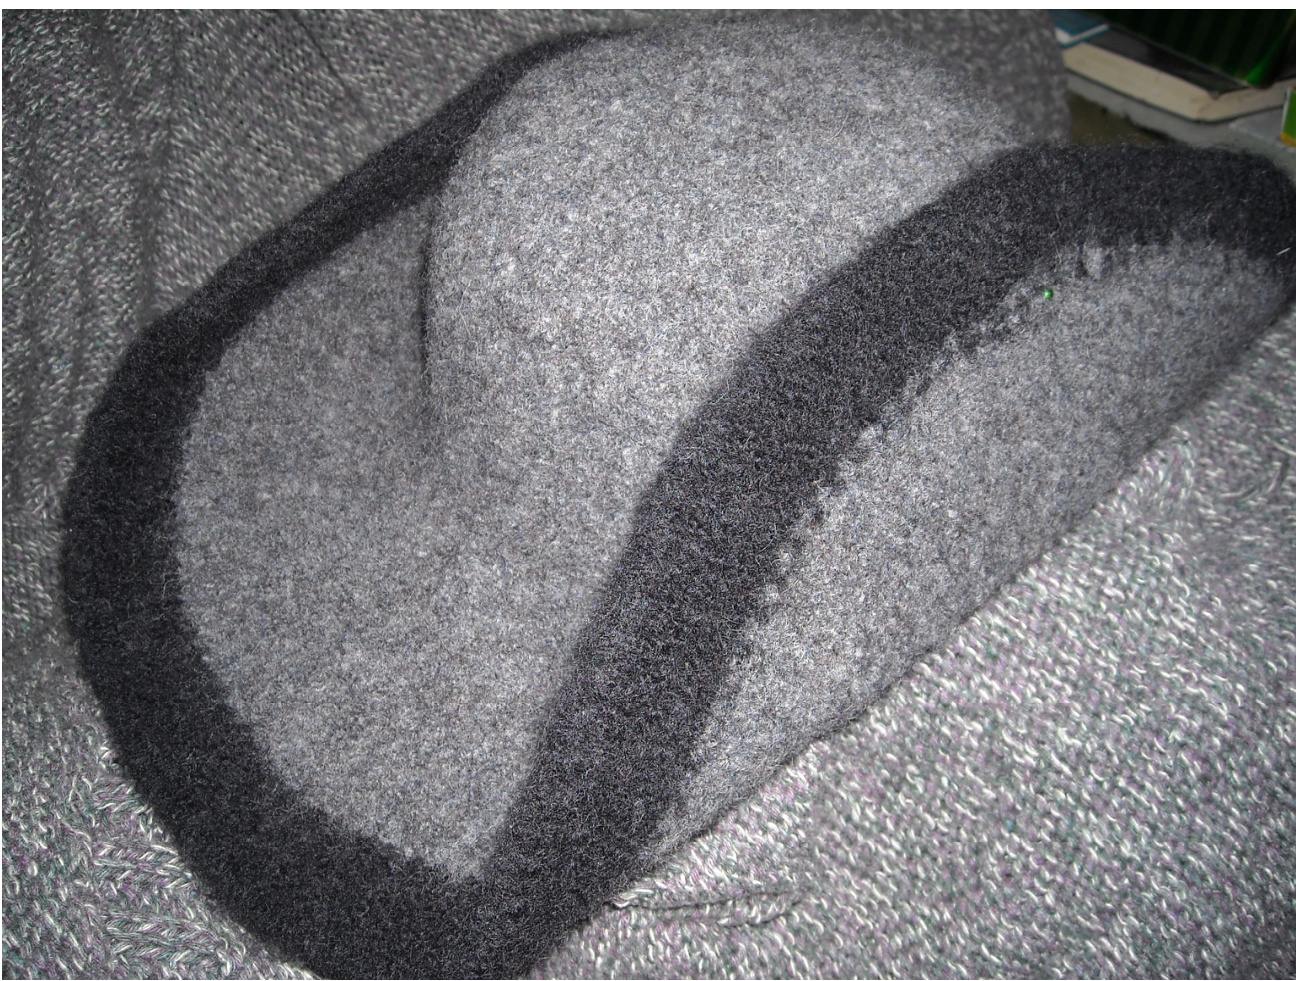
Yarn - 2.5 skeins any $100\%$ wool worsted, approx 600 yards (Paton's Classic Merino used in sample) Needles - 13 (circular) Gauge: With worsted weight held double, approx 2.75-3 st to the inch. $\mathrm{Pm}=$ placemarker, $\mathbf{sm}=$ slipmarker CO8 R1: knit R2: kfb around R3: (and subsequent odd rows) knit R4: (k1, kfb, pm) around R6: (k2, kfb, sm) around R8: (k3, kfb, sm) around R10-18: continue to increase before each marker until (k8, kfb) [80 sts] - remove markers on next row. Knit straight for $5^{\circ}$ (K2, kfb) around Knit straight for $2^{\bullet}$ (k3, kfb) around Knit straight for 4' (K4, kfb) around Knit 3 more rows and BO. Finishing: Use beginning tail to close top. Weave in ends Notes: The wonderful thing about the shape this pattern produces is the number of variations the final product can have. If it needs to have a solid brim, use millinery wire around the outside edge. Leave the hat as is and it could be a priest's hat or purl the first row after the last upper increase to give the crown a squared edge and it gains a Spanish flair (maybe I've watched too many Zorro movies). Fold up one or two sides and have a cavalier style topper. I highly recommend playing around with it until you have the hat you want. I typically pin the sides in place and then use leftover yarn to run a quick tack stitch to hold everything where it needs to be. The sample hat in the pictures had a contrasting color added 2 rows before the last brim increase.
I make more of these than I need, so check my etsy shop - http://darktwist.etsy.com and I may have an example posted there as well. Pattern and pictures property of Dark Twist Fiber Co. 2008


