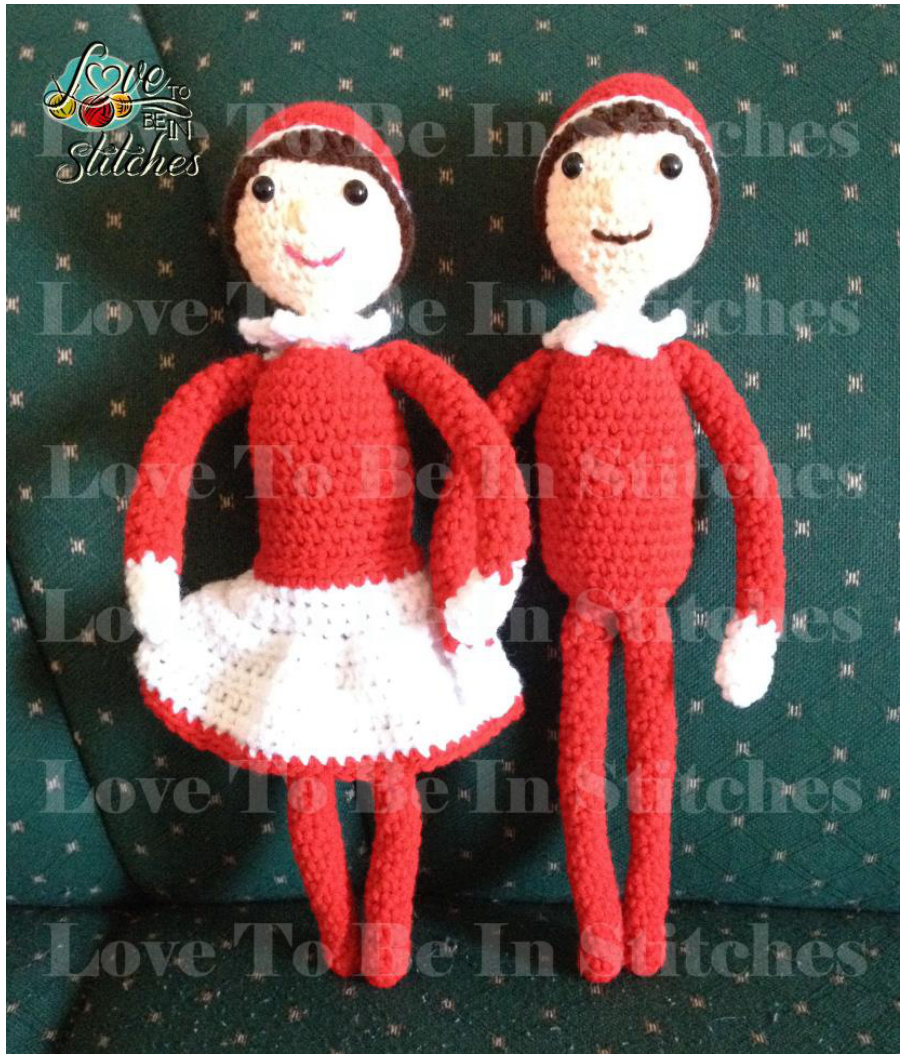
DEBBIE'S SHELF ELF
Thank you for downloading this pattern. I hope you enjoy making your own doll! If you have any questions or concerns, you can email me at lovetobeinstitches@gmail.com Pattern by Debbie McLeod ( https://www.facebook.com/lovetobeinstitches?ref=hl ) Absolutely NO part of this pattern may be reproduced, transmitted or redistributed in any way. Only print a copy of this pattern for your own personal use! Finished items can be sold. Please share your finished designs with me on Facebook or you can also find me on Ravelry: http://www.ravelry.com/designers/love-to-be-in-stitches I would love to see them! This pattern uses American crochet terms. Gauge is not really important with this amigurumi.
Materials needed:
4.25mm/G hook Red, White, Brown, Light Peach (or Buff) yarn - Red Heart Super Saver - #4 ww 2 X 9mm Safety Eyes (optional - they can be embroidered on, if you wish) Polyester fiber-fill Stitch Marker (optional) Pipe Cleaners
Stitches Used
- Sc -Single Crochet Inc - 2 single crochet in one stitch Sc2tog - Single Crochet 2 Together (invisible decrease - if you're unfamiliar with this technique, refer to this link: http://www.crochetspot.com/how-to-crochet-singlecrochet-invisible-decrease/ ) - THIS IS NOT MY LINK! Magic Ring - If you are not comfortable with this method, you can ch2 and work your stitches into the second stitch from hook. Puff Stitch - Yo, insert hook in next st, yo, pull Ip through st and make Ip same height as previous sts in working row, (yo, insert hook in same st, yo, pull lp through st and make Ip same height as working row) twice, yo, pullthrough all 7 Ips on hook, ch 1. BLO -Back Loop Only
Notes:
This pattern is worked "in the round" without joining at the end of each round unless otherwise specified. ALL stitches are worked in both loops unless otherwise specified. Place your stitch marker at the beginning of each round to make it easier to keep track of your Round number.
BOY SHELF ELF
Begin with head
Using Light Peach or Buff:
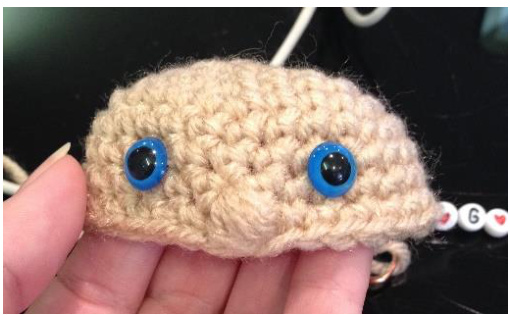
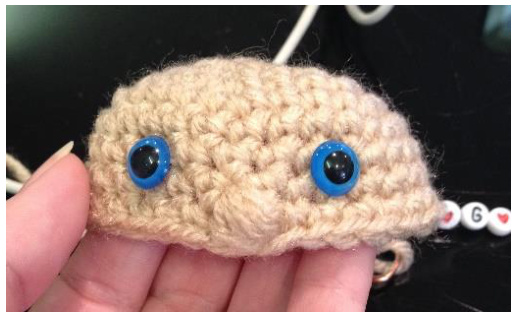
Rnd 1: 6sc in magic ring (6) Rnd 2: Sc inc in each st (12) Rnd 4: \*Sc in 2 st, 2 sc in next st\* repeat from \*to\* around (24) Rnd 5: \*Sc in 3 st, 2 sc in next st\* repeat from \*to\* around (30) Rnd 6 - 8: Sc in each st around (30) Rnd 9: Sc in 15 sts, puff st (nose), sc in next 14 st (30) If you're using safety eyes, place eyes one round above the nose with about 4-5 sts between the eyes.
Rnd 10 & 11: Sc in each st around (30) Rnd 12: \*Sc in next 3 sts, sc2tog\* repeat from \* to \* around (24) Rnd 13: \*Sc in next 2 sts, sc2tog\* repeat from \* to \* around (18) Rnd 14: \*Sc in next st, sc2tog\* repeat from \* to \* around (12) Stuff the head. Rnd 15: Sc2tog around (6) Rnd 16 - 18: Sc in each st (6) - This makes the neck Sc in 2 more sts so you will be at the BACK of the neck and head and change colors to red. Rnd 19: 2 sc in each st around (12) Rnd 20: \*Sc in 1 st, 2 sc in next\* repeat from \* to \* around (18) Rnd 21: \*Sc in 2 sts, 2 sc in next\* repeat from \* to \* around (24) Rnd 22 - 35: Sc in each st around (24) Now would be a good time to put the pipe cleaner in the neck before starting the decrease rounds. I took a pipe cleaner and folded it in half, then twisted it, then folded it in half again and twisted it. No need to stuff the neck if you do this. Start stuffing the body. Rnd 36: \*Sc in 2 st, sc2tog\* repeat from \* to \* around (18) Rnd 37: \*Sc in 1 st, sc2tog\* repeat from \* to \* around (12) Finish stuffing the body. Rnd 38: Sc2tog around (6) Finish off and weave hole closed.
Legs (Make 2)
Using red:
6 sc in magic ring (6) Sc in each st around until leg measures 6.5 inches. Join with a sl st. Finish off leaving a long tail to sew to the body. Take a pipe cleaner and fold in half and twist, then put inside leg before sewing to the body. Sew the legs to the bottom, rounded part of the body.
Arms (Make 2)
Using white:
Rnd 1: 3 sc in magic ring (3) Rnd 2: Sc inc in each st (6) Rnd 3 - 5: Sc in each st (6) On the 6th stitch, change to red. Continue sc in each st with red until arms measure 5.5 inches from the tip of hand. Join with a sl st. Finish off leaving a long tail to sew to the body. Take a pipe cleaner and fold in half and twist, then put inside arm before sewing to the body. Sew arms to the sides of the body, close to the top of the body.
Collar
Using white:
Ch 12 Row 1: Sc in second st from hook and in each st across, ch1, turn (11) Row 2: \*Sc in next st, ch 3, sl st in first ch of ch 3 (makes point), sl st in same st as sc Sc in next st\* Repeat from \* to \* to end of row, sc in last st. (This will create 5 points) Finish off leaving a long tail to sew around the neck.
Hat
Using red:
Ch 28, sl st to join, being careful not to twist the chain. Rnd 1: Sc in each st around (do not join) (28) Rnd 2 & 3: Sc in each st around (28) Rnd 4: \*Sc in 5 sts, sc2tog\* repeat from \* to \* around (24) Rnd 5: \*Sc in 4 sts, sc2tog\* repeat from \* to \* around (20) Rnd 6: \*Sc in 3 sts, sc2tog\* repeat from \* to \* around (16) Rnd 7: \*sc in 2 sts, sc2tog\* repeat from \* to \* around (12) Rnd 8: \*Sc, sc2tog\* repeat from \* to \* around (8) Rnd 9: Sc2tog around (4) Join with a sl st. Finish off leaving a long tail to weave hole closed
Rim of Hat
Using white:
Attach to the beginning chain. (I chose to attach it in the "back" of the hat) Rnd 1: Sc in 13 sts, 2 sc in next, sc in remaining sts except for the last st, 2 sc in last st. (30) Join with a sl st. Finish off and weave in ends.
Hair
Using brown:
Attach to back of hat working in BLO. Sc 12, sl st, hdc in next 2 sts, dc in next st, hdc in next st, sl st in next 2 sts, sc in remaining st. Sl st to join. Finish off and leave a long tail to sew to head. Stuff hat lightly and sew to the head.
GIRL SHELF ELF
Begin with head
Using Light Peach or Buff:
Rnd 1: 6sc in magic ring (6) Rnd 2: Sc inc in each st (12) Rnd 3: \*Sc in 1 st, 2 sc in next st\* repeat from \*to\* around (18) Rnd 4: \*Sc in 2 st, 2 sc in next st\* repeat from \*to\* around (24) Rnd 5: \*Sc in 3 st, 2 sc in next st\* repeat from \*to\* around (30) Rnd 6 - 8: Sc in each st around (30) Rnd 9: Sc in 15 sts, puff st (nose), sc in next 14 st (30) If you're using safety eyes, place eyes one round above the nose with about 4-5 sts between the eyes.
Rnd 10 & 11: Sc in each st around (30) Rnd 12: \*Sc in next 3 sts, sc2tog\* repeat from \* to \* around (24) Rnd 13: \*Sc in next 2 sts, sc2tog\* repeat from \* to \* around (18) Rnd 14: \*Sc in next st, sc2tog\* repeat from \* to \* around (12) Stuff the head. Rnd 15: Sc2tog around (6) Rnd 16 - 18: Sc in each st (6) - This makes the neck will be at the BACK of the neck and head and change colors to red Rnd 34 & 35: In BOTH loops, sc in each st around (24) Now would be a good time to put the pipe cleaner in the neck before starting the decrease rounds. I took a pipe cleaner and folded it in half, then twisted it, then folded it in half again and twisted it. No need to stuff the neck if you do this. Start stuffing the body. Rnd 36: \*Sc in 2 st, sc2tog\* repeat from \* to \* around (18) Rnd 37: \*Sc in 1 st, sc2tog\* repeat from \* to \* around (12) Finish stuffing the body. Rnd 38: Sc2tog around (6) Finish off and weave hole closed.
Skirt
Using red:
in unused loop in the middle of the back from Rnd 33 of the body. Rnd 1: Sc in same st as slst and in each st around, join to first st with a slst and finish off. Weave in ends.
Using white:
Rnd 2: Join with a slst to the same st that you finished off on the last round, sc in same st and in each st around. DO NOT JOIN, continue working in the round (24) Rnd 3: Sc in each st around (24) Rnd 4: \*Sc in 3 st, 2 sc in next st\* repeat from \*to\* around (30) Rnd 5: 2sc in each st around (60) h st around (60) Join with a slst to first st of Rnd 8. Weave in ends
Using red:
Rnd 9: Join with a slst to the same st that you finished off on the last round, sc in same st and in each st around. Join with a slst and finish off. Weave in ends.
Legs (Make 2)
Using red:
6 sc in magic ring (6) Sc in each st around until leg measures 6.5 inches. Join with a sl st. Finish off leaving a long tail to sew to the body. Take a pipe cleaner and fold in half and twist, then put inside leg before sewing to the body. Sew the legs to the bottom, rounded part of the body.
Arms (Make 2)
Using white:
Rnd 1: 3 sc in magic ring (3) Rnd 2: Sc inc in each st (6) Rnd 3 - 5: Sc in each st (6) On the 6th stitch, change to red. ch st with red until arms measure 5.5 inches from the tip of hand. Join with a sl st. Finish off leaving a long tail to sew to the body. Take a pipe cleaner and fold in half and twist, then put inside arm before sewing to the body. Sew arms to the sides of the body, close to the top of the body.
Collar
Using white:
Ch 12 / 1: Sc in second st from hook and in each st across, ch1, turn (11) Row 2: \*Sc in next st, ch 3, sl st in first ch of ch 3 (makes point), sl st in same st as sc Sc in next st\* Repeat from \* to \* to end of row, sc in last st. (This will create 5 points) Finish off leaving a long tail to sew around the neck.
Hat
Using red:
Ch 28, sl st to join, being careful not to twist the chain. Rnd 1: Sc in each st around (do not join) (28) Rnd 2 & 3: Sc in each st around (28) Rnd 4: \*Sc in 5 sts, sc2tog\* repeat from \* to \* around (24) Rnd 5: \*Sc in 4 sts, sc2tog\* repeat from \* to \* around (20) Rnd 6: \*Sc in 3 sts, sc2tog\* repeat from \* to \* around (16) Rnd 7: \*Sc in 2 sts, sc2tog\* repeat from \* to \* around (12) Rnd 8: \*Sc, sc2tog\* repeat from \* to \* around (8) Rnd 9: Sc2tog around (4) Join with a sl st. Finish off leaving a long tail to weave hole closed.
Rim of Hat
Using white:
0 the beginning chain. (I chose to attach it in the "back" of the hat Rnd 1: Sc in 13 sts, 2 sc in next, sc in remaining sts except for the last st, 2 sc in last st. (30) Join with a sl st. Finish off and weave in ends.
Hair
Using brown:
Attach to back of hat working in BLO! Ch1, hdc in first st and in the next 11sts, slst in the next 2sts, hdc in the next st, dc in the next 3sts, hdc in the next st, slst in the next 3sts, hdc in remaining sts, slst to the first st. Finish off, leaving a long tail to sew to the head.
Now you have your very own Shelf Elf's!
Hope you enjoyed this pattern! To see what else I'm up to, please visit me on Facebook (and maybe give me a “like" while you're there!) https://www.facebook.com/lovetobeinstitches?ref=hl Copyright @ 2013 Debbie McLeod


