Sumptuous Mohair Wrap
@2010 Helen Jacobs-Grant website : http://myheartexposed.co.uk email : helen@ myheartexposed.co.uk
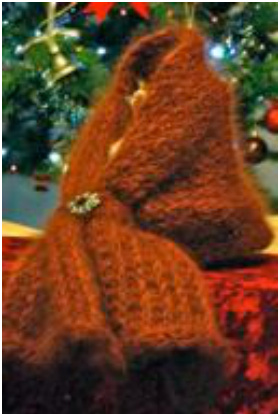
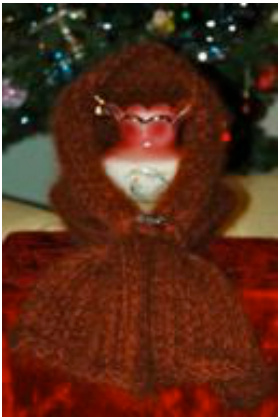
A beautiful lacy, soft, stretchy wrap which can be worn in several different ways: around the shoulders, over the head as a snood or like a regular scarf you areonlylimitedbyyourimagination
Knitting Loom
any knitting loom with an odd number of pegs wide enough for your wrap or shawl (33 pegs of a 3/4 inch gauge loom from CinDwood Crafts was used in example shown which is the same as the green34peg knifty knitter round loom)
Yarn
any mohair or fluffy yarn that can be used in one strand with your knitting loom (my own naturaly dyed handspun mohair yarn has been used in the example shown)
Pattern Instructions
crochet cast on an odd number of stitches (33 stitches was used in the example shown) a) stitch pattern isworked over eight steps b) you can work in any direction, left to right or right to left, which ever you feel comfortable working. c) first stitch on every row is not knitted just ignore and start with the next peg 1 : ewrap all pegs 2 : knit off peg 2 then every other peg (you now have one loop on pegs 1, 2, 4, 6 and every even numbered peg, two loops on pegs 3, 5, 7 and every odd numbered peg) 3 : ewrap all pegs 4 : knit off all the pegs that only have two loops on them (you now have one loop on pegs 2, 4, 6 and every even numbered peg, three loops on pegs 3, 5, 7 and every odd numbered peg, two loops on first and last pegs) 5 : ewrap all pegs 6 : knit off all the pegs that only have two loops on them (you now have one loop on pegs 2, 4, 6 and every even numbered peg, four loops on pegs 3, 5, 7 and every odd numbered peg, two loops on peg 1 and three loops on the last peg) 7 : ewrap all pegs 8 : knit off all pegs including the first one so that you only have one loop on each peg (lift all three or four bottom loops over top stitch as if they were one knitting them off together) keep working the eight steps for the stitch pattern until your wrap is the desired length or you are running out of yarn then bind off using the flat panel bind off method : 1 : skip first peg, knit second peg but instead of placing the new stitch loop on its peg move it back one place so its sitting on the first peg 2 : lit the bottom loop off on the first peg 3 : move the stitch from the first peg over to the second peg 4 : repeat all the way along the row knitting the next peg moving it back one space lifting off the bottom loop over the top one then moving the stitch forward to the empty peg until you only have one stitch left on the row (tip : every five to six stitches, instead of lifting off the bottom stitch loop, catch it after knitting it off and hold on to it while you move the stitch on the peg forward to the empty peg and place the loop you are holding back onto its peg, this will give the row some tension and keep it from shrinking and give you a nice even bind off row which looks the same as your cast on row) 5 : cut working yarn leaving a six inch tail, pull the yarn through the last stitch and lift off the loom tugging on the yarn to secure 6 : weave in any yarn tail ends to the back of your project To make a loop to hold your wrap together whilst being worn, cast on the same amount of stitches you used for your wrap minus two and complete the pattern steps 1 to 8 three times then bind off. Join the ends and weave in both yarn tails into the inside of the loop. Attach a pretty vintage brooch, take lots of photographs and enjoy :)
2010 Helen Jacobs-Grant all rightsreserved


