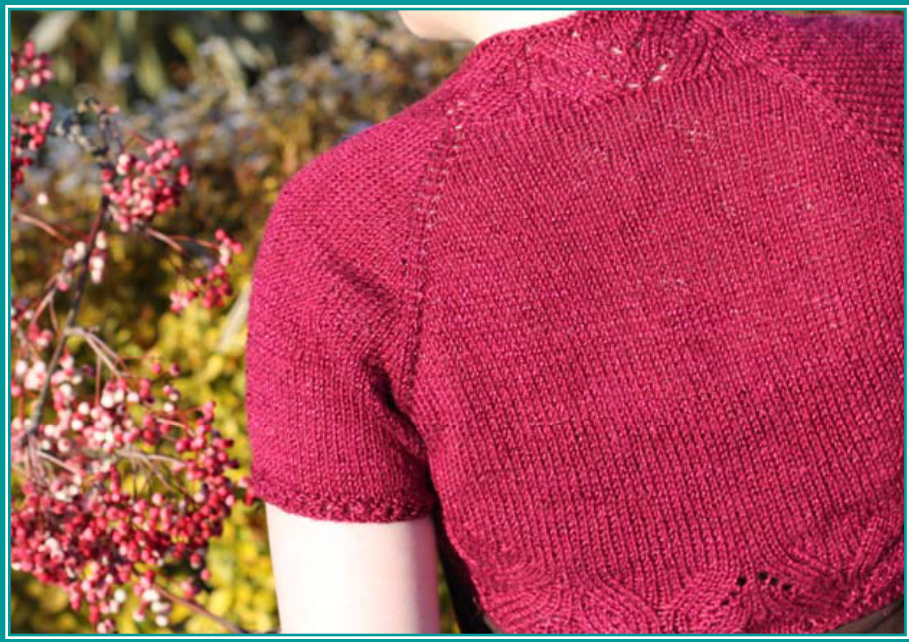
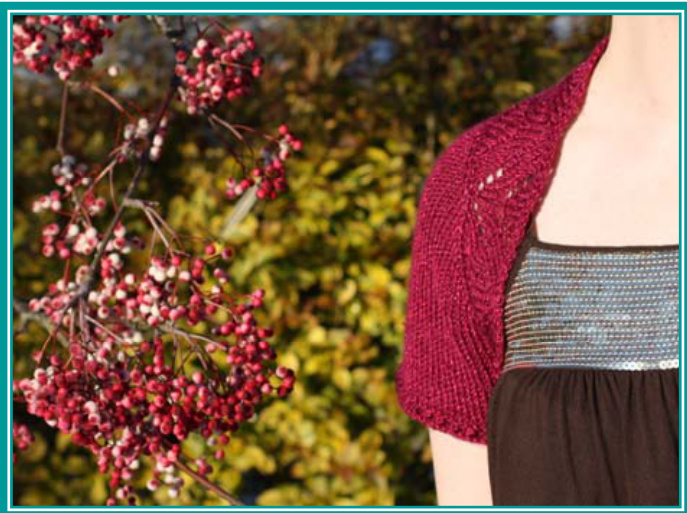
Winterberry
A shrug for all seasons ..!
ABBREVIATIONS
PM Place Marker SM Slip Marker KF&B Knit into the front and back of the next stitch (increases by 1 st) YO Make a new st by bringing the yarn to the front of the work, between the needles, and then laying the yarn over the right-hand needle. K2TOG Knit the next two sts together SSK Slip the next stitch to the right hand needle knitwise, then slip the following stitch to the right hand needle knitwise. Next insert the tip of the left hand needle in through the front legs of those two slipped stitches and knit the two stitches together
This is Knit with...
Yarn 2 (3, 3, 4, 4, 5) balls of Louisa Harding Merletto, 90 metres per 50g ball Needles 3.5mm 80cm or 100cm circular needles &4mm 100cm circular needles Notions Optional:3.5mm&4mmDPNs (or size needed to obtain gauge) 2 stitch markers 2 stitch holders or spare smooth yarn Darning needle Gauge 22 sts & 30 rows = 4 inches in stocking st on larger needles Sizing: 11 (13, 15, 17, 19, 21) inches across the back from underarm to underarm Pattern Notes the neck downwards. If you are between sizes I would suggest knitting the smaller, as a snug fit is desirable. From the front, lift the loop that lies between the stitches with left needle, knit into the back of this loop (increases by 1 st) W&T Wrap & Turn. Bring the yarn, between the needles, to the opposite side of the work. Slip the next st purlwise. Move the yarn back between the needles to its original position Turn the entire work so you are now looking at the opposite side. Slip the same stitch purlwise to the right hand needle and continue as directed.^
KWRAPTOG
PWRAPTOG Knit the wrap together with its corresponding stitch Purl the wrap together with its corresponding stitch
INSTRUCTIONS
Set Up Rows: Using 4mm needles cast on 32 (32, 40, 40, 40, 48) sts NextRow(Ws): P 6 (6,8,8,8, 10) sts, PM, P 20 (20, 24, 24, 24, 28) sts, PM, P 6 (6, 8,8,8, 10) sts Next Row (RS): KF&B, K 4 (4, 6, 6, 6, 8) sts, KF&B, SM, KF&B, K18 (18, 22, 22, 22, 26) sts, KF&B, SM, KF&B, K4(4, 6, 6, 6, 8) sts, KF&B NextRow(Ws): P toend Main Body of Shrug: \*Row 1 (RS): K2, M1, Kto 1 st before marker, M1, K1, SM, K1, M1, Kto 1 st before marker, M1, K1, SM, K1, M1, K to last 2 sts, M1, K2 Row 2 (WS): P to end\* This is Knit, Powerscourt Townhouse, Sth William St, Dublin 2, Ireland E | info@thisisknit.ie W | www.thisisknit.ie
For all sizes:
Rep from \* to \* until you have 60 (70, 82, 92, 84, 90) sts between the two stitch markers. At this point you should have 46 (56, 66, 76, 68, 72) sts in each sleeve section and a total of 152 (182, 214, 244, 220, 234) sts on your circularneedle
For sizes 19 and 21 inches only:
Rep the following four rows, until you have 104 (114) sts between the two stitch markers. At this point you should have 78 (84) sts in each sleeve section and a total of 260 (282) sts on your circular needle \*Row 1 (RS): K to marker SM, K1, M1, K to 1 st before marker, M1, K1, SM, K to end Row 2 (WS): P to end Row 3 (RS): K2, M1, K to 1 st before marker, M1, K1, SM, K1, M1, K to 1 st before marker, M1, K1, SM, K1, M1, K to last 2 sts, M1, K2 Row 4 (WS): P to end\* Lengthening the Back of the Shrug Using Short Row Shaping: Next Row: K across until 4 sts remain before the 2nd marker, W&T Next Row: P across until 4 sts remain before the the 1st marker, W&T Next Row: K across until 8 sts remain before the 2nd marker, W&T Next Row: P across until 8 sts remain before the 1st marker, W&T Next Row: K across until 12 sts remain before the 2nd marker, W&T Next Row: P across until 12 sts remain before the 1st marker, W&T

You will see that you are moving 4 sts in from the markers each time you repeat the short rows. Continue in this manner until you have wrapped 4 (4, 5, 6, 7, 7) sts on either side. 28 (38, 42, 44, 48, 58) sts remain between the wraps in the centre of the shrug. Now K right to the end of this row, working KWRAPTOG on your wrapped sts. Do not increase either side of the marker P right to end of the next row, working PWRAPTOG on your wrapped sts Dividing for Sleeves: K to the first marker, remove this marker and place the just-worked sts on a st holder or smooth waste yarn. These are the sts for your left sleeve. K to the second marker, remove this marker and place the just-worked sts on another st holder or smooth waste yarn. These are the sts for the back section of the shrug K the remaining sts and, \*using the Magic Loop method or DPNs, join to work in the round Rnds 1-5: K all sts Change to 3.5mm needles. Rnd 6: P all sts Rnd 7: K1 [YO, K2TOG] rep to end, K1 Rnd 8: P all sts Cast off all sts purlwise, loosely\* Rejoin yarn to the left hand sleeve sts and repeat from \* to \* for the second sleeve. Edging: Using 3.5mm circular needle: Pick up 2 (2, 4, 4, 4, 4) sts at right underarm as worn Pick up 28 (32, 37, 47, 52, 59) sts along right front edge Pick up 6 (6, 8, 8, 8, 10) sts across top of right sleeve Pick up 21 (20, 24, 23, 23, 28) sts across back neck Pick up 6 (6, 8, 8, 8, 10) sts across top of left sleeve Pick up 28 (32, 37, 48, 52, 59) along left front edge Pick up 2 (2, 4, 4, 4, 4) sts at left underarm pick up Finally knit across the 60 (70, 82, 92, 104 ,114) sts that were on hold for the back. Place a marker to indicate the beginning of the rnd. Work Rnds 1-8 of the lace repeat in CHART A, being careful to repeat the number of sts specified for your size in the Chart Notes. Change to 4mm needles and work Rnds 1-8 of CHART A once more. Next Rnd: P all sts Next Rnd: K all sts Cast off all sts purlwise, loosely.
CHART A:

^For assistance with the "Wrap & Turn" technique (Short Row Shaping) please visit the This is Knit Blog here - http://www.thisisknit.ie/blog/?p=994 ① Lisa Sisk / This is Knit 2011


