Layer Cake Loop March 27, 2012 Multiples of 4 4 oz. Worsted yarn, US10 or US10 1/2 CO 124 or 128 stitches for a snug fit when wrapped twice or 132 or 136 for a less snug fit when wrapped twice, or 140 or 144 for more drape when wrapped twice. Join, being very careful not to twist. For a smoother, no-gap join, cast on one extra stitch and place it on the left needle and Knit2 together. Cartridge rib Section: (Basically in the Cartridge-rib stitch, the slip stitch show alternately on the opposite side every 3 stitches.) Row 1. K3, slip1 wyif around. Place marker. Row 2. P1, slip1 wyib, P2 around. Repeat Row 1 and 2 three more times (8 rows of Cartridge rib stitch) Row 17 Purl Knotted Eyelet Section:
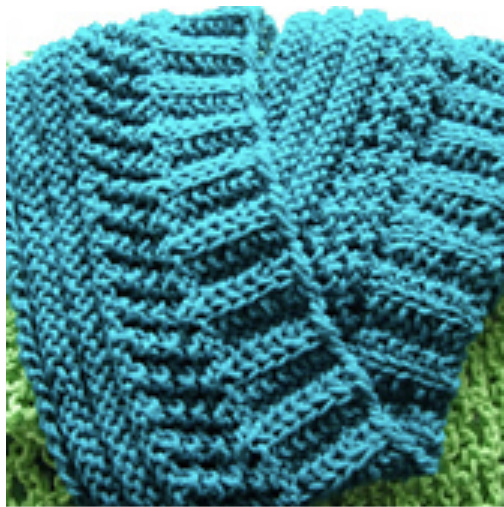
INuw 1o. IN wgeuivi aivulu. Row 19. M1 purlwise, by purling the strand between the stitches (this makes the eyelet), P1 around. Row 20.Knit Repeat Rows 18, 19, and 20 three more times Repeat Rows 18 and 19, ending with Row 19 (M1 purlwise, P1) around (There will be 4 rows of the Knotted Eyelet bumps on the reverse side.) P next 2 rows. K the next 3 rows Ribs Section: Purl the next 3 rows. , continuing with the (K3 rows, Purl 3 rows) until you get 3 purl ridges or as many ridges as you like, ending with 3 purl rows. Purl BO loosely with Jeny's Surprisingly Stretchy Bind Off. Or you could use an elastic knit BO, whichever you like, but the Purl elastic Bind Off looks nearly invisible as well as unbelievably very decorative. ETA: I'm going to clarify the pattern a little about the Bind off. This is exactly how I did it. Starts by YO, P1, purl Bind off the YO and the last stitch Together from the row you just finished, then just YO, Purl 1 before each purl bind off by purl bind off both the yo and the purl stitch Together from the right needle around, ending the last stitch with a regular Purl BO. Way easier than it sounds! Just make sure you do the Purl bind off after you finish the last section of 3 row set of purls. Please feel free to PM me if you can't figure out my directions if you try it. I think you'like it. It looks good any way you wear it, you can even wrap it into a hood and cowl. Enjoy! ETA: Feb. 6, 2012 Thanks to Leah who spotted an error: Row 2 should be P1, slip1 wyib, P2, instead of P3.


