Cozy Coat Closer
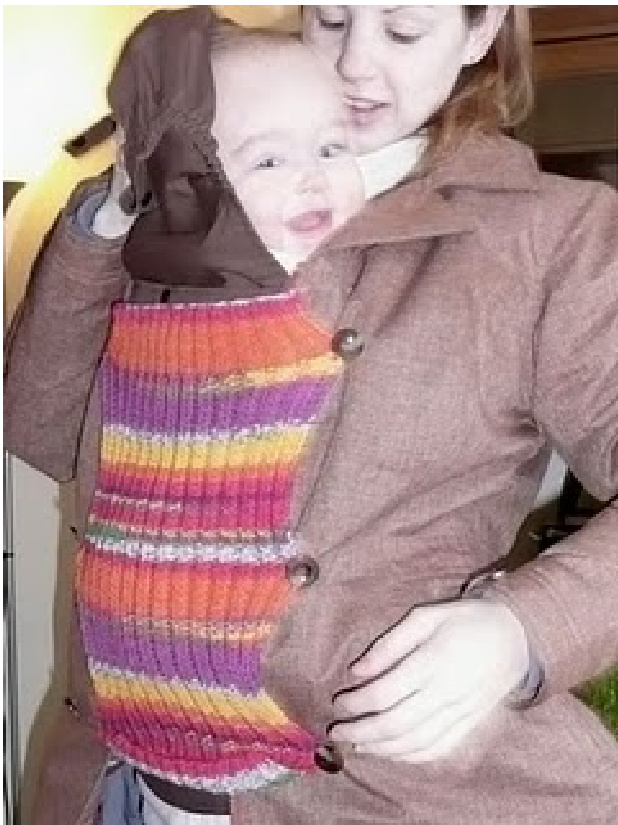
Rewrite of the cozy coat closer pattern to make it a little clearer/simpler. I'm currently pregnant with babe #2, and having difficulty closing my winter coat, so hopefully this willsuffice .. and help me out next wintertoo!
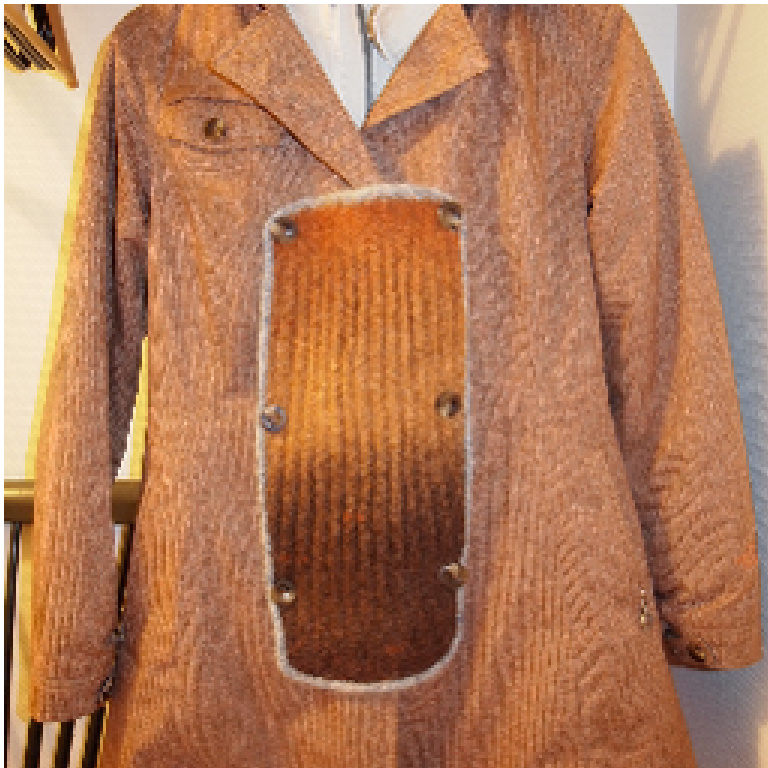
Needle: US size 3 - 3.25 mm needle Yarn: 1 ball Patons Kroy Socks Stripes (approx. 166yds/151m per 1.75oz/50g) or any similar fingering weight yarn (for the remake, I used a thin roving, then felted it to the desired size after finishing) Gauge: 28 sts x 36 rows = 4 x 4 inch (10 x 10 cm) square Size: The pattern is written for a coat with 3 buttons, 6 inches apart, and for an opening in the coat of 6-8 inches. There is quite a bit of give in the finished piece that will accommodate different sizes and a growing baby, but if you need it can easily be adjusted as you knit as detailed in the pattern. Abbreviations: BO-bind off CO - cast on K - knit P-purl rep - repeat st(s) - stitch(es) - CO 42 sts (if you need the panel to be wider CO extra sts in multiples of 4 for each 1/2 inch) - work K2, P2 rib for 18 rows (2 inches) - before starting the next row, pick up and K 3 sts along side of work, turn and begin to set mistake rib pattern: K2, P2 to last st, K1 - before starting next row, pick up and K 3 sts along side of work, turn and continue to set mistake rib pattern: P1, K2, [P2, K2] to last st, P1 (picking up the extra sts along the side of the work helps the bottom of the panel curve under baby's bun - knit 4 rows in mistake rib pattern First buttonhole: - K2, BO 3, continue in pattern to end of row - knit in mistake rib until two sts remain, CO 3 sts to left needle, K1, P1 - work 7 rows in mistake rib pattern - increase in the first stitch of the next 2 rows, taking the new stitches into the pattern as set - repeat last two rows 5 more times (60 sts) - add more rows without increases if you require more length between buttons Second button hole: - P2, BO 3, continue in pattern to end of row - knit in mistake rib until two sts remain, CO 3 sts to left needle, P1, K1 - continue to work in mistake rib pattern for 6 inches (or until desired length between buttons is reached) Third button hole: - P2, BO 3, continue in pattern to end of row - knit in mistake rib until two sts remain, CO 3 sts to left needle, P1, K1 - switch to K2, P2 ribbing and K for 2 inches or until you run out of yarn, whichever is sooner. - BO loosely with an i-cord bind off, and continue to work an applied i-cord all around the outside edge of the work in a contrast colour if desired (totally optional, any stretchy bind off would be fine) - attach 3 buttons opposite button holes in work - depending which side of your work you put them on they may or may not show when they are attached to your coat