Onigiri
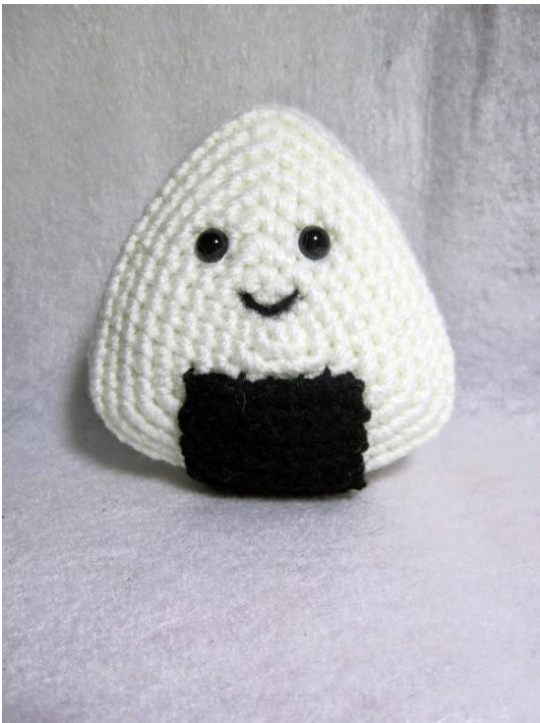
When made from DK weight yarn Onigiri is about 10 cn in height. This pattern will not include a tutorial on how to crochet or needlefelt. You can find tutorials for this everywhere. I learned to crochet from http://www.freshstitches.com/. I learned to needlefelt from http://woolbuddy.com/. If you have any questions, I am very happy to help you through email to the best of my ability. If you don't want to needlefelt, the only thing that I used for this technique is the mouth. You can just embroider that on. To make the onigiri like in the picture, you will need: DK weight yarn - white and black G/6 - 4.0mm crochet hook Wool Roving - black Needlefelting tools Foam block for felting on Small amount of polyfill stuffing
Legend
> SC- Single Crochet > 2sC - Single crochet twice in the same stitch > 3SC - Single crochet three times in the same stitch > SCx2 - Single crochet once in each stitch the number of times, in this case, 2 > SC2tog - Single crochet 2 stitches together to decrease > SC3tog - Single crochet 3 stitches together to decrease > CH - chain stitch > (xx) - xX numbers in the bracket give an indication of how many stitches in that round > (xx, yy rounds) - yy indicates how many rounds to repeat the same instruction for [crochet instructions]x?? - Repeat the instructions inside the square brackets ?? times before continuing > I choose to start my pattern by chainingx2 and then crocheting in the 2"d chain from the hook. The alternative method is to start with the Magic Circle or if you have your won preferred method, definitely use that.
Onigiri Main Body
Round 1: Ch 2, SCx6 in the 2nd ch from hook (6) Round 2: [3SC, SC]x3 (12) Round 3: SC, [3SC, SCx3]x2, 3SC, SCx2 (18) Round 4: SCx2, [3SC, SCx5]x2, 3SC, SCx3 (24) Round 5: SCx3, [3SC, SCx7]x2, 3SC, SCx4 (30) Round 6: SCx4, [3SC, SCx9]x2, 3SC, SCx5 (36) Round 7: SCx5, [3SC, SCx11]x2, 3SC, SCx6 (42) Round 8: SCx6, [3SC, SCx13]x2, 3SC, SCx7 (48) Round 9: SCx7, [3SC, SCx15]x2, 3SC, SCx8 (54) Round 10: SCx54, using the front loop only (54) Round 11: SCx54, this time crochet through both loops AND the loop that was dropped in the previous round. This will give it a nice sharp corner. That means with every stitch you should have 3 stitches on your hook instead of 2. (54) Round 11 - 13: SCx54 (54, 3 rounds) Attach the eyes. Round 14: SCx54, using the front loop only (54) With round 16, use the same technique as round 11. Round 16: SCx8, [SC3tog, SCx15]x2, SC3tog, SCx7 (48) Round 17: SCx7, [SC3tog, SCx13]x2, SC3tog, SCx6 (42) Round 18: SCx6, [SC3tog, SCx11]x2, SC3tog, SCx5 (36) Round 18: SCx5, [SC3tog, SCx9]x2, SC3tog, SCx4 (30) Round 19: SCx4, [SC3tog, SCx7]x2, SC3tog, SCx3 (24) Round 20: SCx3, [SC3tog, SCx5]x2, SC3tog, SCx2 (18) Stuff firmly. Round 21: SCx2, [SC3tog, SCx3]x2, SC3tog, SC (12) Round 22: [SC3tog, SC]x3 (6) Round 22 might be too hard to crochet. You can just sew the hole closed if that is easier. There will be an umeboshi to cover it or the black seaweed part which can also cover it depending on which route you want to take.
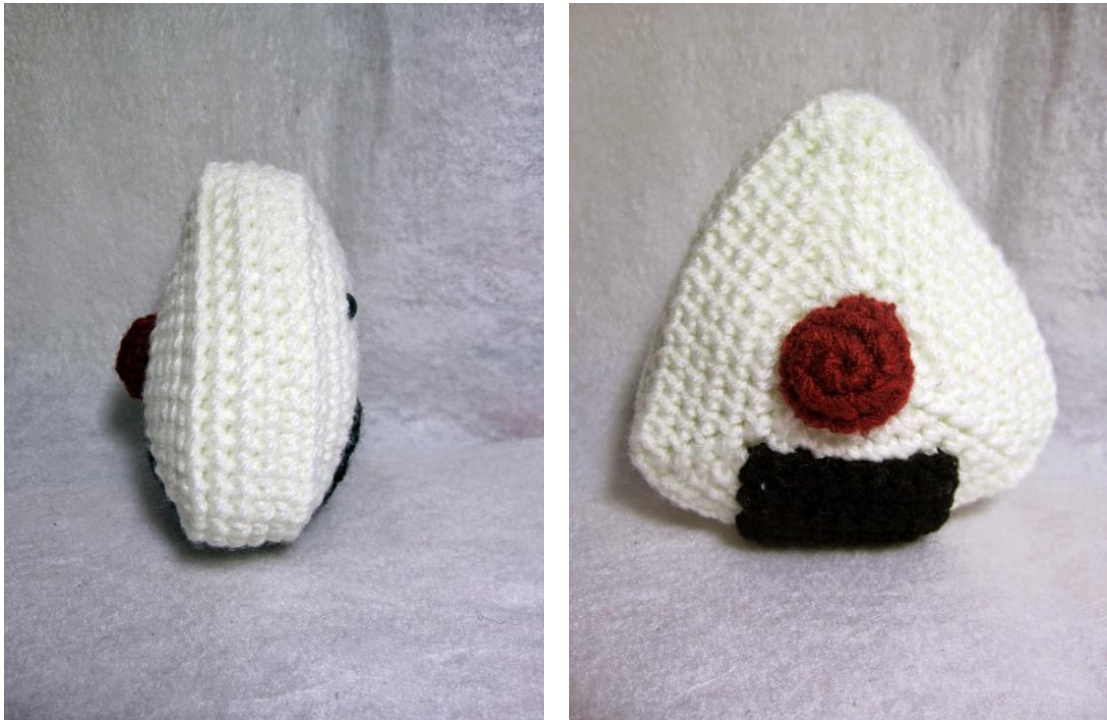
Umeboshi
Round 1: CH2, SCx6 in the 2nd stitch from the hook (6) Round 2: 2SCx6 (12) Round 3: SCx12 (12) Leave a long tail and use this to sew onto the onigiri's back.The way I did this was to sew it half on, then stuff before sewing the rest down.
Seaweed
Row 1: CHx9 Row 2: Starting from the 2nd chain from the hook, SCx8 (8) Row 3: Ch and turn, SCx8 (8) Then repeat "Row 3" until it is long enough for what you want and sew to the Onigiri. Finally, embroider on the little mouth. I needlefelted the mouth onto this one.
Please visit : http://gardensofmay.etsy.com for plush and www.ravelry.com/stores/gardensofmay for patterns. Items made from my patterns may be sold. Please do not distribute my patterns online or offline. Design rights belong to the original creators. I only designed the crochet version. And there you have your very own little stuffed Onigiri to play with! Hopefully the pattern was easy enoughto follow. If you have any questions, please don't hesitate to email me : gardensofmay@gmail.com If you would like to commission any toys please feel free to also drop me a line at that email address or have a look at my online shop. If there is a specific pattern you are after, please send me an email. I can't promise I'll be able to get to it straight away, but I'll try to see if I can move it to the top of my list. I love seeing how other people have made items from my patterns so please feel free to email me. I would love to hear from you. http://www.ravelry.com/stores/gardensofmay/ http://gardensofmay.storenvy.com/ https://www.facebook.com/gardensofmay ire any mistakes in this pattern, I'm so sorry. Please definitely let me know. (

Please visit : http://gardensofmay.etsy.com for plush and www.ravelry.com/stores/gardensofmay for patterns. Items made from my patterns may be sold. Please do not distribute my patterns online or offline. Design rights belong to the original creators. I only designed the crochet version.


