By Holly Barcelo
Crochet Belt-loop Pouch
I created this pouch when my sister told me she didn't have anything to hold money in when she went to sell her artwork at a local festival. She didn't want to bring a purse and most emphatically refused to wear a fanny pack. From beginning to end the pattern took me about an hour so it is a good "Night-Before Project" for when you need a pouch. I designed the pouch to hold money, but it also fits my camera and my phone perfectly. If you're phone doesn't have gigantism like mine, then you can start with a smaller chain and alter accordingly. If you want help on an alteration, or any
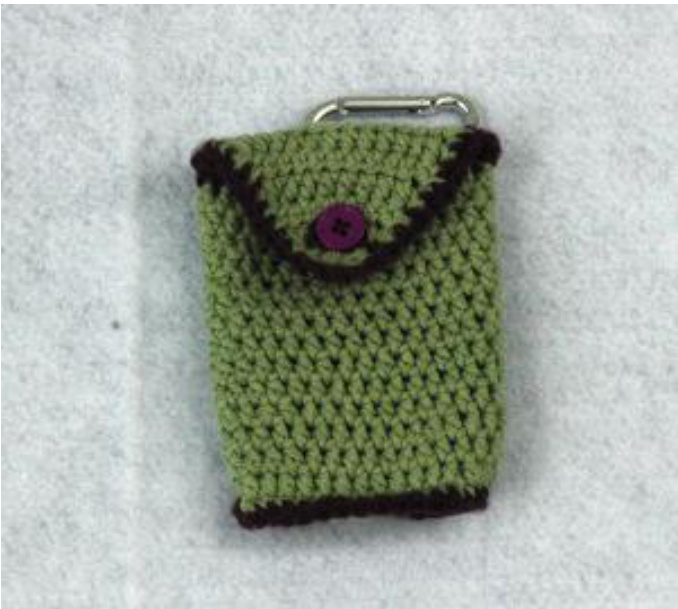
questions about this pattern, just leave me a comment and Ill make any changes you need.
Finished Measurements: 5" tall x 3 1/2" wide x 1" deep
Gauge: 4 sts and 3 rows per inch Materials: Red Heart Eco Cotton -only about 40 yds from skein -Moss Moda Dea Washable Wool- about 10 yds - Plum Hook size G Notes: this pattern is very adjustable you can make it as wide or as tall as you want to just by adding or taking off a few rows. I shaped this as I went along by stopping at intervals and sizing it to what it was going to hold. (In this case, money.) Ch 13 Row 1: hdc in 3rd chain from hook and hdc in each following chain (12 sts) ch 1, turn
Pattern:
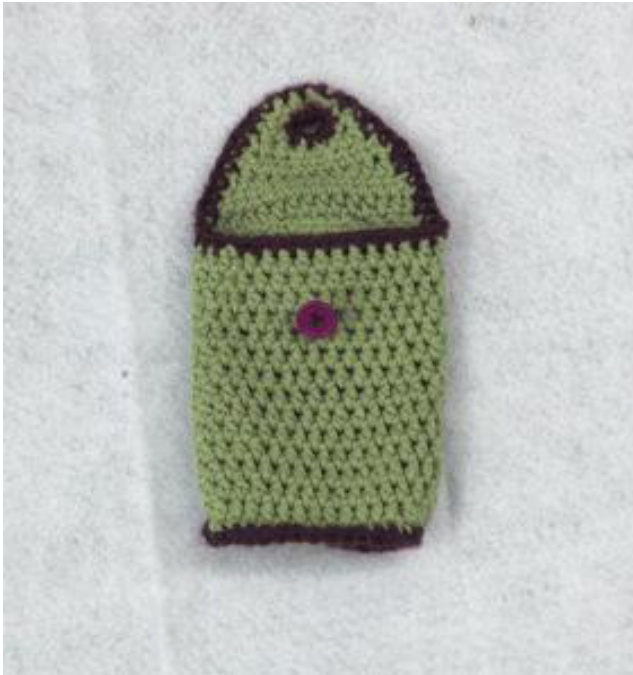
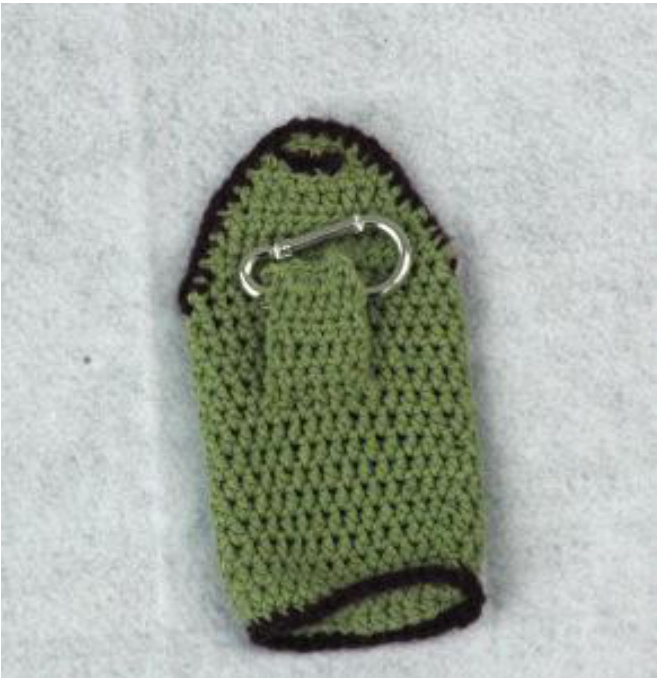
Row 2: hdc in every stich of previous row (12 sts) ch 1, turn Row 3: hdc in the back loop of every stich of previous row, continue with 3 hdc alongside, then hdc in the 12 foundation chain sts along the bottom and 3 hdc along the second side to and sl st to join to the first hdc (30 sts) Ch 1 Row 4-17: hdc in every hdc of previous row sl st to first hdc to join, ch1 Row 18: sl st until you get to the middle of one side (The seam travels) Then ch 1 and hdc in next 15 sts, ch1, turn (15 sts) Row 19:dec, hdc until last 2 sts then dec, ch1, turn (13 sts) Row 20-22: repeat row 19, you should end up with 7 sts Row 23: dec, hdc, ch1, hdc, dec, ch1, turn (5 sts) - this is the button hole Row 24:dec, hdc in ch 1 space, dec, break yarn and pull through loop Row 1:With pouch held so the back is towards you, count 6 rows down from the start of the flap and 5 sts in from side and sl st around the posts of the next 5 sts, ch 1, turn Row 2-4: hdc in each st of previous row, ch1, turn Row 5: Hold the tab you've just made so that it lies flat on the pouch and sl st it to the hdc posts, break yarn and pull through loop
Finishing:
Weave in all ends. Sew a button onto the center of the front 3 rows down (or proper place to line up with button hole. If desired use purple yarn to sc around opening and flap of pouch and along the front loops of the stiches of row 2, then use a tapestry needle to define button hole.


