KNITTER'SPROJECTBAG
by Deborah Tomasello
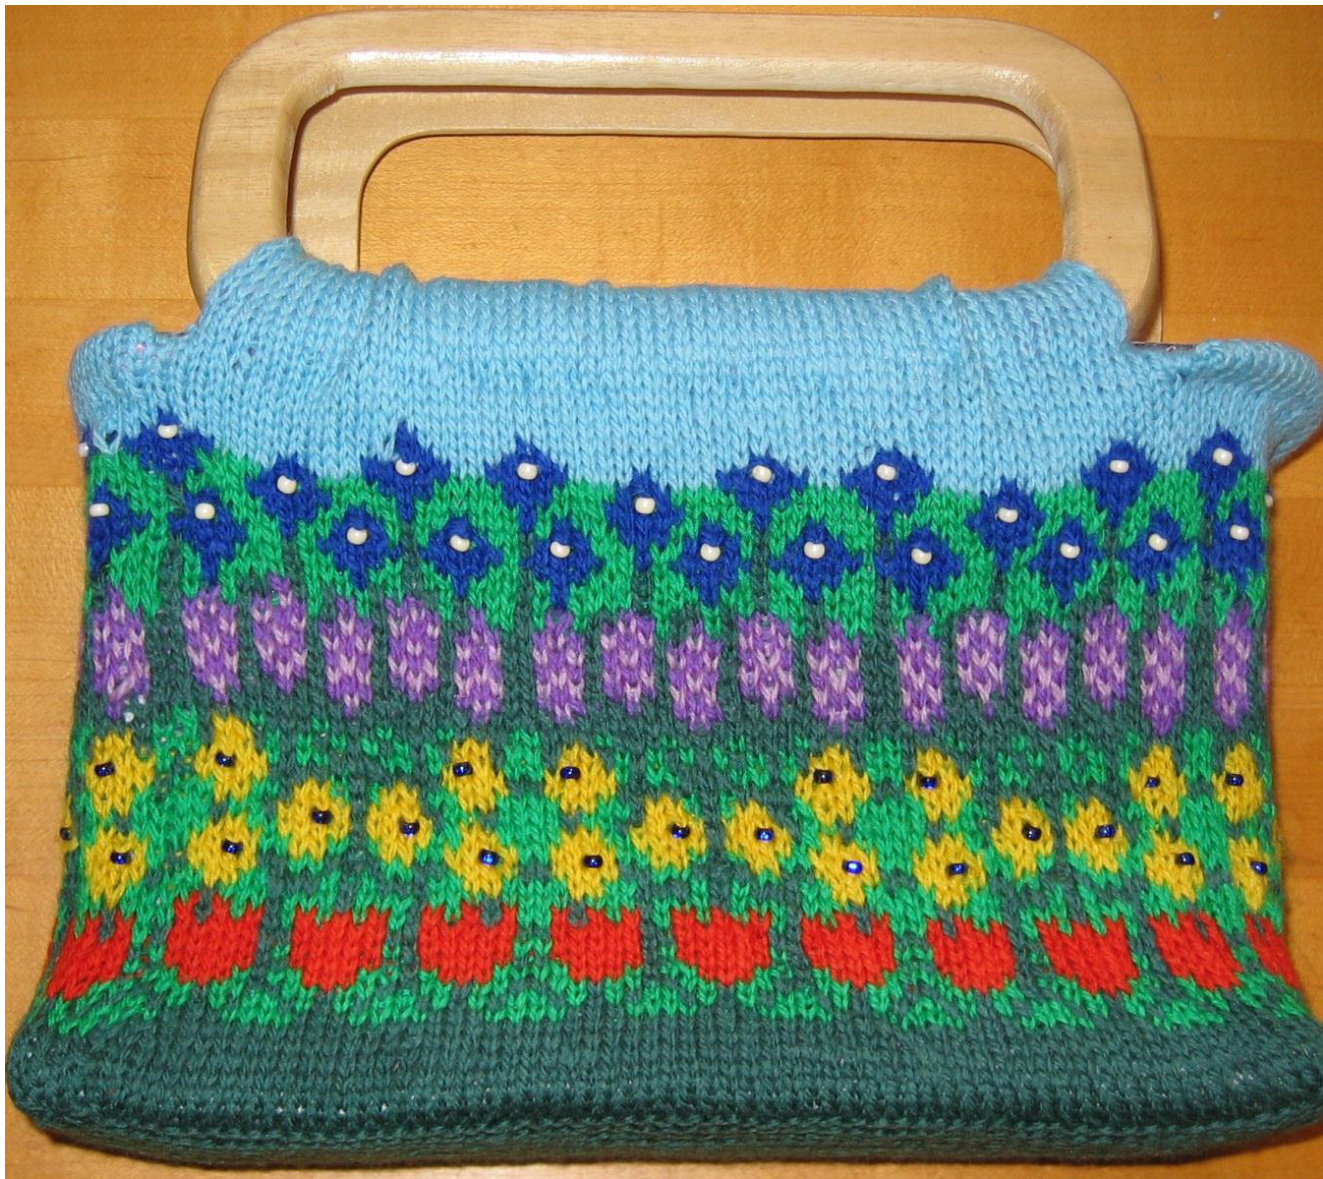
http://www.ravelry.com/designers/deborah-tomasello FEATURES: Stranded-knit wool bag with fabric lining. End pocket for needles and extras. Key ring loop. Sturdy bottom insert. 7”' deep by 7.5" long and 3” wide. Wooden handles. MATERIALS: 1 ball each of KnitPicks Palette colors. Cover photo bag knit using Forest Heather, Macaw, Tomato, Canary, French Lavender, Hyacinth, Celestial and Sky. One 16” #3 circular needle, four #3 DPNs, #3 straight needles,(or size needed to obtain gauge), stitch marker, and tapestry needle, 12 yard lining fabric, thread, 1 pair rectangular handbag handles (8-1/8" X 4"), sturdy cardboard, glue stick, key ring or key loop and blue and white 6mm glass beads (plus tiny crochet hook for attaching beads). Gauge 32 stitches and 32 rounds = 4" using #3 needles.
HROUGH ALL INSTRUCTIONS CAREFULLY BEFORE STARTING\*\*\*
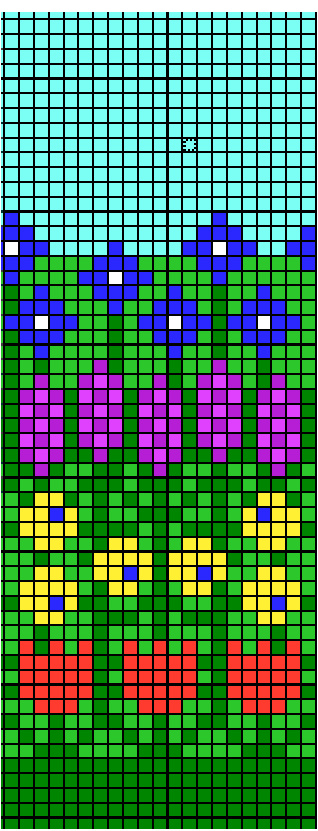
Instructions With straight needles, CO 60 sts using darkest color( Forest Heather) Knit garter st for 24 rows. Then, using DPNs, pick up 24 sts on short side of garter piece, with another DPN, pick up 60 sts on other long side and, with yet another DPN, pick up 24 sts on the other short side for a total of 168 sts. Knit using DPNs all 168 sts in Flower pattern (See CHART A) for several rounds and then switch to a circ. needle. Add marker and Join, taking care not to twist sts. Knit 55 rounds, total, following pattern in CHART A (8 repeats per round), adding blue beads in center of yellow flowers and white beads in center of blue flowers, as shown in chart and cover photo. Then,\*\* work stockinette back and forth on 60 sts as indicated for 14 rows. BO, leaving a long piece of yarn with which to hand sew later. Attach yarn and work stockinette back and forth on next (end) 24sts for 4 rows. BO.\*\* Repeat between \*\* once more. Tie and trim all color change ends. Wet block with damp cloth and steam iron to smooth and flatten stockinette edges. Proceed to Lining Instructions. KnitPicks palette Colors Used:

CHART A

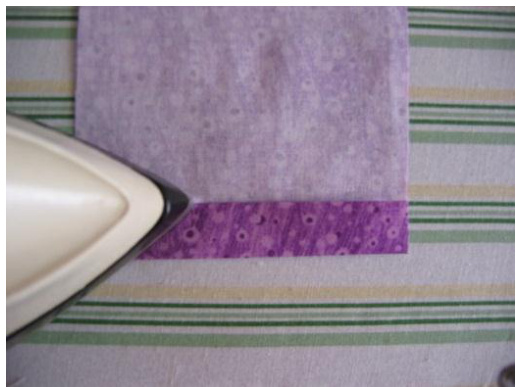
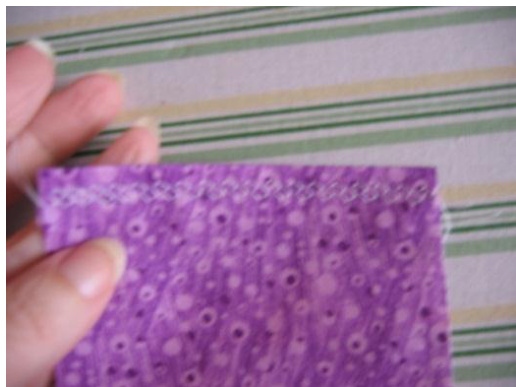
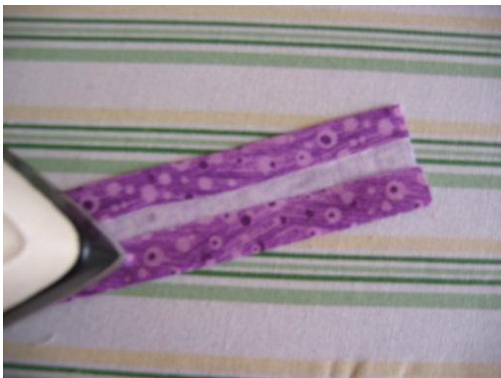
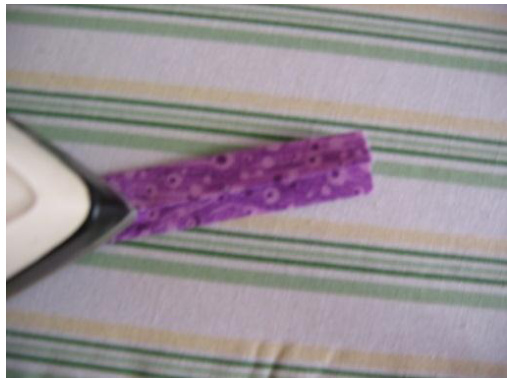
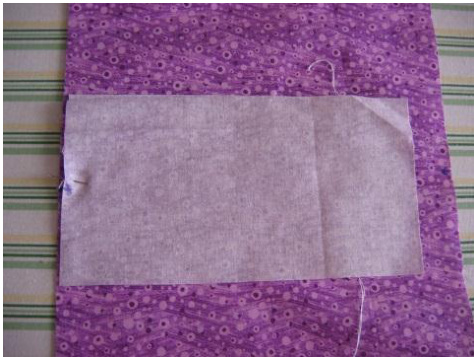
LINING INSTRUCTIONS: Cut one fabric piece (A) 8.5 inches wide (allowing for 1/4inch seams) and 21 inches long This will become the lining for the bottom and wide sides of the bag. Cut three fabric piece (B) 4x7 inches. On one piece B, turn top edge under and turn under again. Press and stitch across turned edge. This will become the end pocket. See photos i and ii. Other two B pieces will become the short end sides of the lining. Cut one fabric piece (C) 3x6 inches. Fold in outer edges of long side toward center, then fold in half and press. Stitch in place. See photo i and iv. This will become the key ring loop.
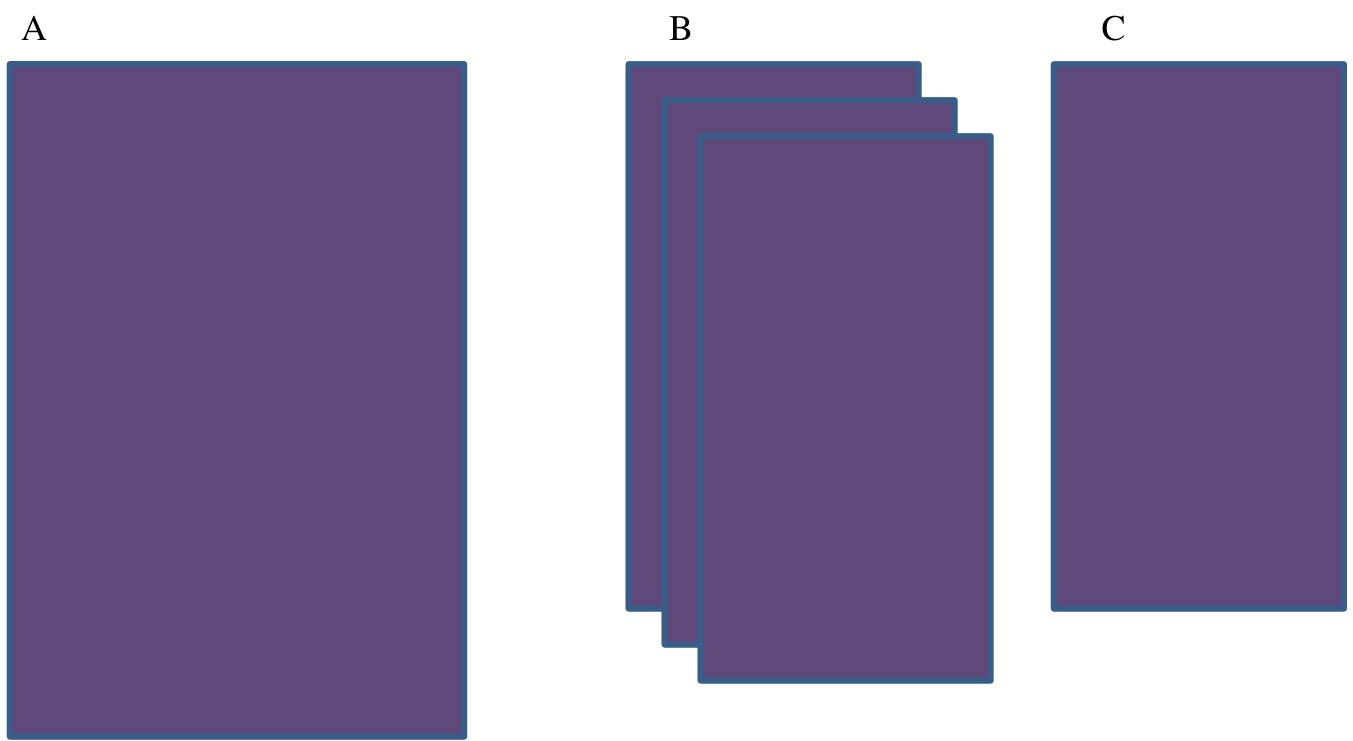
Cut one piece fabric (D) to cover cardboard, cut to fit in the bottom of the bag. With glue stick, glue fabric to cardboard and place in bottom of bag. See photo v.

iii iv V
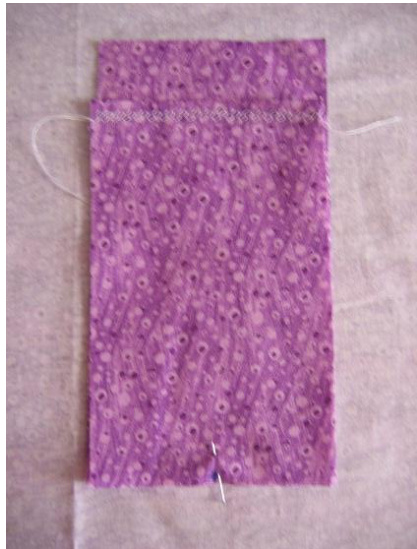
Place stitched pocket piece B on fabric piece B.
Pin pieces B and B together in center of fabric piece A as shown. Stitch only across the part where all three pieces join at bottom of B pieces. Turn pocket and end piece 90° and stitch up side. Turn so other side edges meet and stitch together to form lining shape. Repeat with other side, pinning stitched key loop (D) before stitching. Place lining in knitted bag. Place fabric-covered cardboard in bottom. Finishing: Place handle in position, wrap lined knitted piece around handle and hem stitch in place using long yarn left over from BO. Repeat on other side. Turn end edges over lining and hem stitch with long yarn piece left over from BO.


