CAFFE CREMA
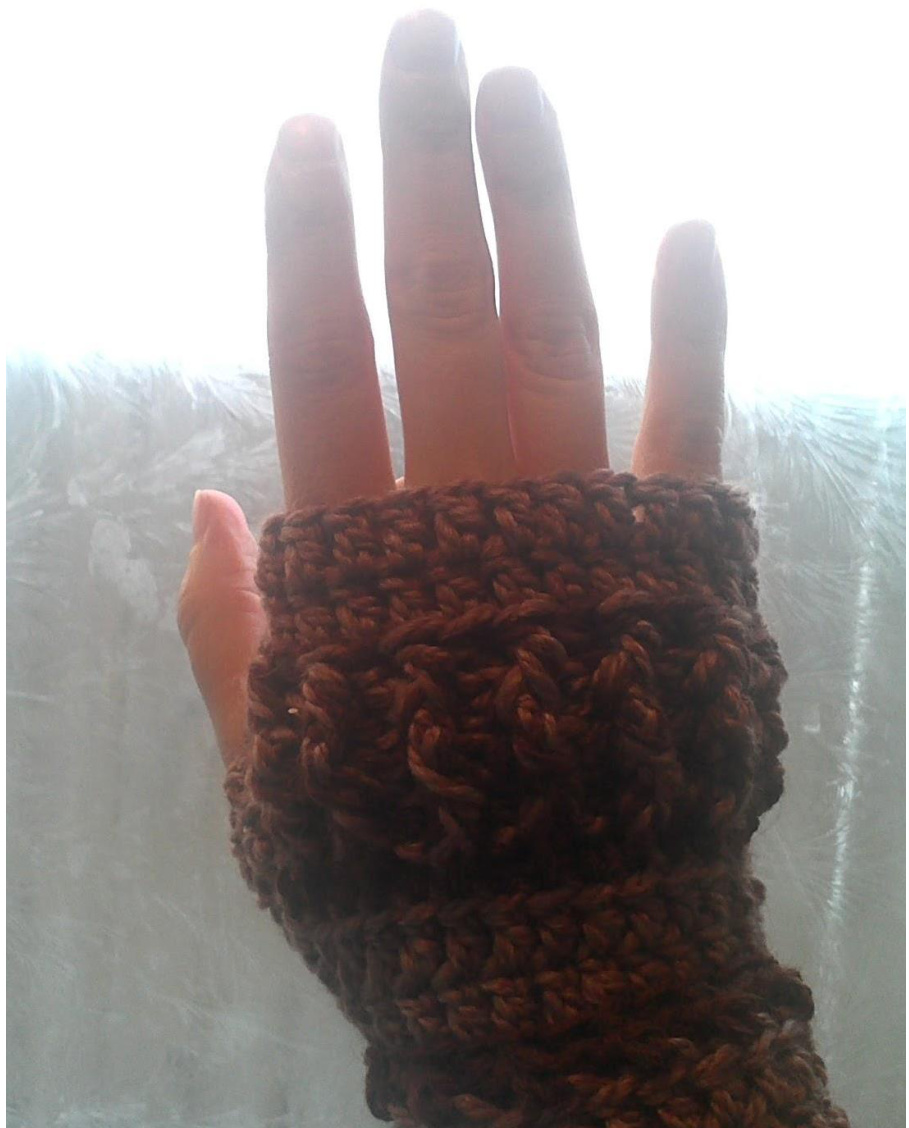
Fingerless mitts pattern by NrrdGrrl89 Skill level: Intermediate
MATERIALS:
Approximately 60-70m of #3 DK weight yarn or a light #4 worsted weight; yarn with some give is preferable (COLOUR A) Approximately 30-40m of #4 worsted weight yarn, in a contrasting colour (COLOUR B). This one doesn't need to be as stretchy (see Notes below). 4.00mm (G) crochet hook, or size needed to obtain gauge 4.50mm crochet hook or size needed to work both strands of yarn Yarn needle ·Stitch markers (optional) ●Scissors
NOTES:
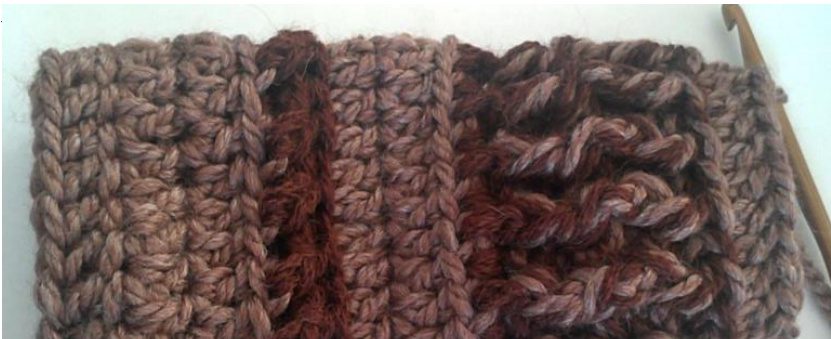
These fingerless mitts are crocheted in the round from the bottom up, after joining the foundation double crochets together. Crochet the vertical ribbing in the larger-sized hook since you'll be crocheting two pieces of yarn at once. If you find that the 4.5mm hook isn't large enough to hold both pieces, you could go a size up. This pattern is written for an adult woman, but is highly adaptable. To make the mitts longer, add rows of double crochets in the main colour before the first colour change and/or after R12. To make them smaller or larger overall, use a lighter/heavier weight yarn with equivalent hooks. There are a few colour changes in this pattern, and I use two different methods to manage my yarns. In the first colour change (R3), I simply tie in the yarn without carrying the unused colour through the back -- it avoids the stiffness that can happen with Fair Isle colourwork, which we need to do if we want a nice stretchy wrist to fit over our hands! Once I get to R7, I start carrying both colours through each row until the end of the ribbing section, where I fasten off colour B. If you're quite diligent about working your ends into the crochet as you go, you'll only have two ends to weave in with a yarn needle and the rest will already be worked into the fabric. With this pattern, you can really have fun with the yarn combinations -- try to find two that complement each other, maybe in radically different textures to spice things up! These are the two yarns I used. Both are Diamond Luxury Collection: Inca Touch (left, 50% superfine alpaca, 50% wool - my colour B) and Merino Bamboo (right, 70% merino, 30% bamboo - my colour A).
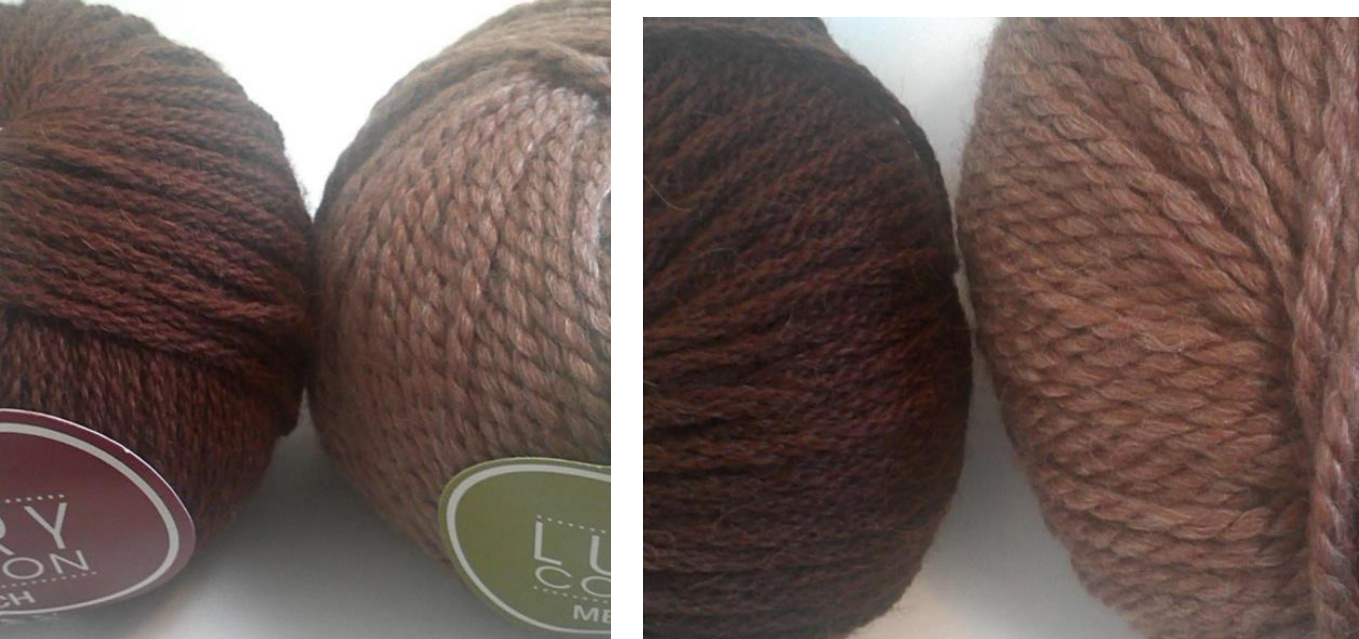
As you can see, these yarns are very different in look and feel, but they work great together! Try your own combination and see where it takes you! Finally, please do not redistribute this pattern! Feel free to make and sell finished objects, but give credit (and a link!) where it's due. Thanks!
MEASUREMENTS:
roximately 10cm (4") wide (across ribbing) and 14cm (5.5") tall when laying fl
GAUGE:
Main double crochet pattern - 2.5 cm (1") x 2.5 cm (1") over 3 sts and 2 rows Double-stranded ribbing - 2.5cm (1") x 3.75 cm (1.5") over 4 sts (2 fpdc and 2 bpdc) and 4 rows Fit is more important than gauge here. Just make sure you try the mitts on regularly as you work them up, to make sure they'll fit!
ABBREVIATIONS:
Ch = chain Fdc = foundation double crochet Sc = single crochet Dc = double crochet Hdc = half double crochet Sl st = slip stitch Fpsc = front post single crochet Bpsc = front post single crochet Fpdc = front-post double crochet Bpdc = back-post double crochet Hdc2tog = half double crochet two together Blo = back loops only Flo = front loops only Sts = stitches
SPECIAL STITCHES:
Fpsc (front post single crochet) - insert hook around post as you would with fpdc, but don't yarn over first, and complete as you would a regular sc. Bpsc (back post single crochet) - insert hook around post as you would with bpdc, but don't yarn over first, and complete as you would a regular sc. Hdc2tog (half double crochet two together) - yarn over, insert hook through next stitch, yarn over & pull up loop, insert hook through next stitch, yarn over & pull up loop, yarn over and pull through all 4 loops on hook.
PATTERN:
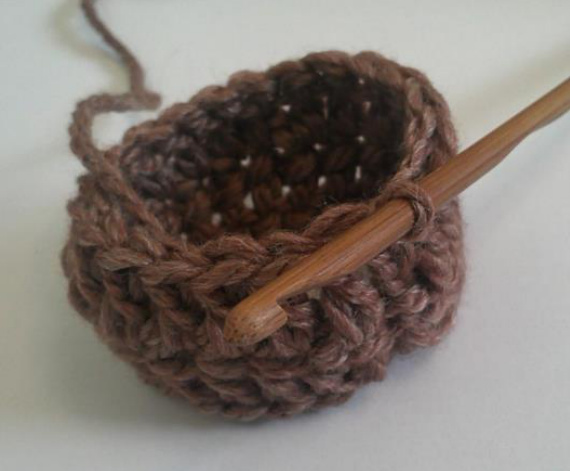
In colour A, with 4mm hook, fdc 22.
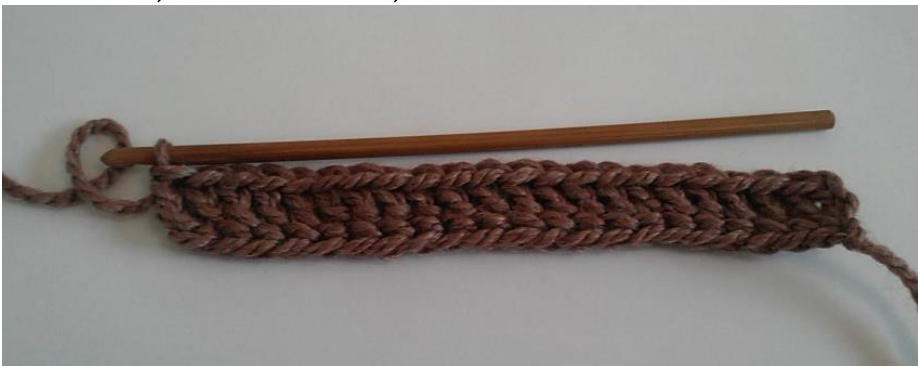
Seam ends together with slip stitches, and flip inside out so that the seam is on the inside. The right side will now be facing outward. (22 sts)
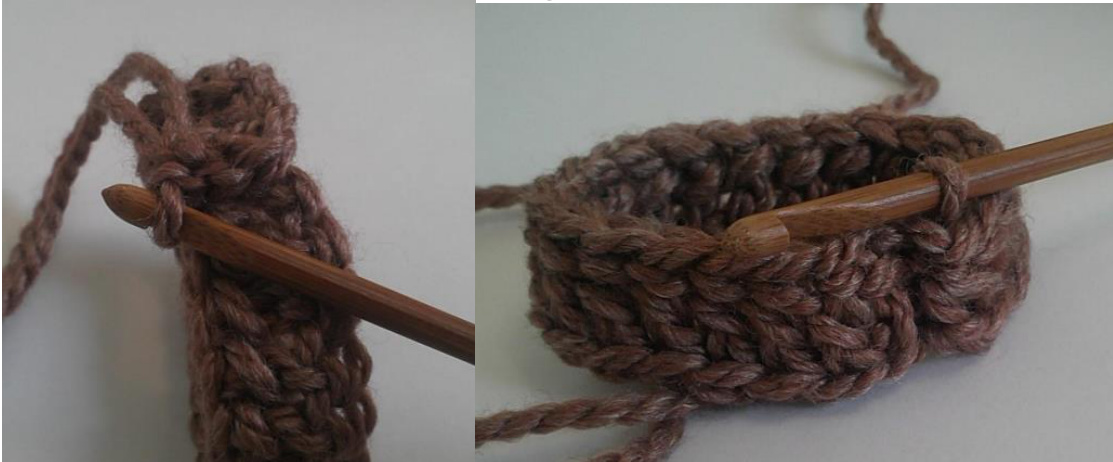
Ch 3 (counts as dc), dc in next st and around the piece. Join with sl st. (22 sts)
R2 Ch 3 (counts as dc), dc in next st and around the piece. Join with sl st, change to colour B. (22 sts)
R3 Ch 3 (counts as dc), dc in blo of next st and around the piece. Join with sl st. (22 sts)
R 4 Ch 1 (counts as sc), alternate fpsc and bpsc around. Join with sl st. Change to colour A (22 sts)
R 5 Ch 3 (counts as dc), dc in blo around. Join with sl st. (22 sts)

RIGHT HAND ONLY:
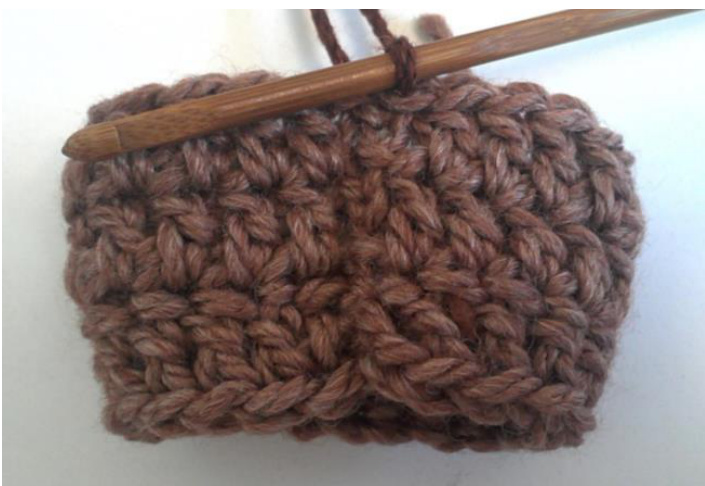
R7 Change to colour B on last yarn over of previous row (you will now carry both of your colours through until otherwise indicated), Ch 3 (counts as dc), turn. 13 dc in flo. Change to bring colour A forward, 7 dc until end of row, dc in turning ch. (22 sts)
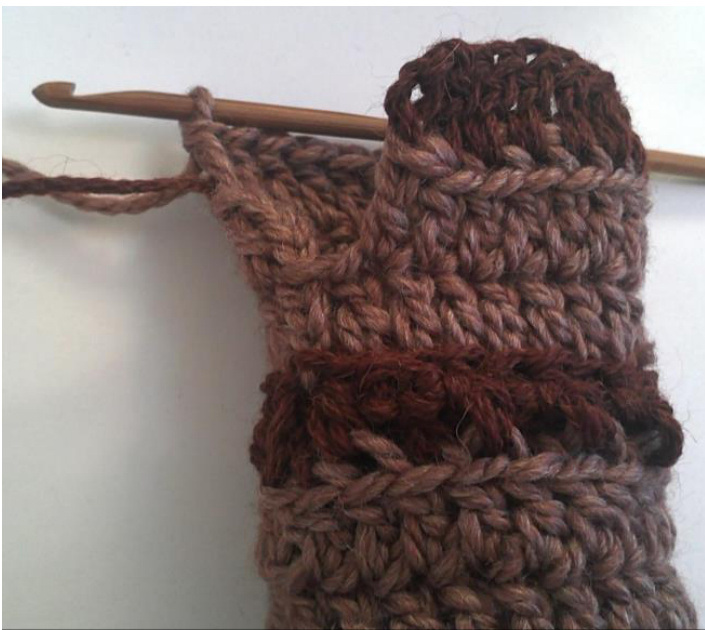
R8 Ch 3 (counts as dc), turn. Dc until the colour change from previous round. Switch to 4.5mm hook, now working both strands at once.
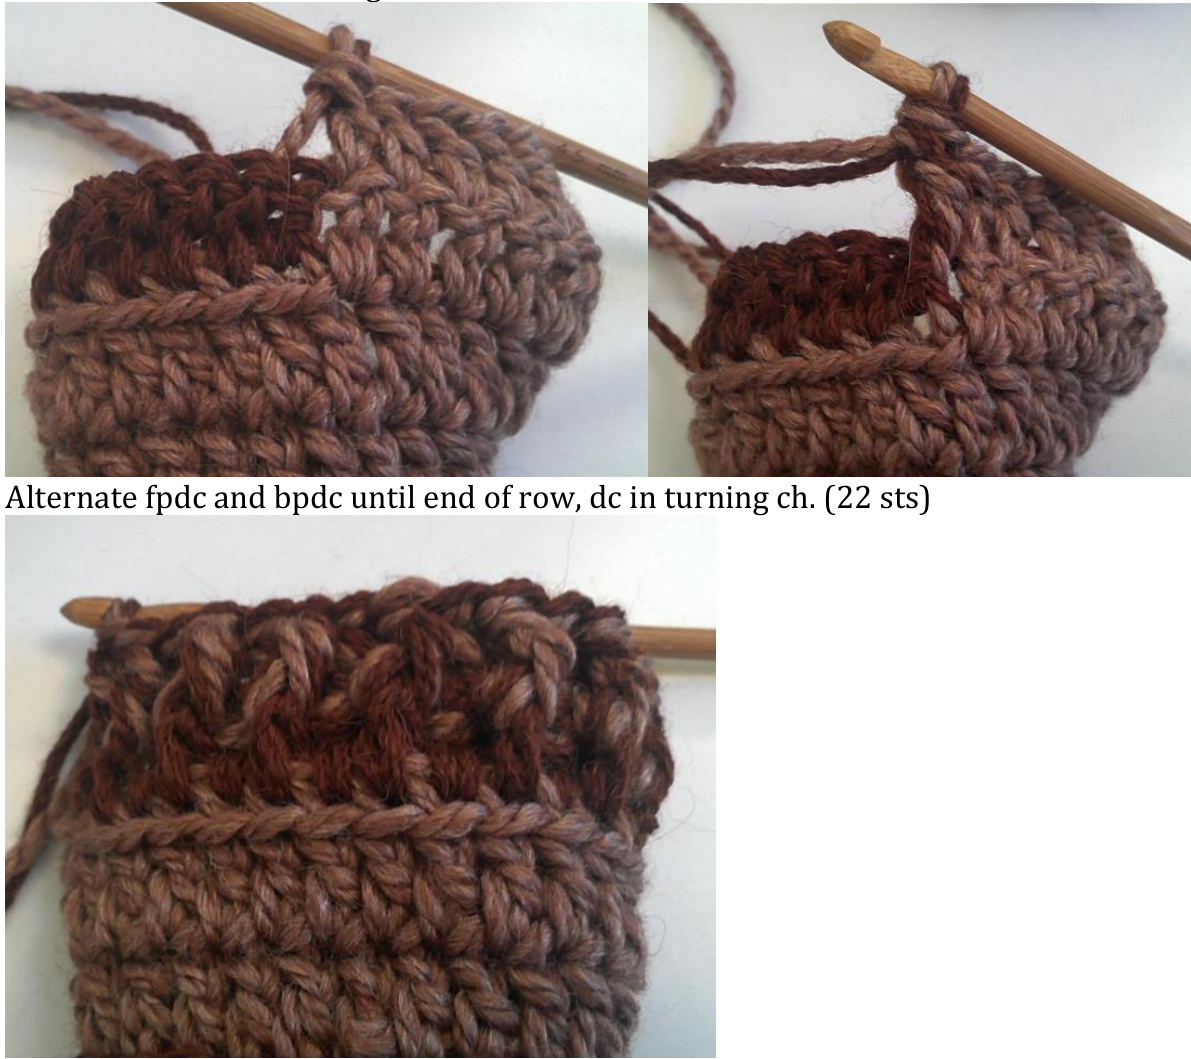
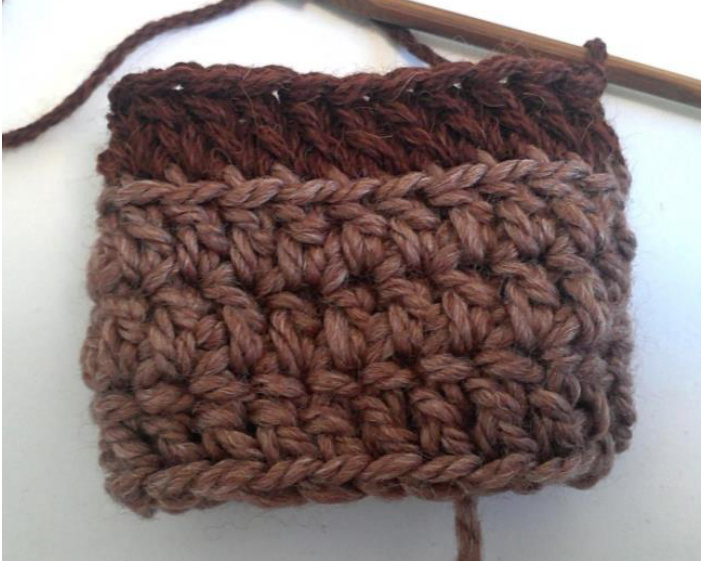
R9 Ch 3 (counts as dc), turn. Work 2 strands in bpdc/fpdc ribbing pattern (working bpdc into fpdc from previous row and vice versa) until colour change, then switch to 4.0mm hook and dc in colour A until end of row, dc turning ch. (22 sts)
R10 Ch 3 (counts as dc), turn. Dc in colour A until colour change, then switch to 4.5 mm hook. Work in fpdc/bpdc ribbing pattern until the end of the row. Dc in turning ch. Join with sl st, using colour A only. Fasten off colour B. (22 sts)
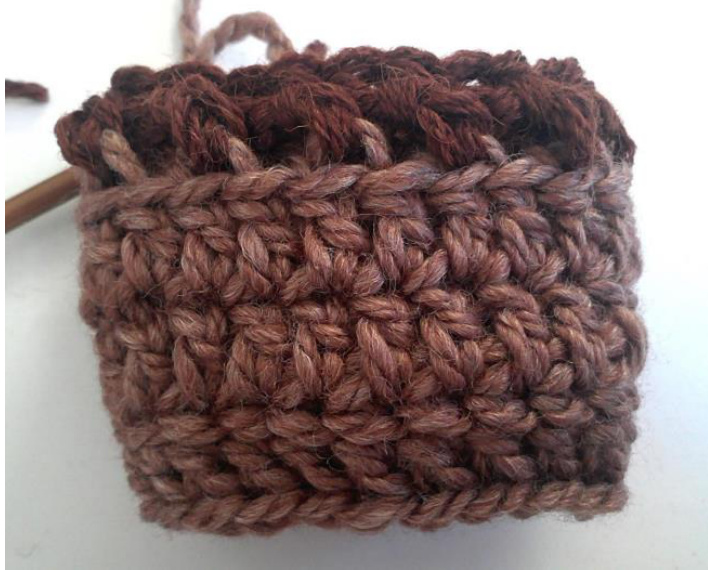
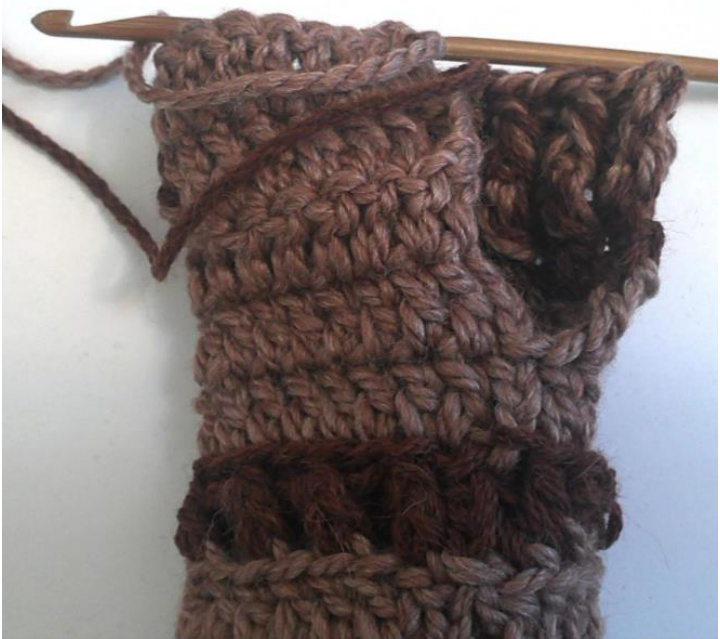
R11 Ch 3 (coun section, til sts)
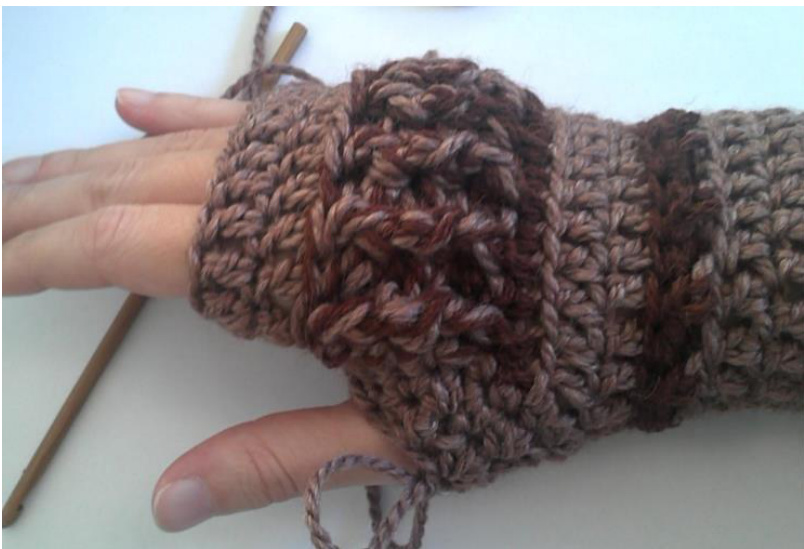
blo of fpdc/bpdc I with sl st. (23 Ch 3 (counts as dc), dc around, join with sl st. Fasten off (23 sts) Try them on!
LEFT HAND ONLY (opposite of RH):
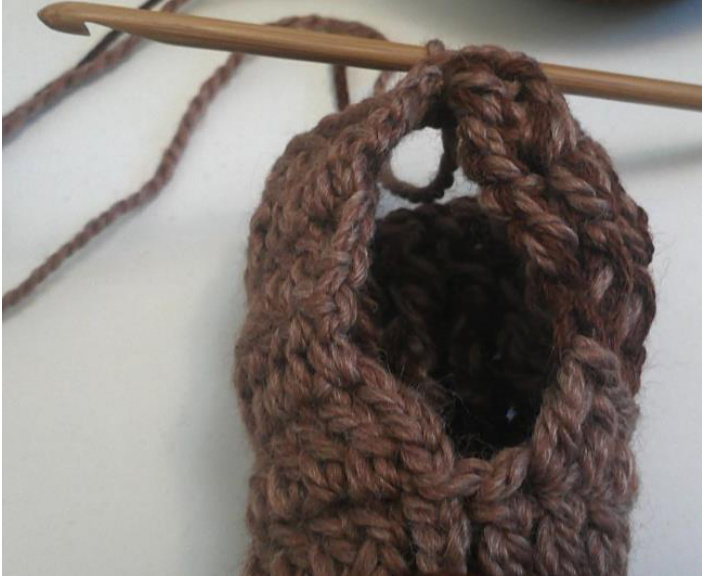
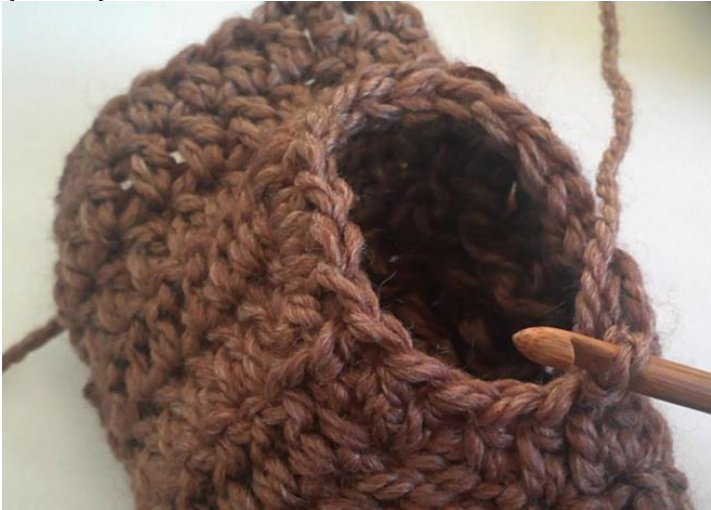
R7 Ch 3 (counts as dc), turn. 7 dc, change to colour B (you will now carry your colours through until otherwise indicated), 13 dc in flo until end of row, dc in turning ch. (22 Sts) R8 Switch to 4.5mm hook, now working both strands at once. Ch 3 (counts as dc), turn. Alternate fpdc and bpdc until the colour change from previous round, then bring colour A forward and switch back to 4.00 mm hook. Dc until end of row, dc in turning ch. (22 sts) R9 Ch 3 (counts as dc), turn. Dc until colour change, then switch to 4.5mm hook and work 2 strands in bpdc/fpdc ribbing pattern. Dc in turning ch. (22 sts) R10 Ch 3 (counts as dc), turn. Work in fpdc/bpdc ribbing pattern until colour change, then switch back to 4.00 mm hook and work dc in colour A until the end of the row. Dc in turning ch. Join with sl st. Fasten off colour B. (22 sts) R 11 Ch 3 (counts as dc), dc in blo of fpdc/bpdc section, then regular dc until end of round. Increase 1 dc at the end of the round, and join with sl st. (23 sts) R 12 Ch 3 (counts as dc), dc around, join with sl st. Fasten off. (23 sts) THUMBS: R1 In colour A, with 4.0mm hook, pull up a loop.
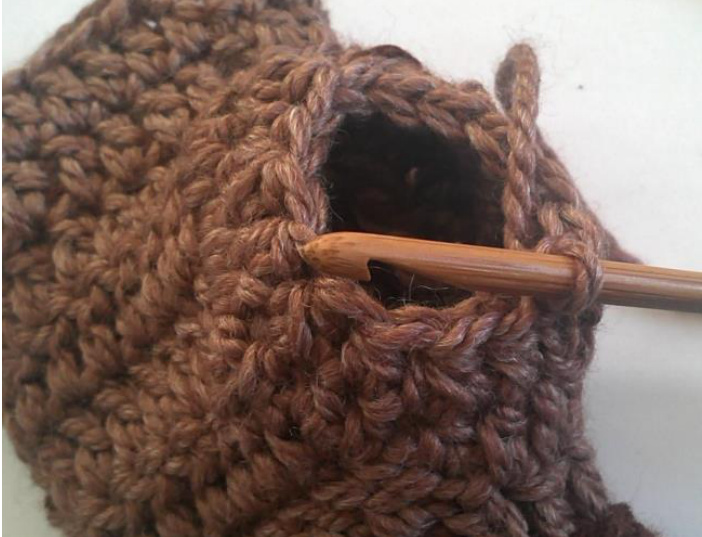
Ch 2, hdc 21 sts around the thumb hole, spaced as evenly as possible. Join with a sl st. (21 sts)
R 2 Ch 2, [hdc in next st, hdc2tog] x7, join with sl st (14 sts]
R3 Ch 2, [hdc2tog] x7,join with sl st (7 sts). Fasten off.
Weave in ends. And you're done! Feel free to contact me with any questions you may have: jade@nrrd-grrl.com Enjoy!:)


