leolenwine YARNS
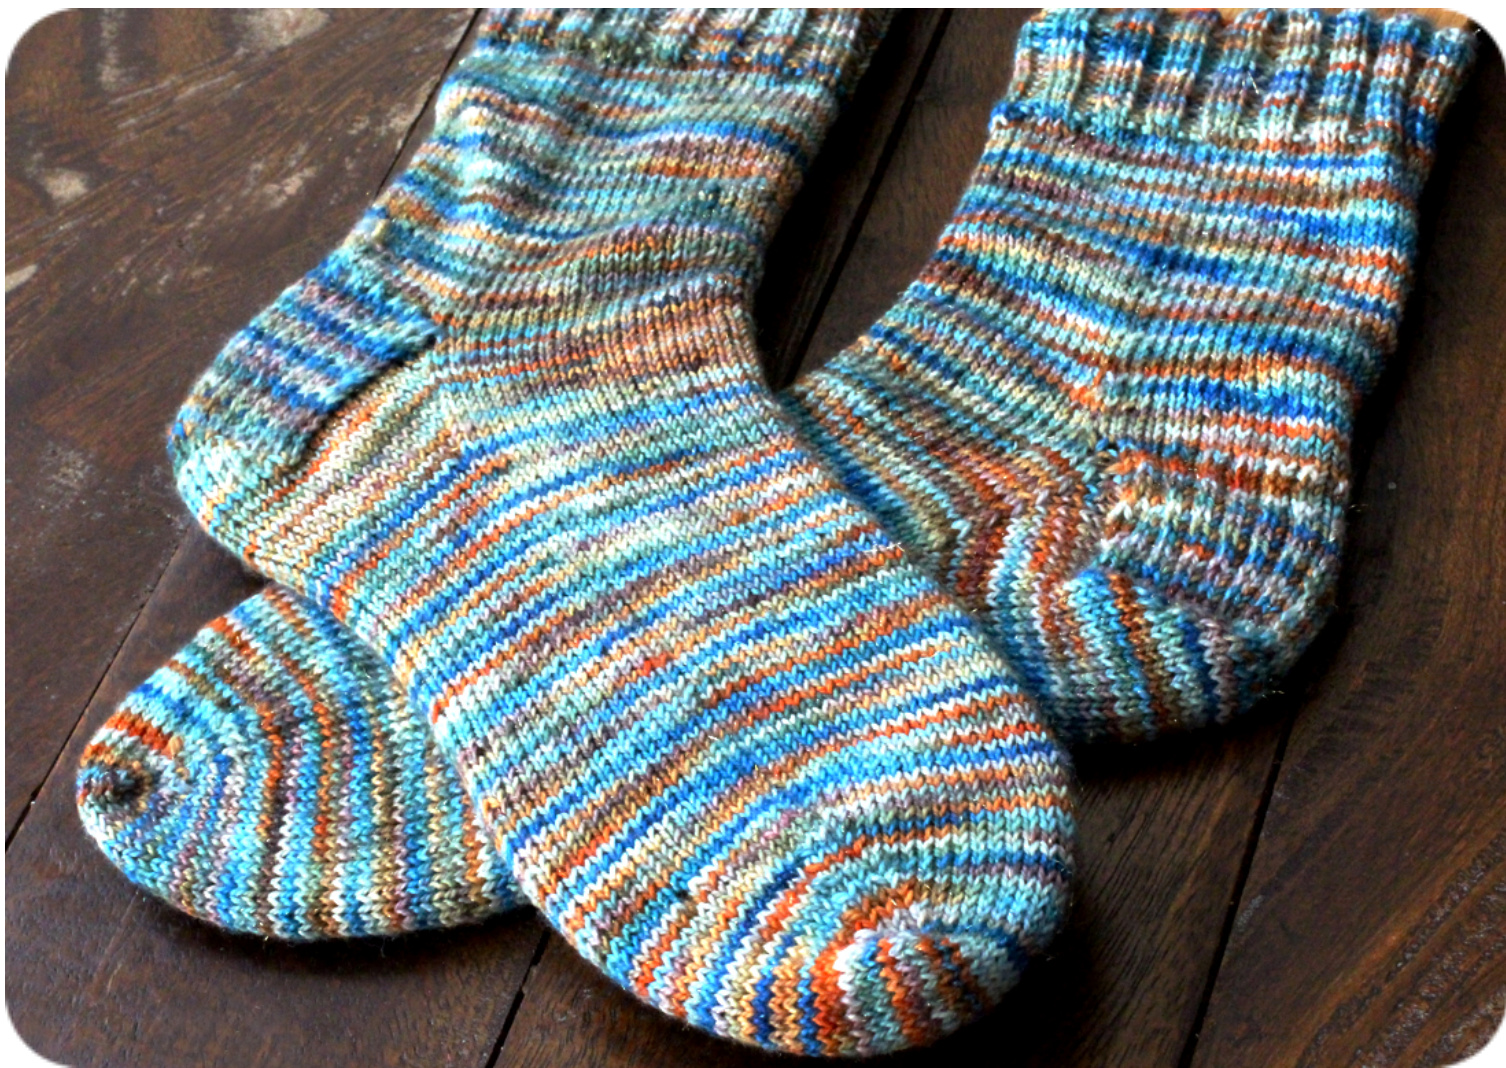
FAVORITE SOCKS
Simple Cub&-Down &och pattern BY KRISTIN LEHRER
aeoutthePattern
There are so many ways to knit a sock. Just about every sock-knitter you meet will have a favorite go-to "recipe". While I've tried many styles and techniques, I always come back to knitting mine cuff-down, with a reinforced heel-flap and short-row-heel-turn. I love this method because it's simple enough for auto-pilot knitting, and incorporates enough techniques to keep things interesting.
yarn:
Fingering weight yarn, at least 400 yards/365 meters
Needles:
US 1.5 / 2.50mm circular knitting needles or 4 dpns (If using circular needles for magic loop, I recommend the chord length be at least 32" - 40"
Notione:
Darning needle and stitch markers
dawge:
36 sts / 48 rows = 4x4 inches (10x10 centimeters) unblocked. The two cast on stitch numbers provided 64(72), will knit to fit an adult average women (and women's large / men).
Cast Qn
Cast on 64(72) sts and divide evenly on needles. (For example, 32(36) sts on each circular needle / 16(18) sts on 4 dpns.)
Cub&Rilling
\*K2, p2; repeat from \* for two inches or desired length. Knit in-the-round, plain stockinette until leg measures 6 or 7 inches from cast on, or until desired length.
alereviations:
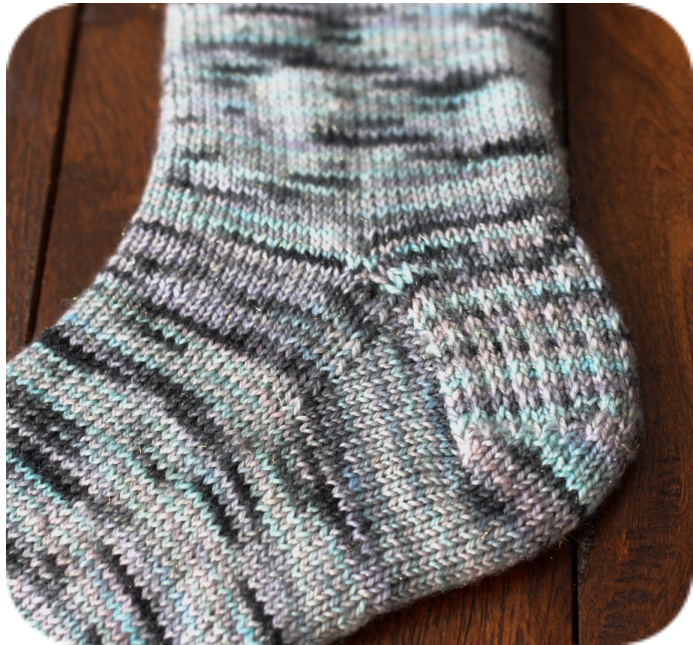
Neel Blap &titch
k: knit p: purl sts: stitches sl: slip stitch purl-wise RS: Right side (stockinette side) WS: Wrong side (purl-bumps side) pm: place marker sm: slip marker ssk: (left-leaning decrease) slip next two stitches off left needle, onto right needle. Insert left needle into the first slipped stitch, then the second, and knit together. both slipped stitches, as if to knit k2tog: (right-leaning increase) Knit two stitches together. p2tog: (WS decrease) purl two stitches together After knitting cuff, and leg, divide stitches evenly. Knit heel flap flat, across 32 (36) sts. Set-up row: Knit. Row 1 (WS): Sl 1st stitch knit-wise, purl to end of row. Turn work. Row 2 (RS): Sl first sititch purl-wise. \*K1, sl 1; repeat from \*, K1. Turn work. Repeat rows 1-2 until heel flap measures 2" or appears to be a perfect square. NOTE: The longer your heel flap, the deeper your instep will be.
Heel-Zun
Row 1: Knit 18(20), ssk, k1. Turn work Row 2: Sl1, p5(7), p2tog, p1. Turn work Row 3: sll, knit to 1 st before "gap". Ssk, k1. Turn work Row 4: sll, purl to 1 st before "gap". P2tog, p1. Turn work Repeat rows 3 and 4 until all stitches are worked, ending on RS.
&uevet&titchee
After you've completed turning the heel, you're going to pick up all those slipped stitches you created when knitting the heel flap. You should have about (give or take) 22 slipped stitches on either side of the heel flap — but don't worry, the number doesn't have to be exact. Step 1: Inserting your needle knit-wise, pick up the slipped stitches along the first side of the heel flap,closest to your working yarn. The last stitch you pick up will denote the last stitch in the round. You may place a marker here to help remind you. If magic-looping, here is the new point at which you will be dividing your stitches evenly. Step 2: Sm. Knit 32(36) stitches (Let's call these stitches the foot-bridge, since they will arch across the top of your foot. Keep them separate from your gusset and heel stitches.\* Pick up gusset stitches from side 2 of heel flap. Step 3: Pick up remaining slipped stitches along the other side of the heel flap. Knit to Sm.
lnstep Decrease
After turning the heel and picking up the gusset stitches, you now have more stitches than you started with. Decreasing the instep will shape the heel turn and bring your stitches back down to your original cast on number. Row 1: Knit all stitches. Row 2: Knit 32(36), k1, ssk, k to 3 sts before sm. k2tog, k1. Repeat rows 1-2 until you have a total of 64(72) sts on your needles. If it helps, keep the stitch marker in place to help you locate the beginning of the round for the toe-decrease.
Knit the Foot
Once you are back down to your original stitch count, you are pretty much home free! From here, simply knit in the round in plain stockinette. Try the sock on as you knit the foot. Once your stitches reach the base of your pinky toe, it's time to start decreasing your stitches.
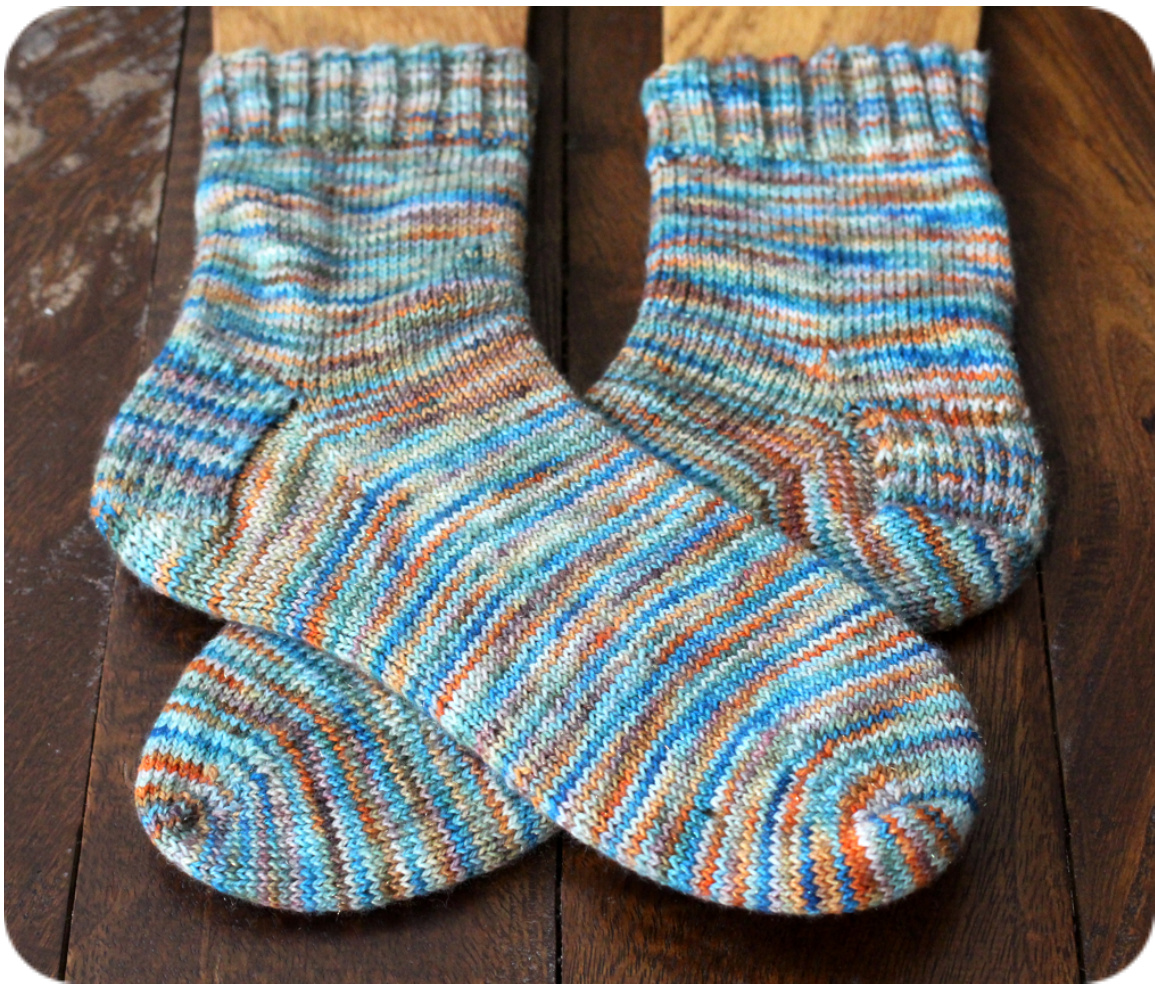
DereaveFor theoe
For the toe, you will be decreasing two stitches on either side of the foot (a total of 4 stitches), every two rows. You may want to add another stitch marker in a contrasting color denote the second decrease point. Setup row: Sm, k1, k2tog, k 29(33), ssk, k1, pm, k1, k2tog, knit to three sts before sm, ssk, k1. Row 2: Knit Row 3: Sm, k1, k2tog, knit until 3 sts before sm, ssk, k1, sm, k1, k2tog, knit until 3 sts before sm, ssk, k1. Repeat rows 2 and 3, ending on row 2, until 24 sts remain, or however wide or narrow you like your sock toes to be.
Brabting the Joe
The Kitchener stitch is my favorite technique for grafting toe stitches together, because of the seamless join it creates. It may take a few pairs to memorize it, but you will love the result. · Before you begin, make sure your 24 stitches are divided evenly on two needles (12 sts on each). · When holding your needles together, tips facing right, the needle with the working yarn should be behind the other needle. 3reak the yarn leaving about a 12" tail and thread your darning needle Set-Up: · Insert darning needle (as if to purl) into the first stitch on the needle closest to you. Leave stitch on needle. · Insert darning needle (as if to knit) into the first stitch on the needle furthest from you. Leave stitch on needle. · Step 1: Insert darning needle (as if to knit) into the first stitch on the needle closest to you and pull off needle. · Step 2: Insert darning needle (as if to purl) into the next stitch of same needle. Leave stitch on needle. · Step 3: Insert darning needle (as if to purl) into first stitch on needle furthest from you and pull off needle. · Step 4: Insert darning needle (as if to knit) into next stitch on same needle. Leave stitch on needle. Repeat steps 1-4 until all stitches have been worked, and toe is seamed. Thread yarn through toe, flip inside out and weave in all ends with a darning needle.
Finiching
Weave in all remaining ends. Block if desired and enjoy!
Credite
Photography by Kristin Lehrer. bestehen damit aus jeweils 2 Armelcharts (2 Mal 65M-1liM)=129M- VT/RT=258M Body.


