Soap Sacks
A Simple Knits design
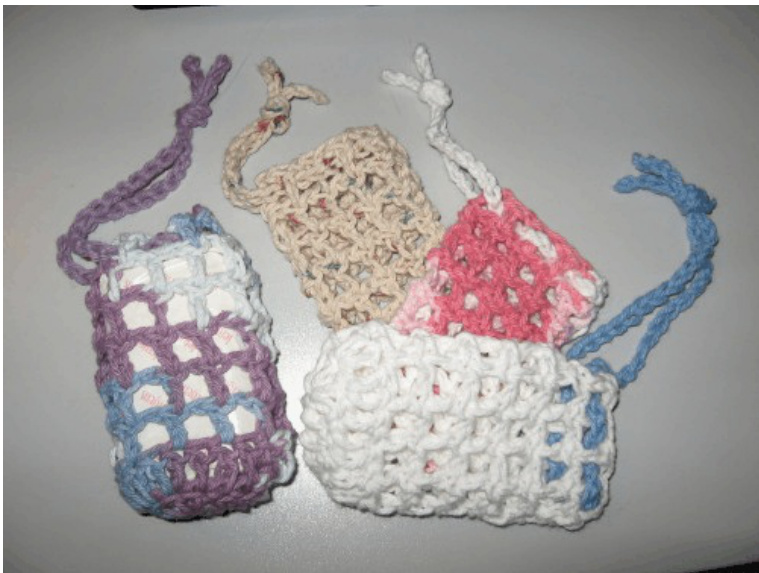
This crocheted soap holder makes a great skin scrubber. When you're done using it, hang it up by the cord to dry. Fast to crochet; it only takes 8 rows to make it. All you need is 18 yards of worsted weight cotton yarn, a crochet hook, and less than 30 minutes. Enjoy!
Materials:
Lily Sugar n' Cream or 100% cotton worsted weight yarn 16 yards for sack 2 yards for cord Size H (5 mm) crochet hook Large eye tapestry needle Finished size: 3" x 5" (It should fit a standard size bar of soap.) Key: dc = double crochet ch = chain st = stitch You'll be working in both sides of the starting chain to form the bottom of the soap sack.
Chain 6.
Round 1: Dc in the 3'd chain from the hook and the next 2 ch (3dc). Work 5dc in the last chain. Turn and work along the opposite side of the chain to continue the round — dc in the next 2 ch, 3dc in the last ch. Join with a slip st to the ch3. (14 dc) Round 2: Ch3, dc in same st, dc in next 4 dc, 2 dc in each of next 3 dc, dc in next 4 dc, 2 dc in each of next 2 dc. Join with a slip stitch to the ch3. (20 dc) Round 3: Ch4, skip 1 dc, \*dc in next dc, ch 1, skip 1 dc,\* repeating around. Join with a slip stitch to ch3 of the ch4. (10 dc with ch1 between them) Round 4: Ch4, skip ch1 space, \*dc in next dc, ch 1, skip ch1 space,\* repeating around. Join with a slip stitch to ch3 of the ch4. Rounds 5-8: Repeat Round 4 - 4 times. Pull yarn through last stitch. Cut yarn. Secure end and weave in yarn tail.
Cord
With a 2 yard piece of yarn (the same color or a contrasting color), chain 60. This should make a chain about 14-16" long. Weave the yarn tails up through the chain. Weave this cord through the top row of eyelets. Tie the two ends together in a secure knot about 1" from the ends. This gives you a hanger for the bag as well as keeping the yarn tails in the chain from working out. Slip a bar of soap into the sack, and it's ready to use! Note: When you're joining rounds, insert your hook through the underside of the chain for a neater join. Feel free to make items using this pattern for charitable projects or fundraisers.


